Crispy and Airy Poi Mochi Doughnuts Recipe
This post may contain affiliate links. Read about our privacy policy.
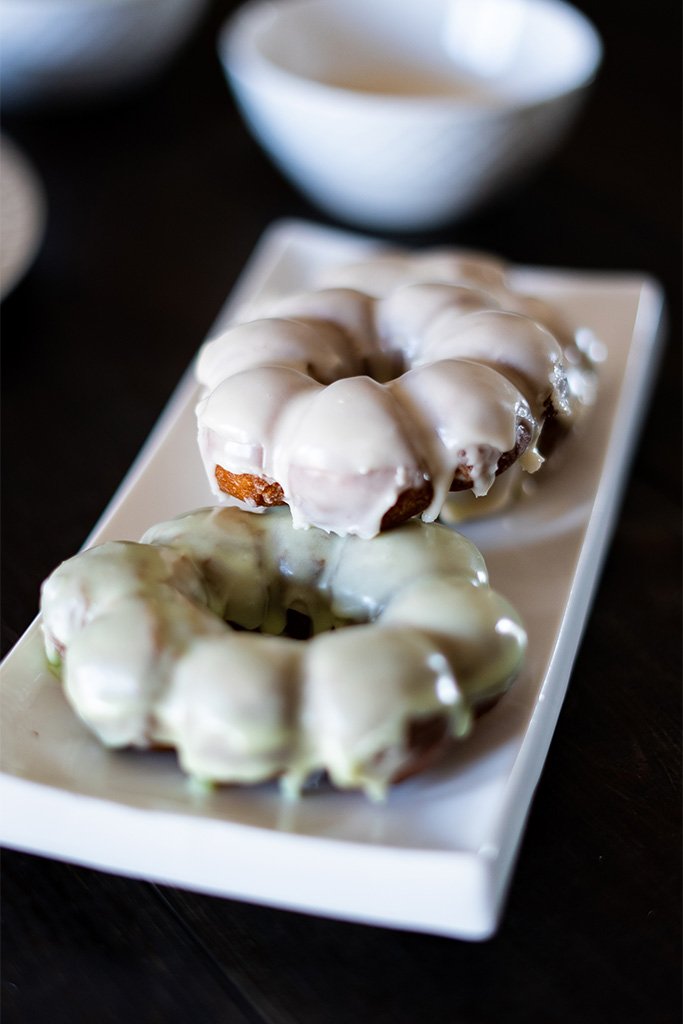
“Mochi Meets Doughnut: Poi Fusion Delight”
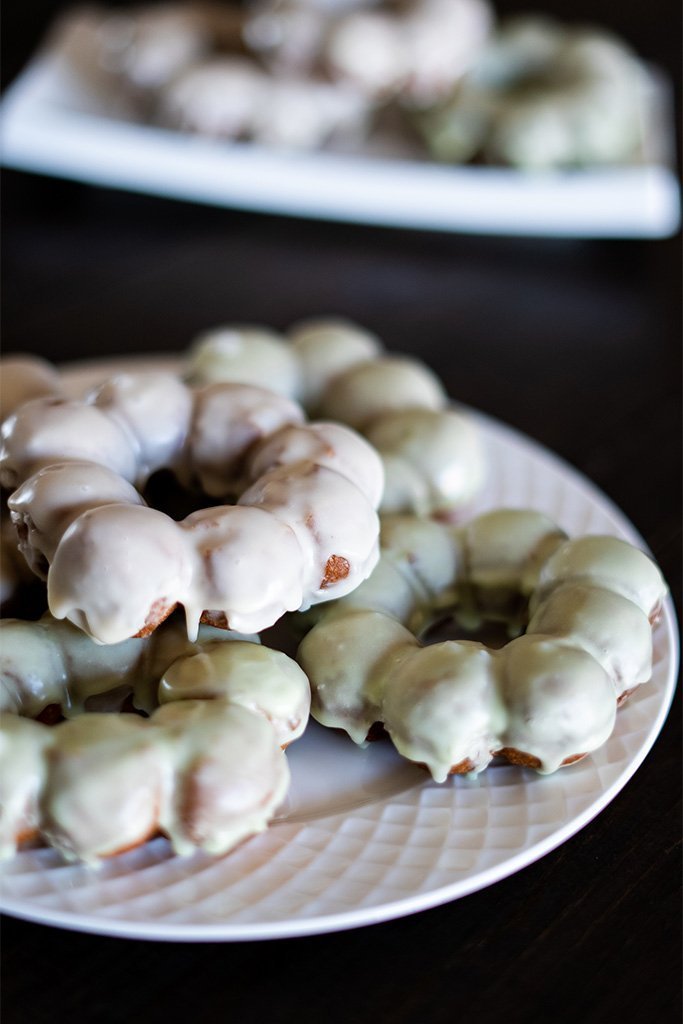
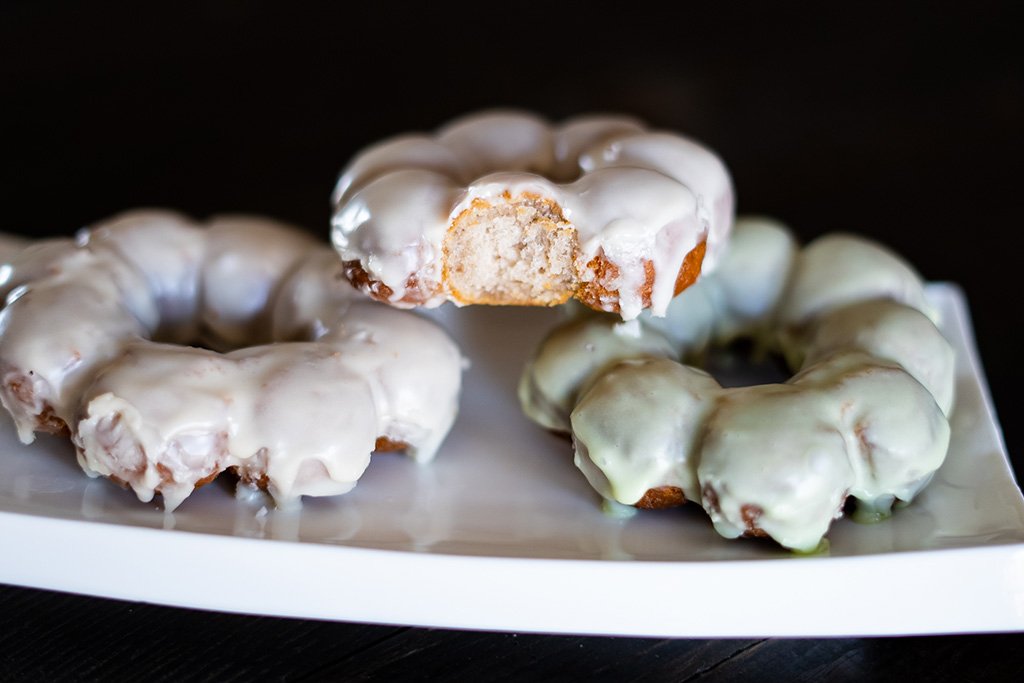
Have you ever heard of poi mochi doughnuts? These delightful treats are a fusion of two amazing desserts – Hawaiian poi and Japanese mochi – that come together to create a unique and irresistible snack. Inspired by the legendary Liliha Bakery in Honolulu, these doughnuts are not your average doughnuts! They are soft, and airy, and have a slight hint of purple.
Did you know that these were initially inspired by the popular treat in Japan referred to as “Pon De Ring?” Yes, they look like those blue “baby teething rings.” Even I thought of that when I first encountered this cool doughnut!
Anyways, I’ll be showing you how to make these addictive treats in the comfort of your own kitchen. So, get ready to satisfy your sweet tooth and impress your friends and family with this cool and trendy poi mochi doughnut.
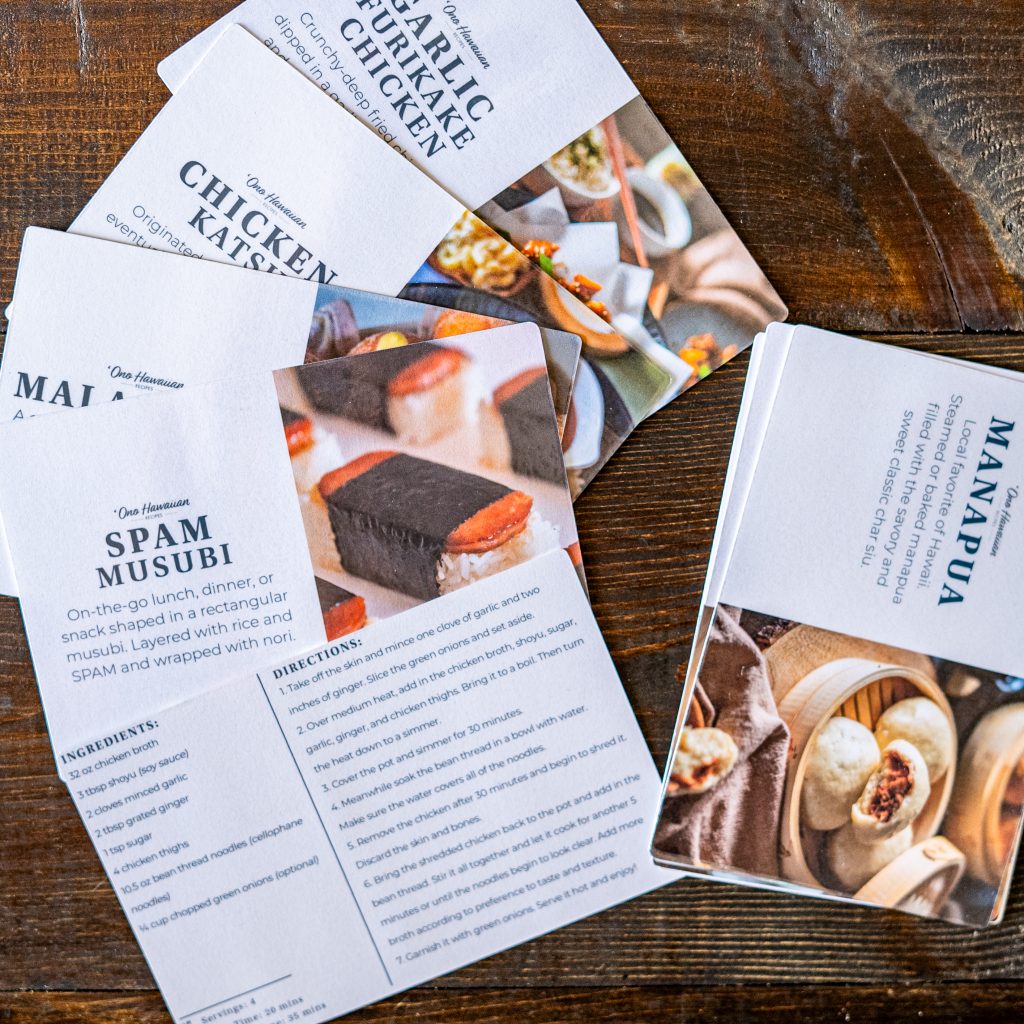
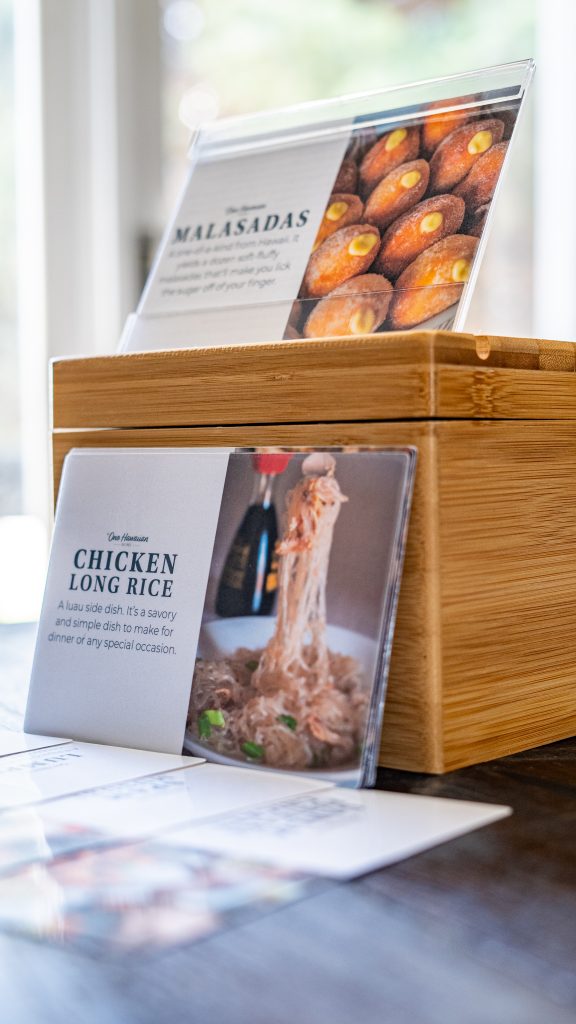
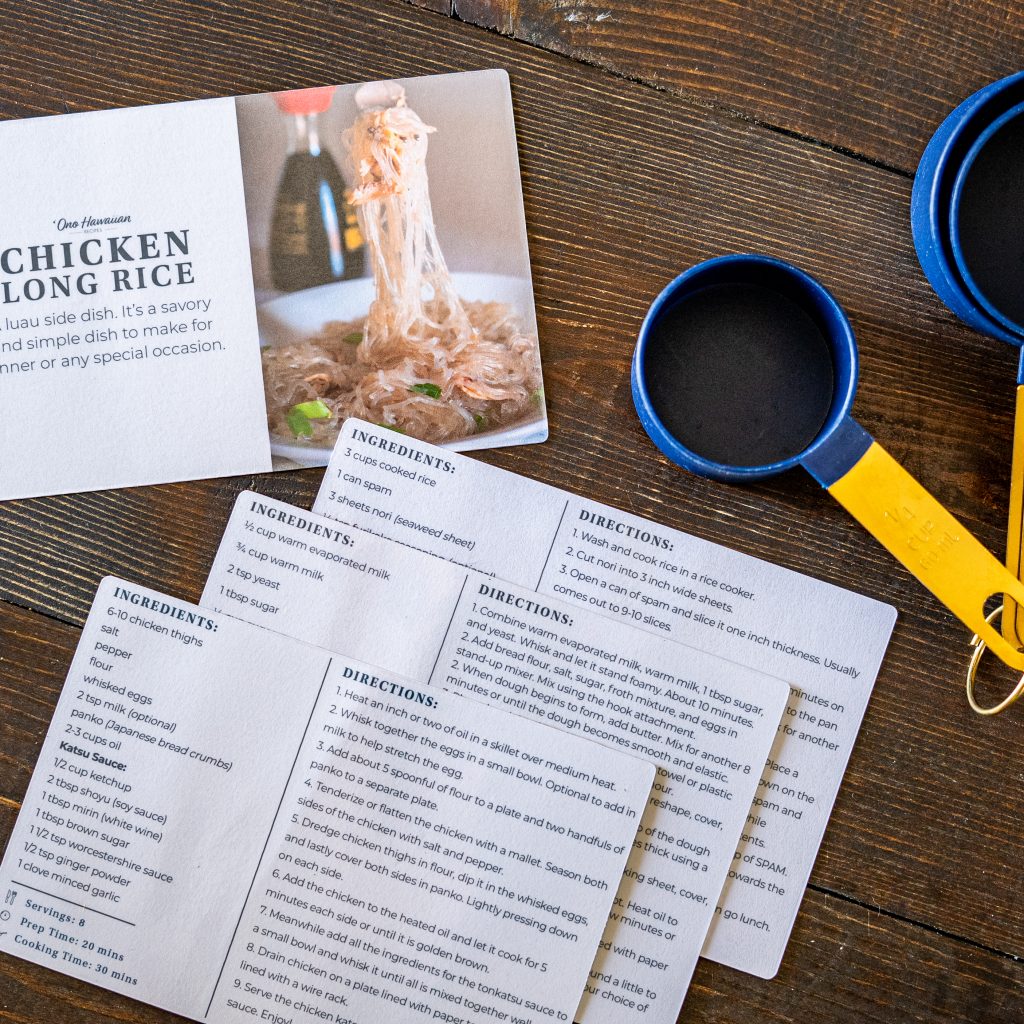
Order a Pack of 10 Recipe Cards
10 printed recipe cards featuring Hawaii’s local recipes. Handmade with Aloha! More details here >>> Recipe Cards
“Gather the Ingredients: What You’ll Need”
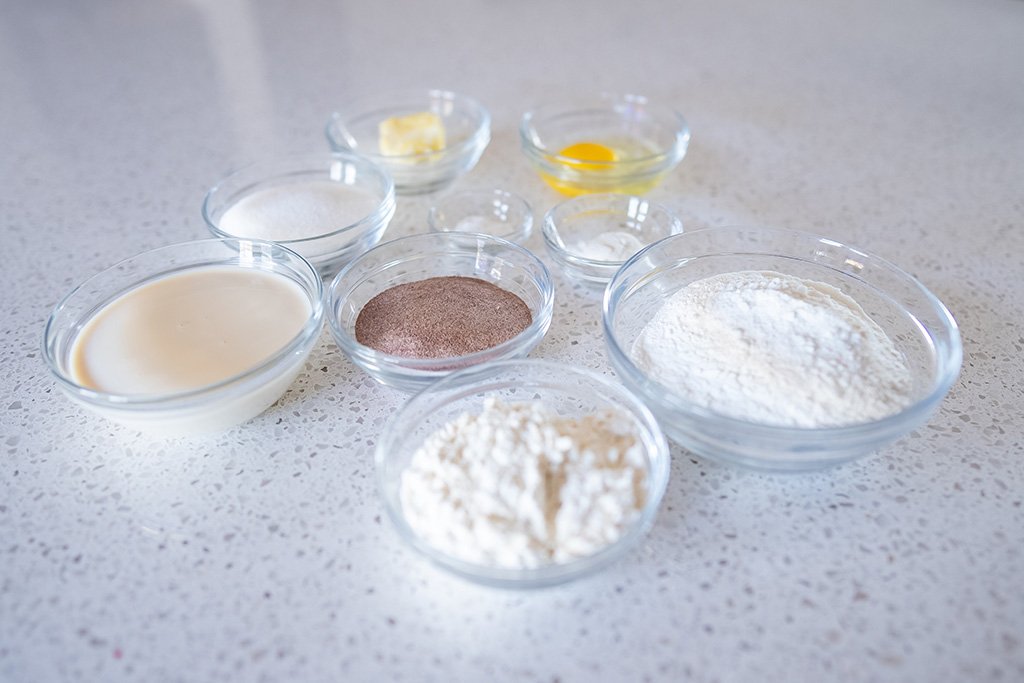
Who knew that a few simple ingredients could create such a unique and delicious treat? Poi Mochi doughnuts are made with just a handful of ingredients to create an irresistible dessert. You’ll need:
- Flour + Cornstarch – for structure and crispiness
- Mochiko – a slight chewiness
- Baking powder – fluffiness
- Poi Powder – the key ingredient
- Sugar – for sweetness
- Egg, milk, and butter – to bind the ingredients
In case you don’t have access to poi powder, you could always order online from Taro Brand. And if you are ever feeling or wanting poi, it’s a great way to eat poi. Just mix the poi powder with water and nuke it in the microwave, and bam! You got poi!
“Step-by-Step: Making Perfect Poi Mochi Doughnuts”
Ahhhright! Let’s get ready to fry up some fluffy and chewy poi mochi doughnuts! It’s a bit of a process, but with some patience and a love for doughnuts, we’ll have a batch ready in no time!
- First, whisk together our dry ingredients – poi powder, flour cornstarch, mochiko, and baking powder.
- In a separate bowl, cream together the sugar, egg, and butter. Then add in the milk and mix.
- Slowly add in the whisked dry ingredients. It’ll create a sticky and slightly purple dough.
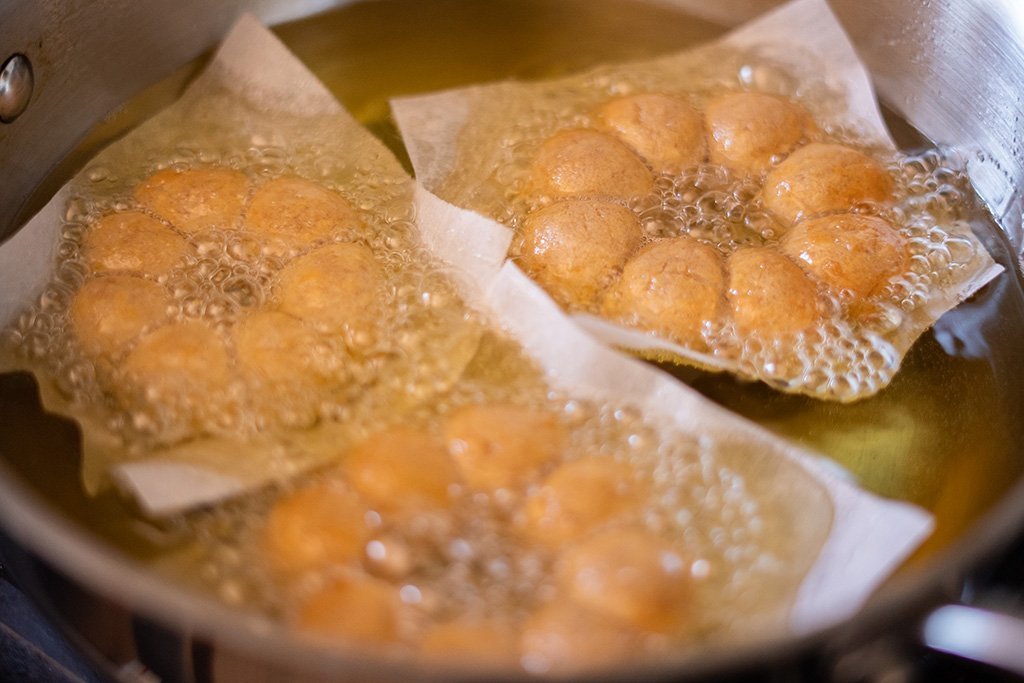
- Start heating up the frying oil to 350-370 degrees Fahrenheit.
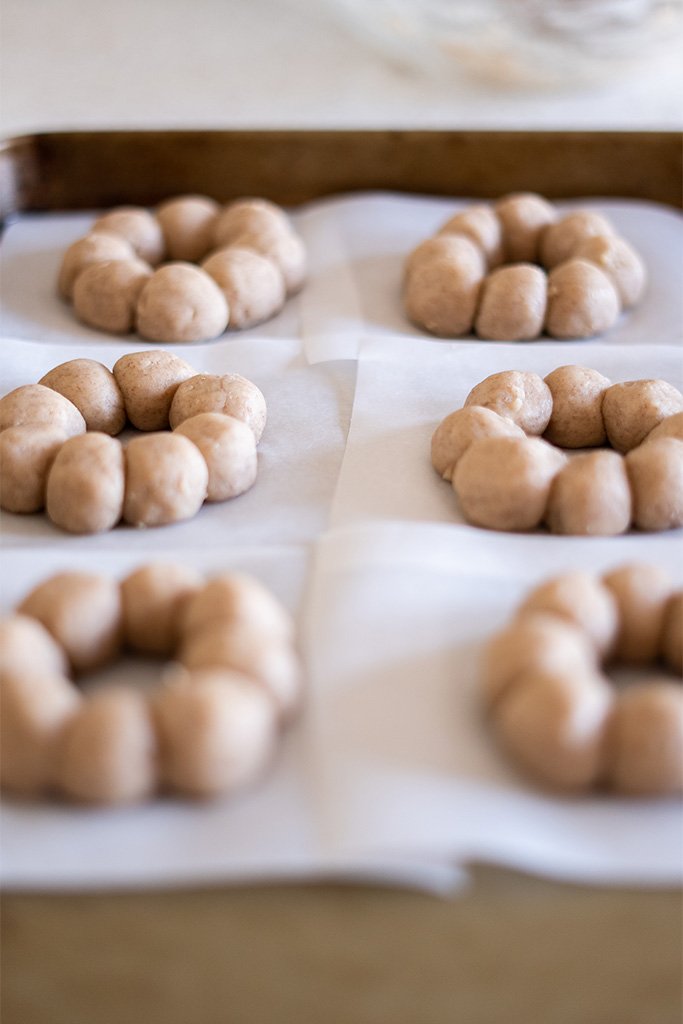
- Roll eight tiny balls and form those balls into a ring on parchment paper. Drop that doughnut into the heated oil and let it fry for about 2 minutes. The doughnut will be able to detach from the parchment paper, so take out the paper and discard it.
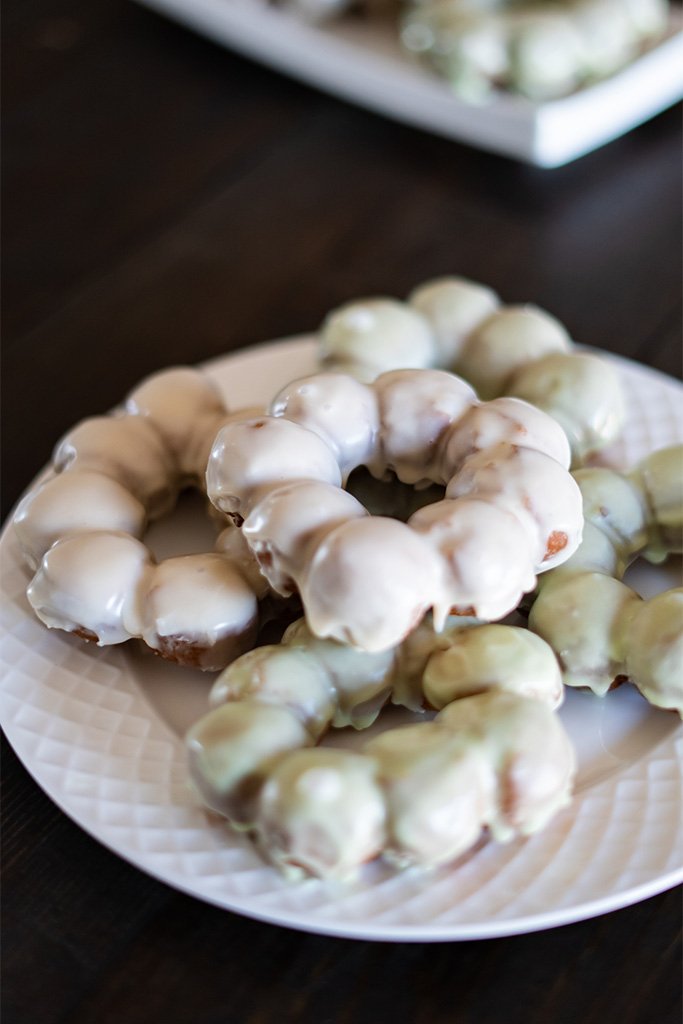
- Continue to fry until one side is golden brown before flipping it. Set all finished doughnuts on a plate lined with paper towels. Let it cool before dipping it in the glaze.
- Enjoy this onolicious Poi Mochi Doughnut!
Making the fillings will depend on what you want. I’d suggest using my Haupia pudding recipe if you’d like a sweet coconut filling. If you are looking for more of a custard filling, I will have a recipe for it in the future! I’ll update this post when I make another post on it.
“Getting Creative: Flavor and Topping Ideas”
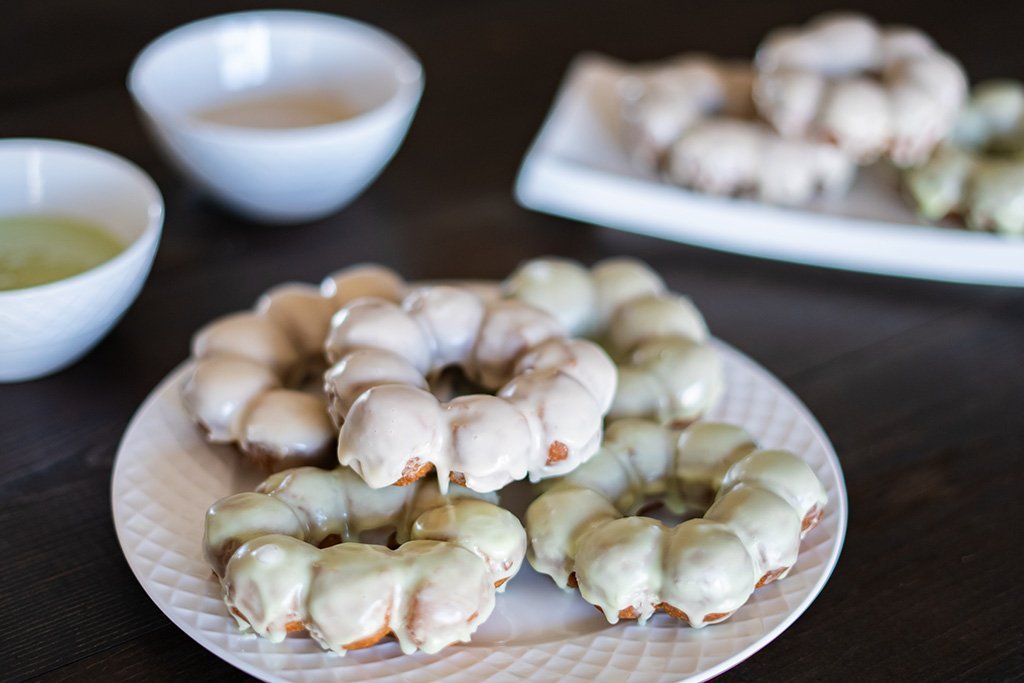
Don’t be afraid to get creative with your poi mochi doughnuts! These delicious treats are the perfect canvas for all sorts of fun and flavorful toppings. Whether you prefer classic powdered sugar or want to experiment with something more adventurous like matcha or cocoa powder, the possibilities are endless.
If you want to be adventurous, try out fillings with your favorite jam, Nutella, or even cream cheese. Sky’s the limit with poi mochi doughnuts. Let your imagination run wild and see what onolicious creations you can come up with!
“Serving and Storing: Best Practices”
Serving and storing poi mochi doughnuts can be a tricky business, but don’t worry, I’ve got you covered! The best way to enjoy these chewy treats is straight out of the fryer, hands down. But if you have extra and would like to have some in the near future, pop it in the microwave for a few seconds to revive that fresh-from-the-fryer texture.
And hey, if you are feeling adventurous, why not try serving your poi mochi doughnuts with a dollop of ice cream, a drizzle of caramel sauce, or even some fresh fruit?! Oh man I’m drooling as I’m writing this blog!
Give this onolicious recipe a try! If you did give it a try, please leave a comment with a star rating below. Mahalo!
Video Tutorial
Check out this video to help you gain more insight into how to make Malasadas. Also, subscribe to my YouTube to help support me to continue making more of this content. Mahalo!
Glazed Poi Mochi Donuts

Ingredients
- 1/4 cup poi powder
- 1/2 cup flour
- 1 tbsp cornstarch
- 1 cup mochiko
- 1 3/4 tsp baking powder
- 1/2 cup sugar
- 1 egg
- 2/3 cup whole milk
- 2 tbsp softened butter
Vanilla Glaze
- 1 1/2 cups powdered sugar
- 2-3 tbsp milk
- 1 1/2 tsp vanilla extract
Instructions
- In a bowl, whisk together poi powder, flour, cornstarch, mochiko, and baking powder.
- In another bowl, cream sugar, egg, and butter together. Add milk and mix until combined.
- Slowly add the dry ingredients into the wet mixture until a sticky and slightly purple dough forms.
- Heat frying oil to 350-370 degrees Fahrenheit.
- Roll eight small balls and form them into a ring on a square cut parchment paper.
- Drop the doughnut into the heated oil and fry for about 2 minutes. Once the doughnut detaches from the parchment paper, remove and discard the paper.
- Fry until one side is golden brown, then flip the doughnut and continue frying until both sides are golden brown.
- Remove from the oil and place on a plate lined with paper towels to cool.
- Dip the cooled doughnut in the glaze and serve.
- Enjoy these onolicious Poi Mochi Doughnuts!
this does sound so ono! I’m gluten-free and egg free, pretty sure this will work with GF flour, but hoping that a “flax-egg” will do the trick for the egg. It’s worth a try in my book.