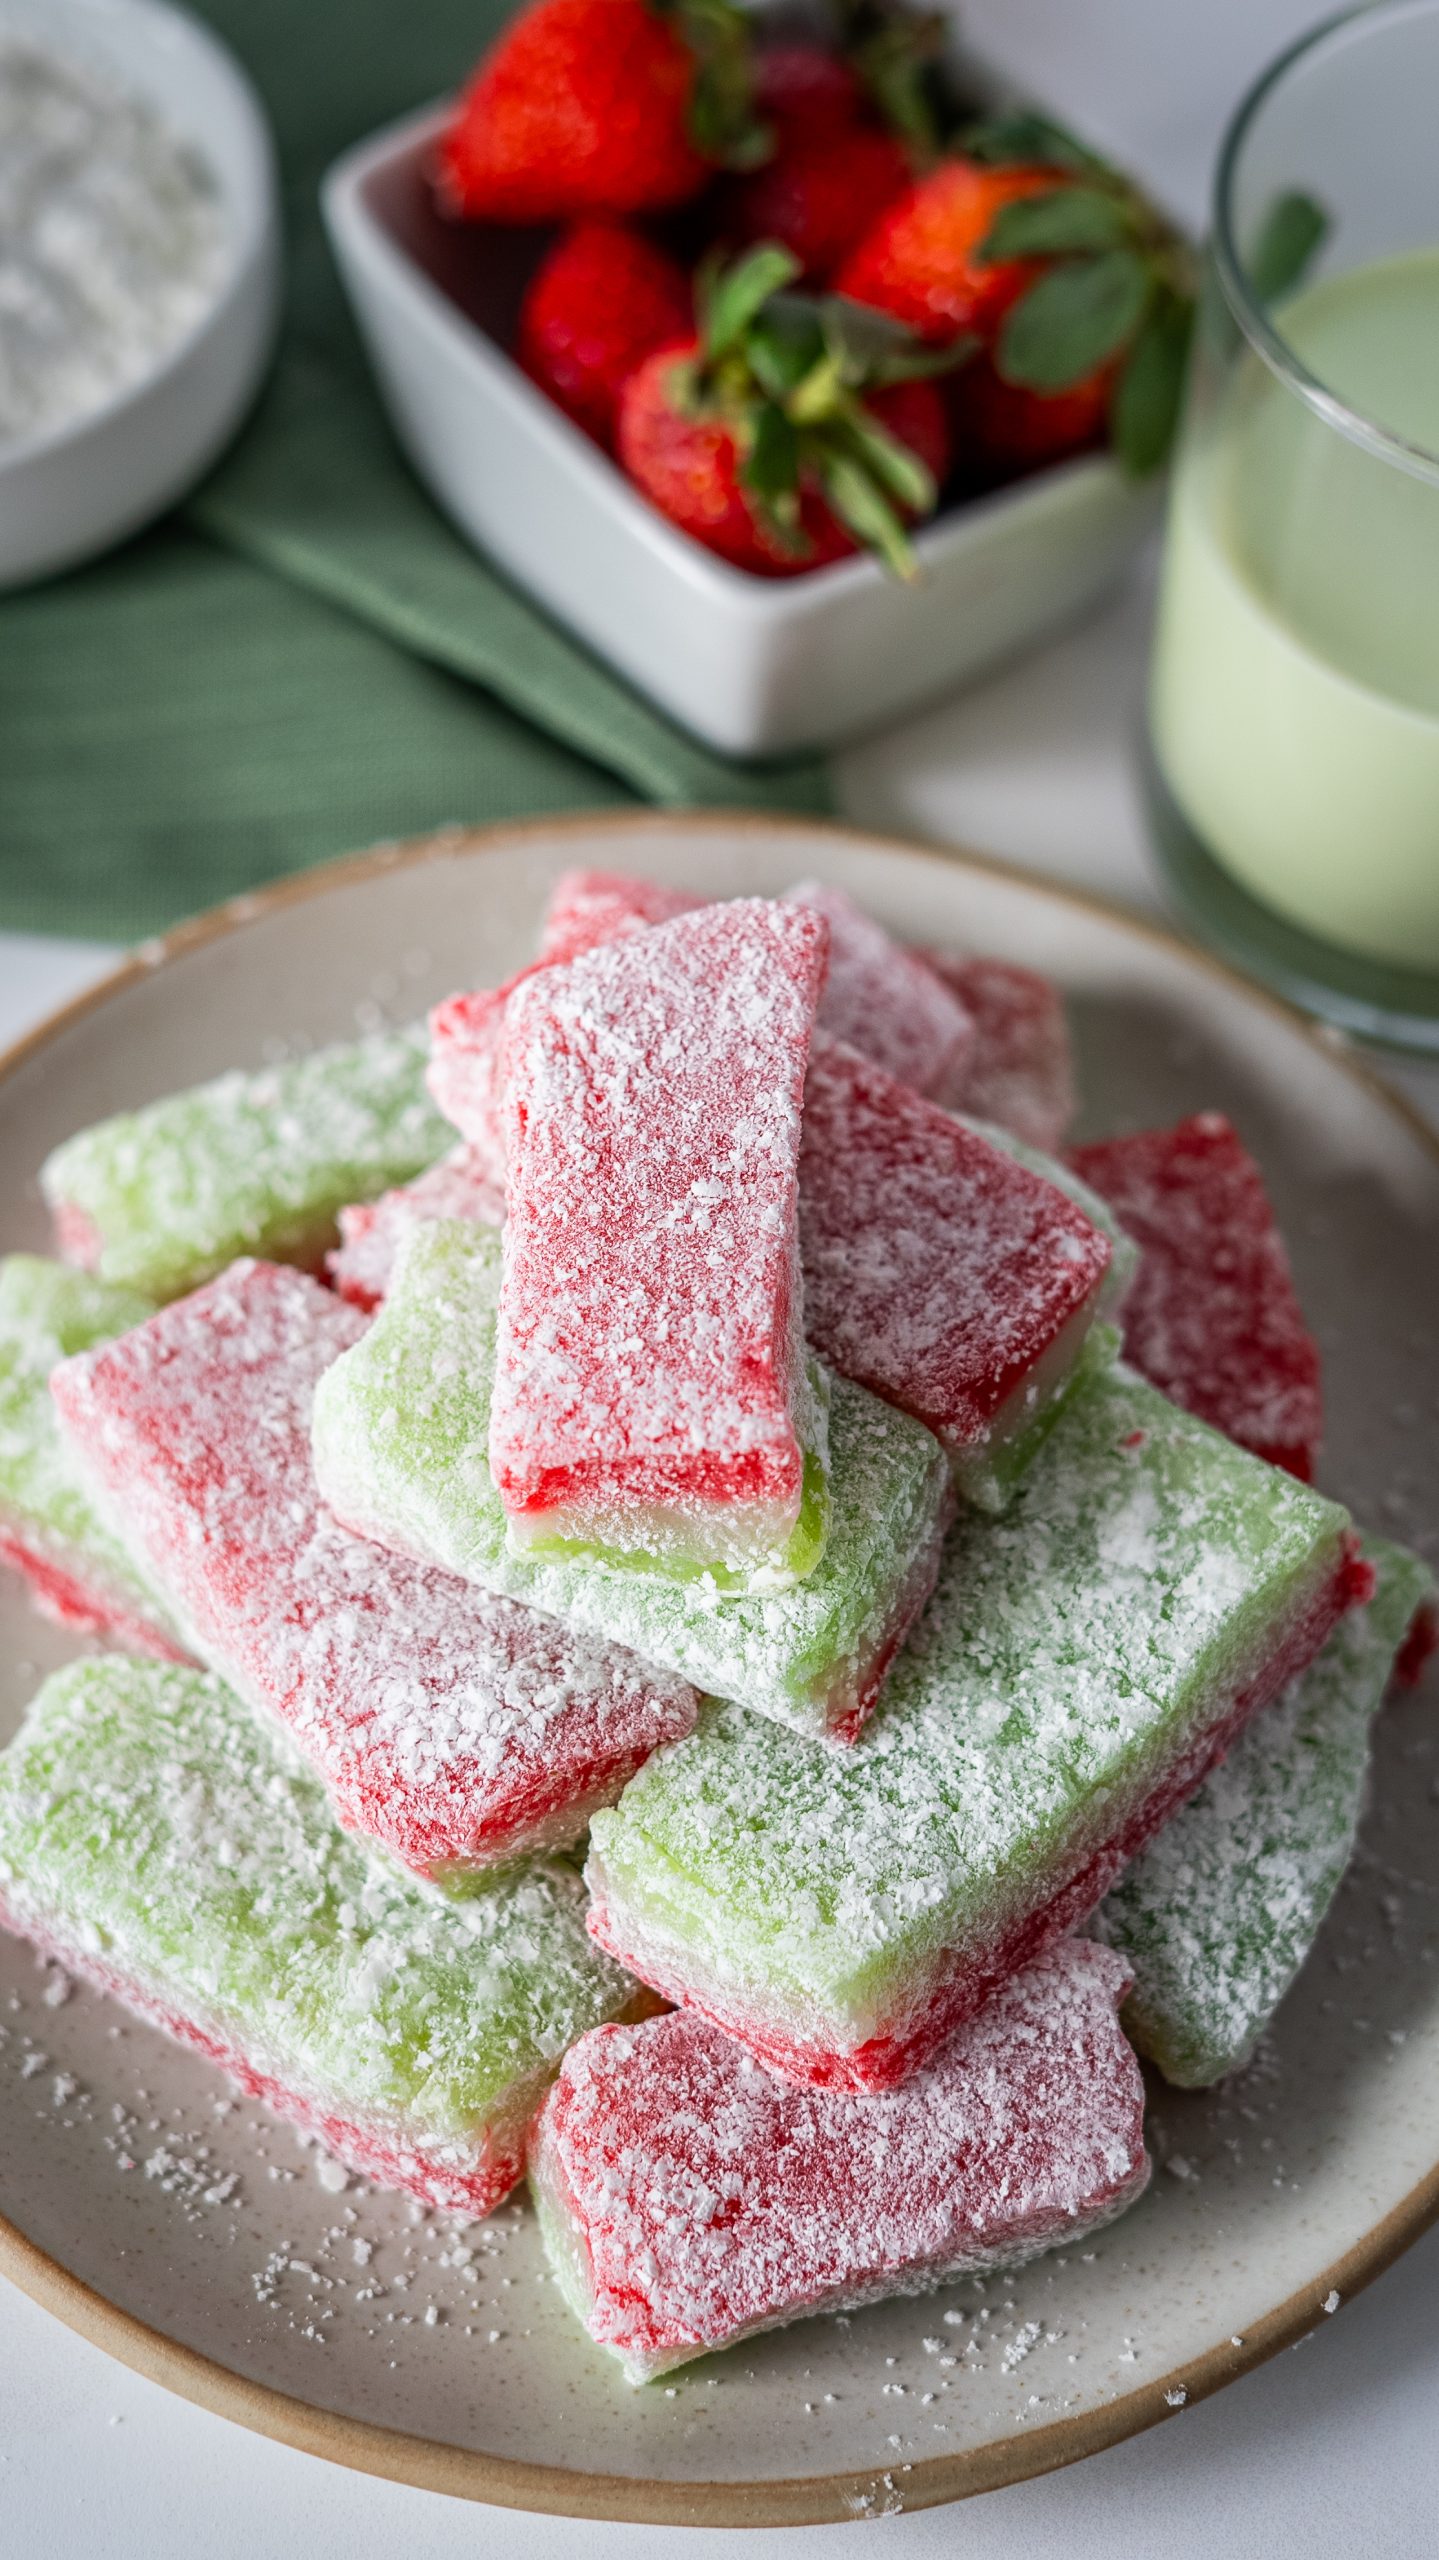
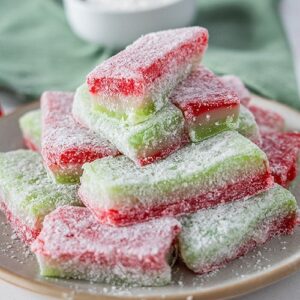
Local Japanese-Hawaiian Chi Chi Dango
A sweet, soft, and chewy Japanese treat with cute colors that range from pink, white, and green.

I remember my elementary school days chasing each other playing tag, Chinese jump rope, dodgeball, etc. Good ol’ days! I also remember a particular day when the school would also celebrate Girl’s Day (Hina-Matsuri) on March 3rd. They would display vast collections of beautiful Japanese dolls on a red tiered display… oh and eating sweet pretty colored confectionary, chi chi dango!
Chi chi dango vs. mochi
It is a very common question to ask, “What is the difference between dango and mochi?” It is quite simple. Dango uses mochiko flour while mochi is made from rice that has been grounded, steamed, and pounded into a sticky ball. Mochi or dango are very similar in taste. They are sticky and tasteless in their base form. In this chi chi dango recipe, sugar, coconut milk, and coloring have been added to give it a pastel-like color.
Tips
When you are ready to pour the batter into the pan, generously grease it! Spray on grease works wonders but if you are warry of the product, good ‘ol shortening can work too! Dab some of the shortening onto a paper towel and rub it onto the pan.
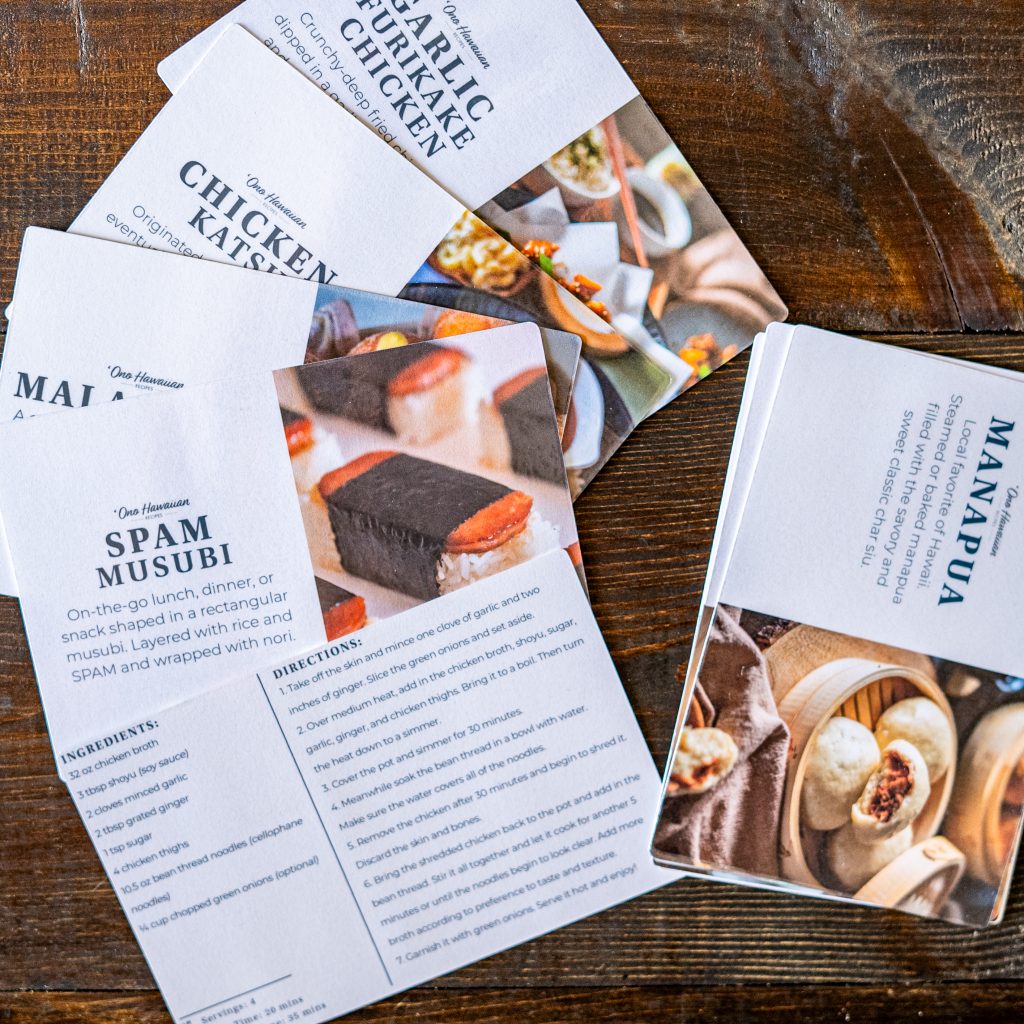
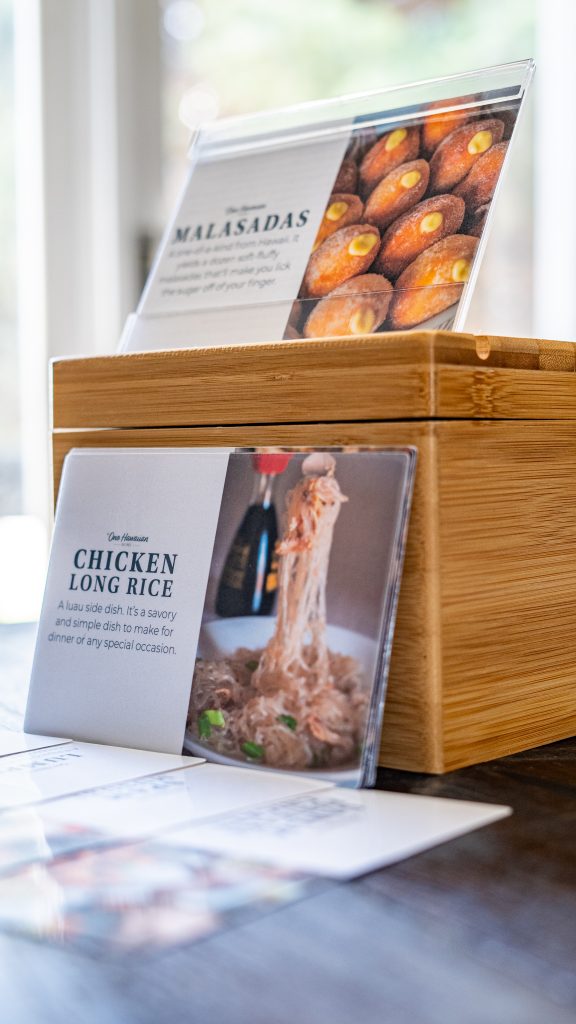
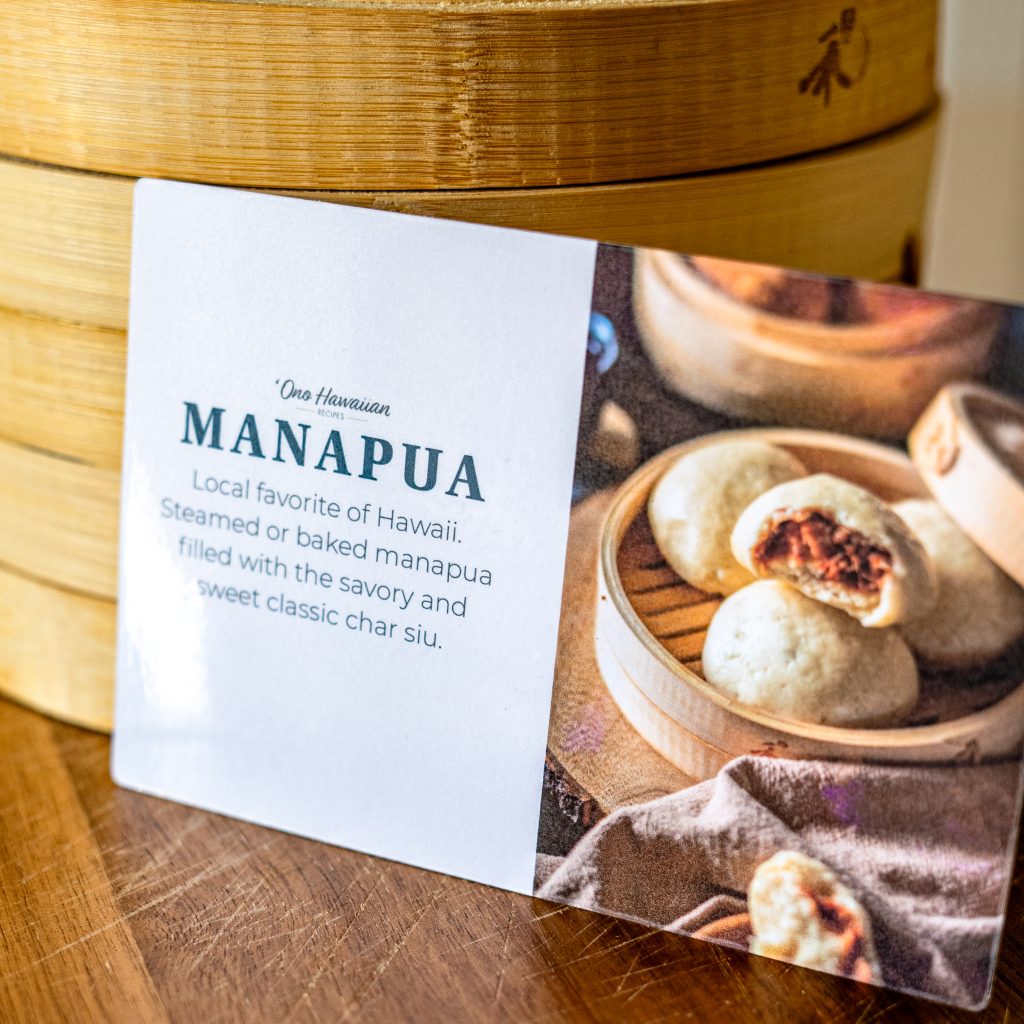
Order a Pack of 10 Recipe Cards
10 printed recipe cards featuring Hawaii’s local recipes. Handmade with Aloha! More details here >>> Recipe Cards
Before popping the chi chi dango into the oven, cover the pan with foil to prevent it from cracking on the top. I forgot to do that in my video…so learn from my mistakes hehe!
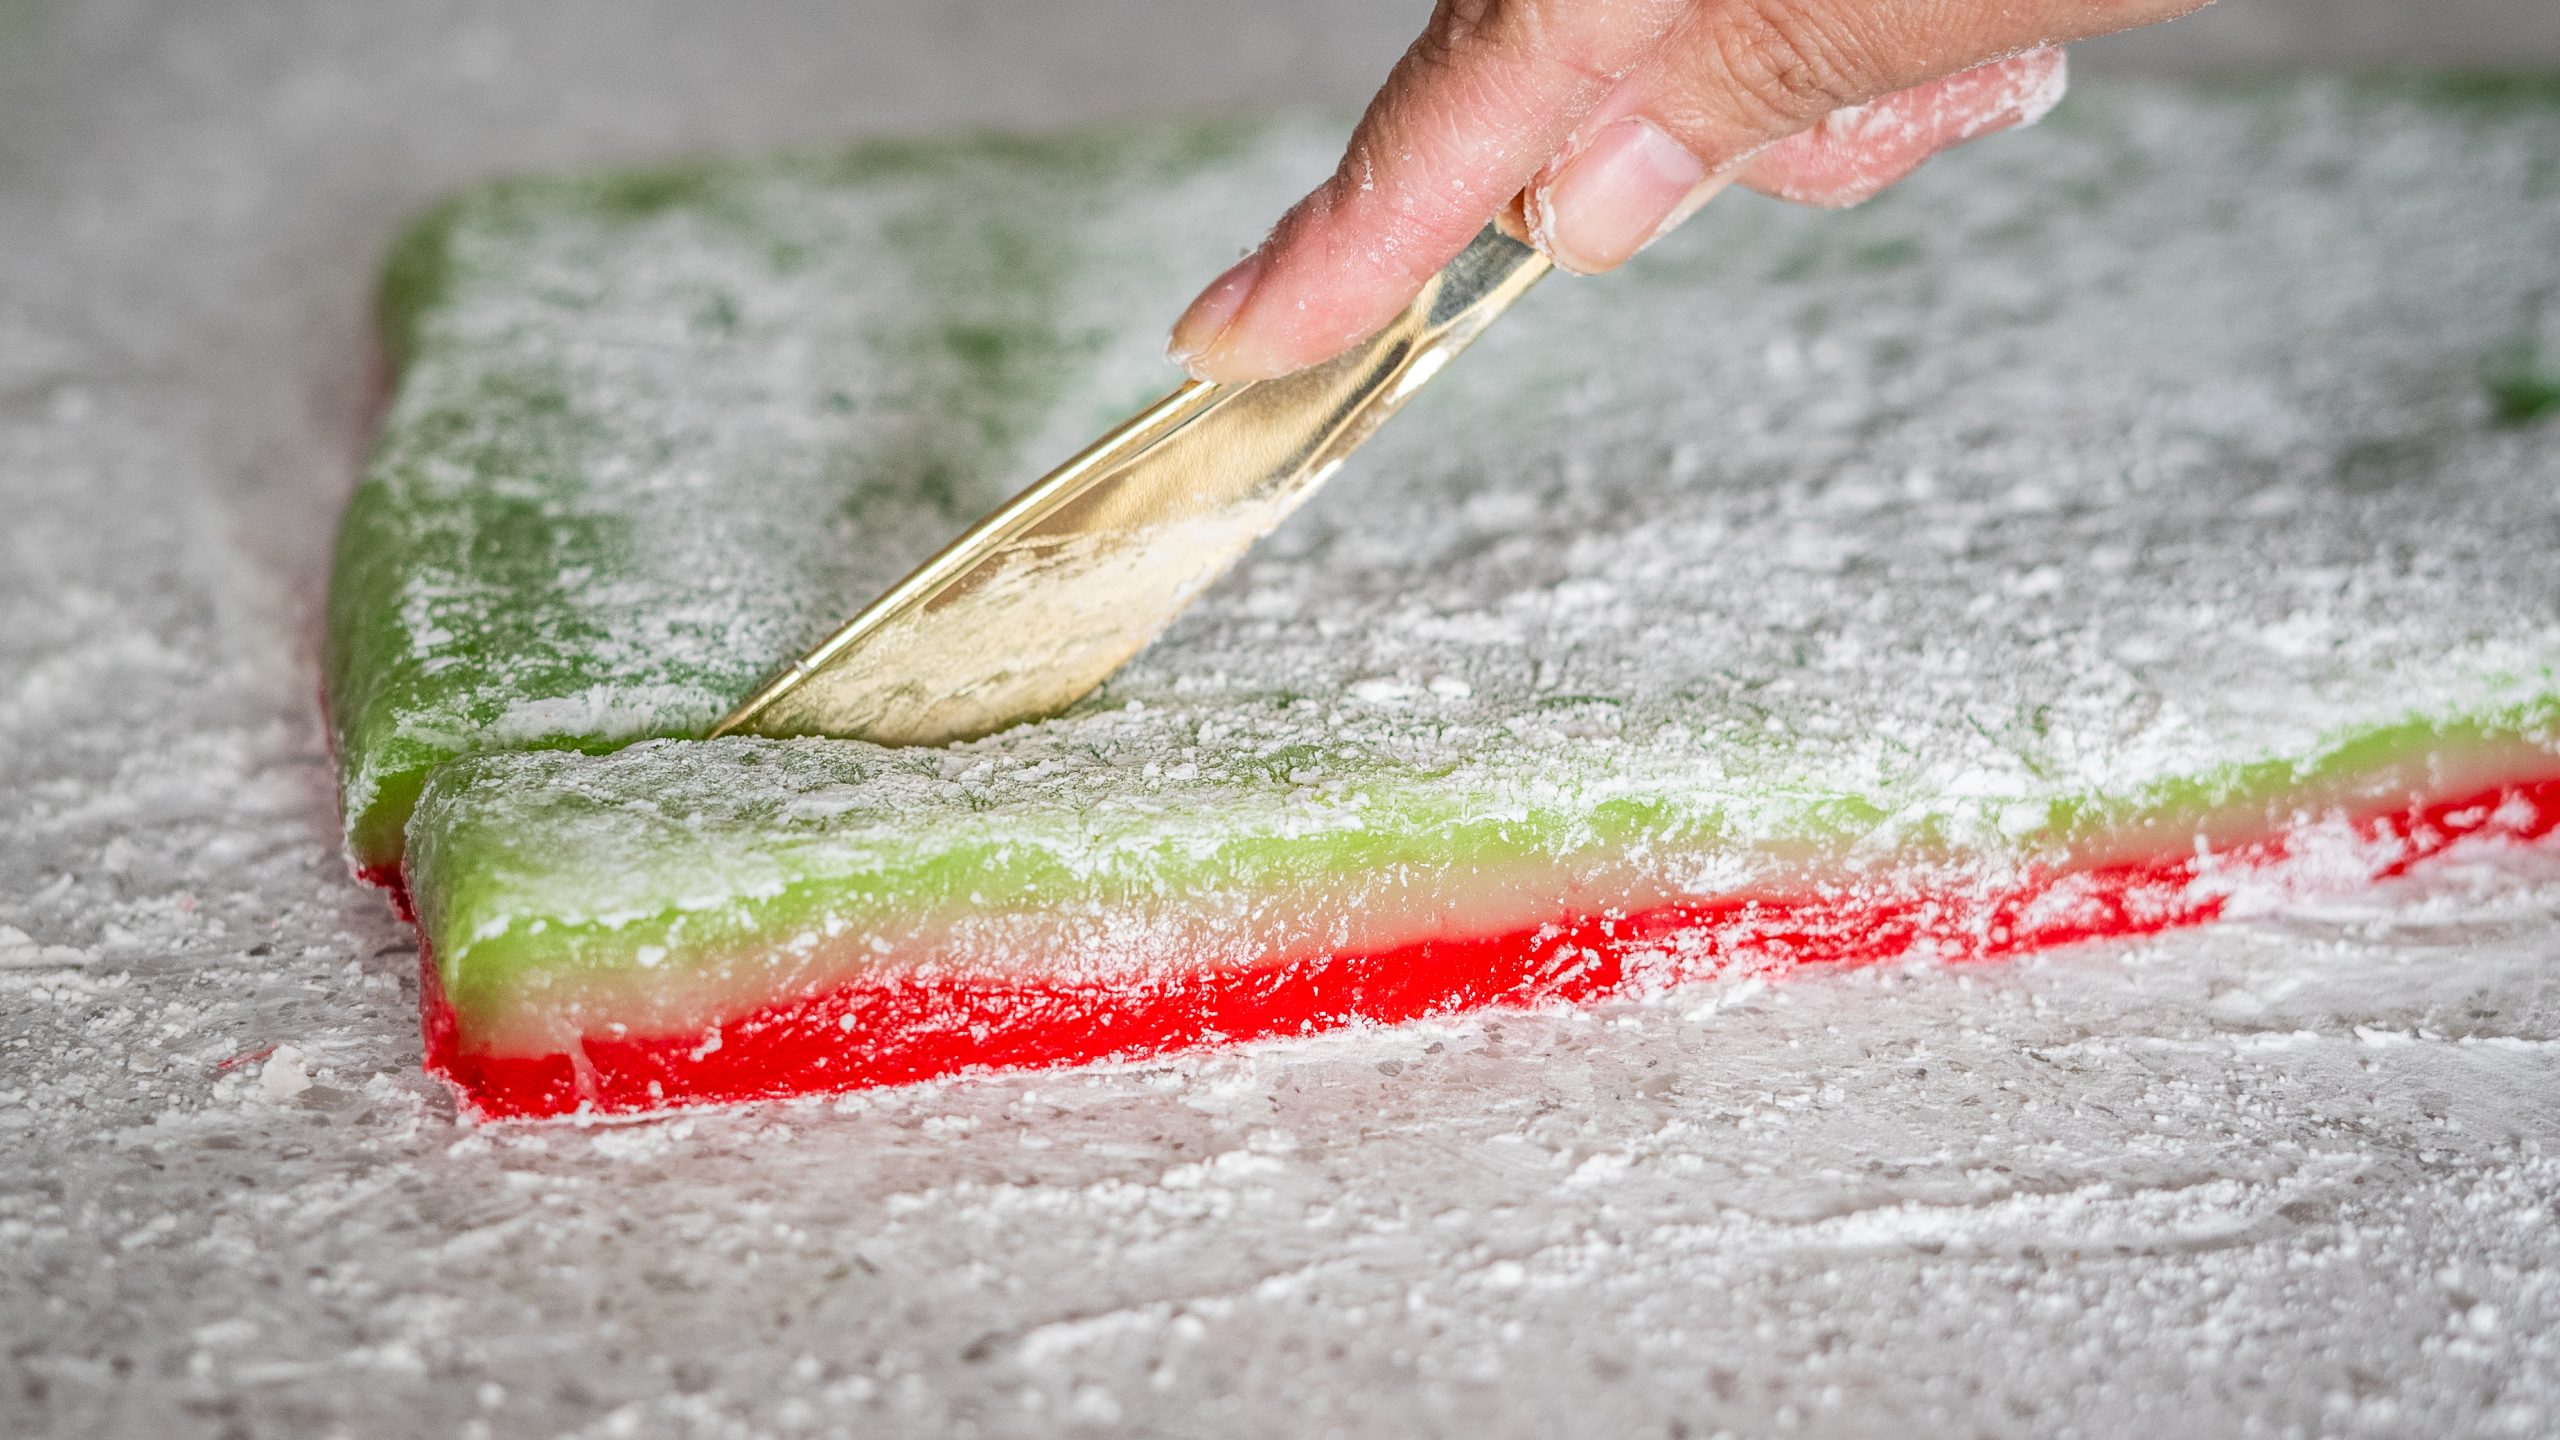
Chi chi dango is very sticky. That is why you see the outer parts of the treat dusted in potato starch (if you can’t find potato starch, you can substitute it for corn starch). Cutting into the dango is another story! Don’t use your regular metal knife. Use a plastic knife! For some reason the, the dango will not stick to the plastic knife as much as your regular kitchen knife.
Chi Chi Dango
Ingredients
- 3 1/2 cups mochiko flour
- 2 1/2 cups sugar
- 1 tsp baking powder
- 2 cups water
- 1 can (15 oz) coconut milk
- 1 tsp vanilla extract
- red and green food coloring (optional)
- potato starch can substitute for cornstarch
Instructions
- Mix together the dry ingredients by sifting it in a large bowl; mochiko flour, sugar, and baking powder. Set aside.
- Combine water and coconut milk. If the coconut milk is lumpy, try to break it down by thoroughly mixing it. Then add in the vanilla extract.
- Combine the wet ingredients and dry ingredients in a large bowl. Mix it well.
- Preheat the oven to 350°F.
Tri colored mochi:
- Evenly divide the batter into three separate bowls. In one bowl, add a few drops of red food coloring. If it isn't bright enough, add a couple more drops. Repeat the same process for the green color. Leave one bowl untouched to have a white layer.
- Generously grease a 9×13 inch pan. Pour in the green batter and make sure it has evenly spread in the pan. Cover the pan with foil and bake for 15 minutes.
- Remove from oven and add in the white layer. Cover with foil and bake again for 15 minutes.
- Remove from oven and add in the pink layer. Cover with foil and bake again for 30 minutes.
One colored mochi:
- Add a few drops of food coloring of your choice. Generously grease a 9×13 inch pan. Pour in the batter and make sure it has evenly spread in the pan. Cover the pan with foil and bake for 1 hour.
- Remove from oven and let it cool down completely. Sprinkle potato starch on working surface. Remove the mochi from pan and using a plastic knife, cut the mochi into bite sized pieces. Roll pieces in potato starch and dust off any excess. Serve and enjoy!
I just made a pan of soft, delicately pink chichi mochi for Girls Day. It looks beautiful, the texture is perfect and the taste is awesome. Best of all, it is quick and so easy to make.
How does the cook time change if I cut the recipe in half?
I just made this. It’s really good but how do I store this and how long does it last? Thanks for the recipe.
You can wrap each individual cut piece in a small square wax paper with a single twist from opposite corners and store in NON air tight container for at least 5 days (I haven’t tried longer). Do NOT use an air tight container as it will spoil quickly.
Any issues with using corn starch instead of potato starch?