Hawaiian Shave Ice – How to Make Homemade Pineapple Syrup
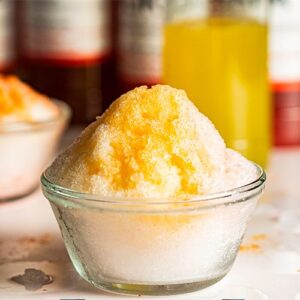
Light and fluffy shave ice that melts in the mouth. Each scoop is a taste of all of the island flavors!
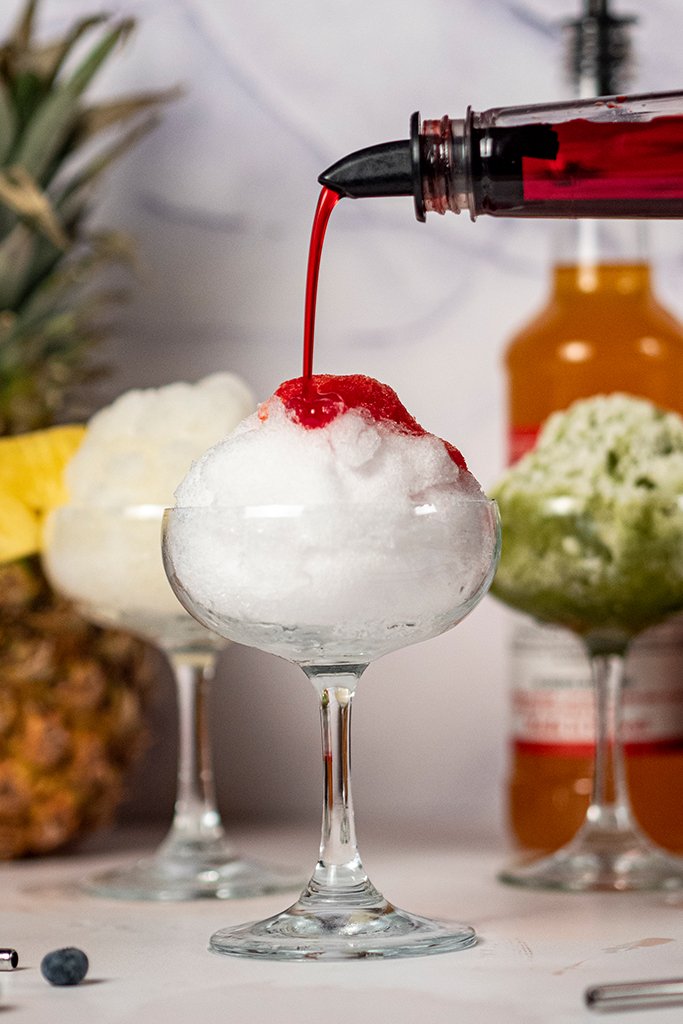
What is Hawaiian Shave Ice?
Hawaiian shave ice has been serving Hawaii’s people since the era of plantation. Shave ice was introduced by the Japanese, which is called kakigori, shaved ice. After a long days of work, the workers would stop by the shave ice shop and cool down with a fluffy shave ice, drizzled with sweet syrup.
Though many call the treat “shaved ice” locals have pidgeonized it to be called “shave ice.” Shortening it makes it flow easier huh? I just always grew up calling it that. Anyways, what makes Hawaiian Shave Ice so unique is its fluffiness and variety of syrup flavors like lychee, lilikoi, matcha, etc.
Now let’s talk about the difference between shave ice and snow cone. Shave ice has a fluffier texture like snow and melts in your mouth. It is literally shaved off of a block of ice. Snow cone was invented on the mainland America. Its ice is more crushed which has a crunchier texture and is more like a slush.
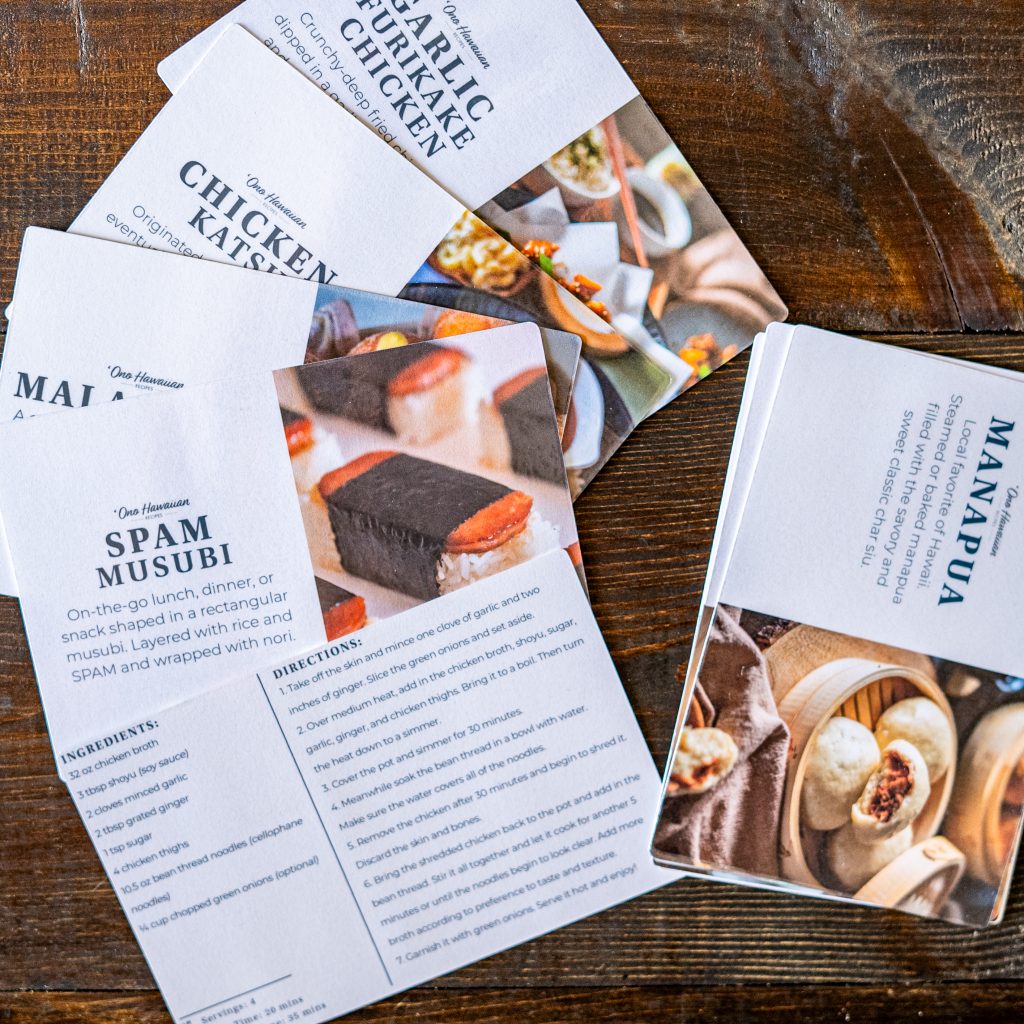
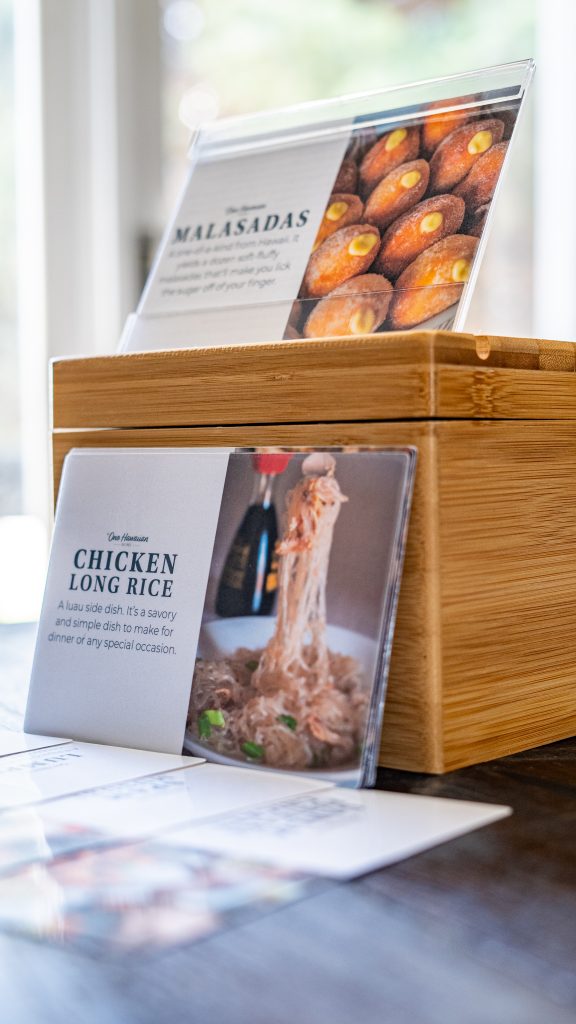
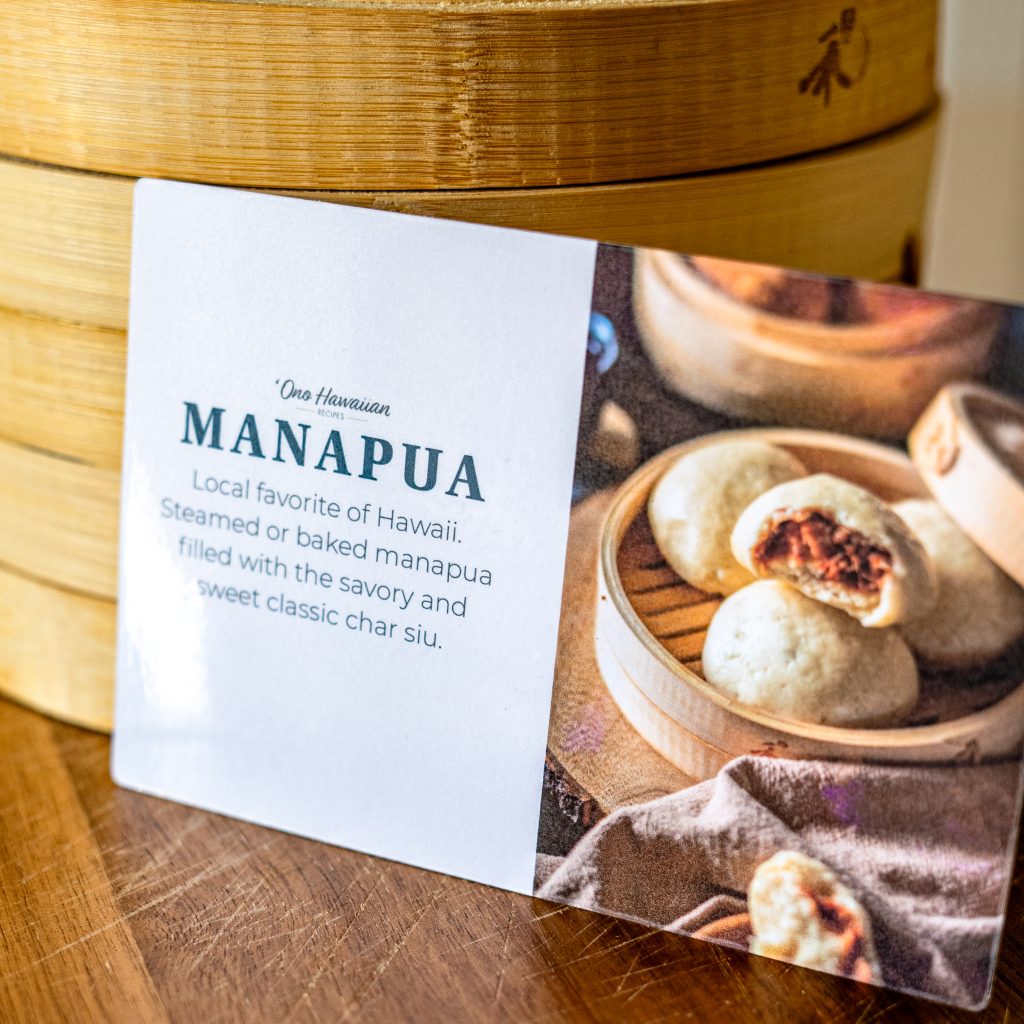
Order a Pack of 10 Recipe Cards
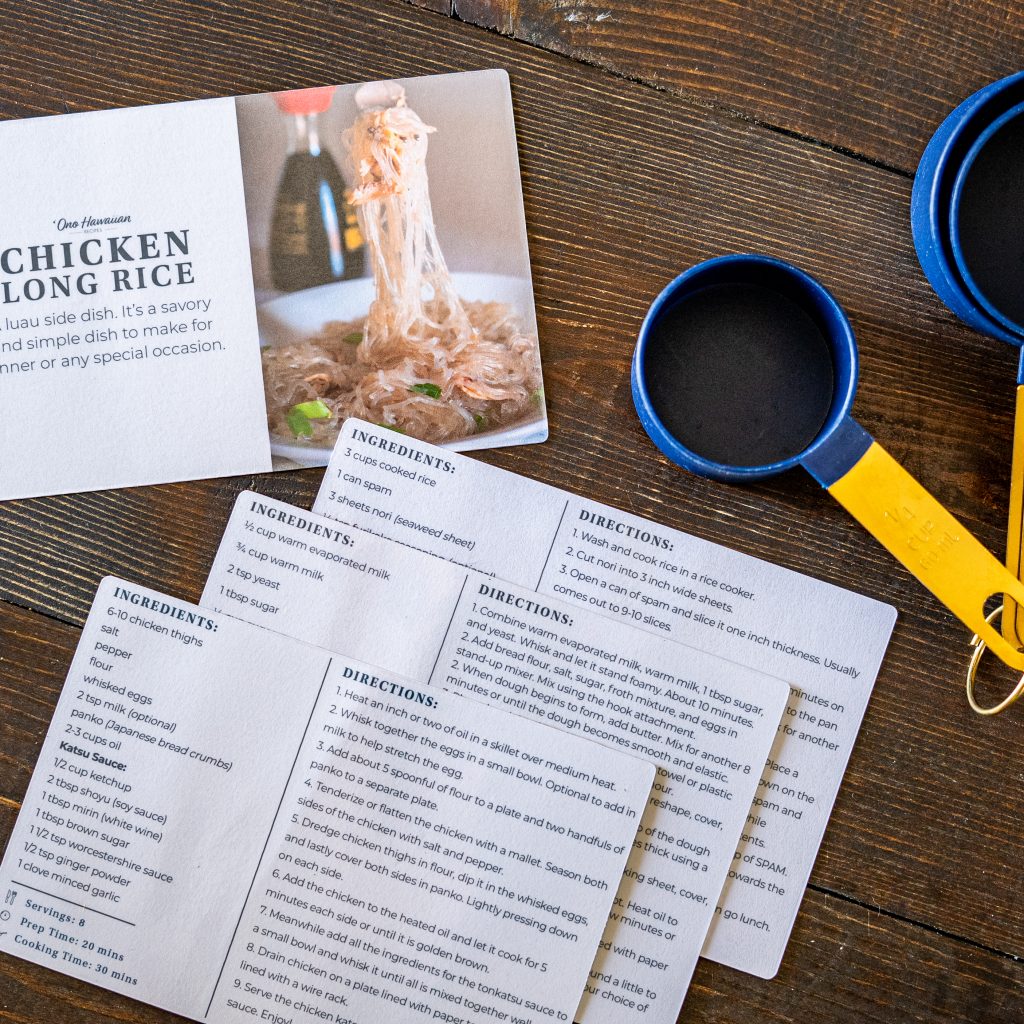
10 printed recipe cards featuring Hawaii’s local recipes. Handmade with Aloha! More details here >>> Recipe Cards
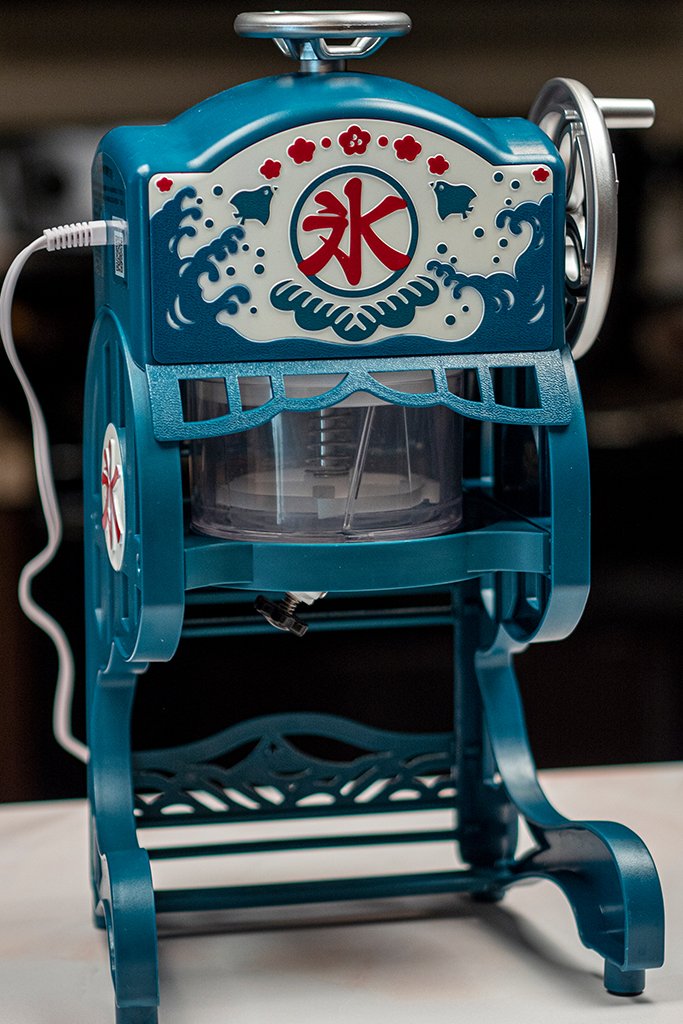
Shave ice at home
If you’ve been to a shop that sold shave ice, you’ll know that they use a huge machine to produce shave ice! They use a big machine mainly because they need it to generate business and keep up with the demand. Well, if you would like to have your own for your family and are simply nowhere near a place that sell Hawaiian shave ice, then I recommend this cute little shave ice machine called Doshisha Shaved Ice. I enjoy using this machine since it gives you the opportunity to customize the blade to cut finer or thicker pieces from the ice.
The instructions do come in Japanese but you just need to know that twisting the knob counterclockwise at the bottom will make the ice thinner and clockwise will make the ice thicker. Add the block of ice (it comes with two block molds). Pull and hold the right lever to start the machine. Make sure to have a bowl underneath to catch all of that wonderful shaved ice!
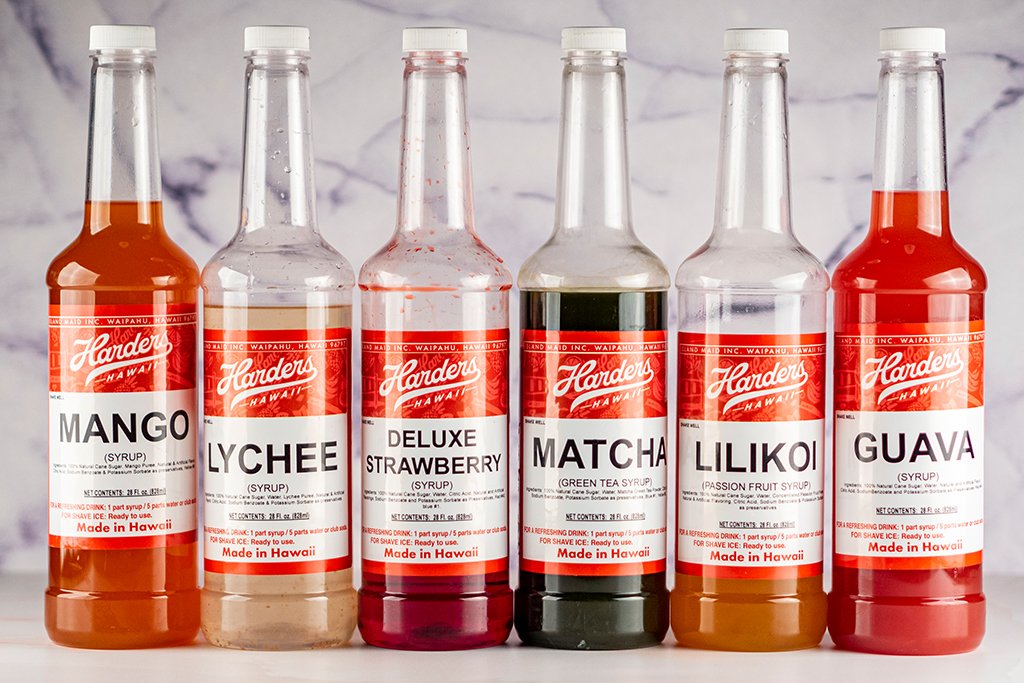
Best type of syrup…
In my quest to find the best type of syrup, I was approached by Harders Hawaii. They offered to me to try out their syrups and boy did I love it! I’ve tried out a lot of different syrups and none of them can compare to the quality that Harders Hawaii gives. Not only did I love the syrups but I love to support local businesses in Hawaii!
They were so patient and respectful as I was testing out the syrups as I made content for this. Anyways, I knew that the syrups were of high quality because they used actual fruits to extract the flavor. You can tell by the pulp or particles floating around in the bottle (lychee is the most noticeable). So don’t forget to shake the bottle before use!
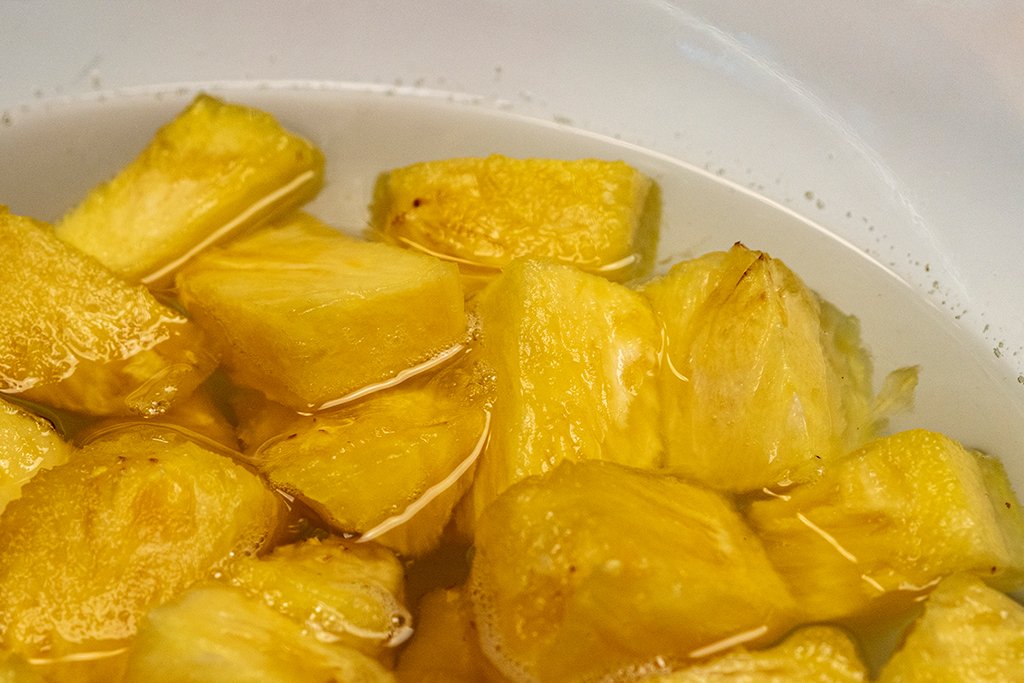
Homemade syrup
If you have extra fruit on hand, you can definitely make syrup. It’s not that hard to make with just a few simple steps. Cut the fruit up and cover it in sugar. Let it sit overnight while it works its magic, which is actually a process called macerating. Macerating is the process where the sugar pulls out the juices from the fruit.
After it has finished macerating, squeeze out any remaining juices from the fruit by using a cheese cloth or juicer. Add all of that juice to a pot and heat it for 5-10 minutes. Strain it and bottle the syrup and boom there’s your syrup! Store it in the fridge and it can last for up to two months.
Video Tutorial
Check out this video to help you gain more insight on how to make Meat Jun. Also, subscribe to my YouTube to help support me so I can continue making more of these contents. Mahalo!
Homemade Pineapple Syrup
Ingredients
- 1 fresh pineapple
- 1 cup sugar
Instructions
- Cut off the head and bottom of the pineapple. Peel away the skin and remove the eyes. Remove the core of the pineapple and cut the rest of the pineapple into large chunks.
- Combine the chunks of pineapple and sugar into a large bowl. Mix until all of the pineapple has been covered in the sugar. Cover and let it macerate for 24 hours.
- After it has macerated, extract more of the pineapple juice by squeezing out more through a juicer or cheese cloth. Add the extra juice back to the liquids and stir to dissolve any leftover sugar.
- Heat the mixture in a pot over medium heat. Let it simmer for 5-10 minutes. Constantly stir and let it reduce slightly.
- Strain the liquids through a sieve and bottle it. Let it cool down first before storing it in a fridge. it will last for about 2 months. Drizzle onto any dessert like shave ice and enjoy!

hi. Does this macerate in or outside the refrigerator
I love the recipe! I’ve been looking for one forever! Thx