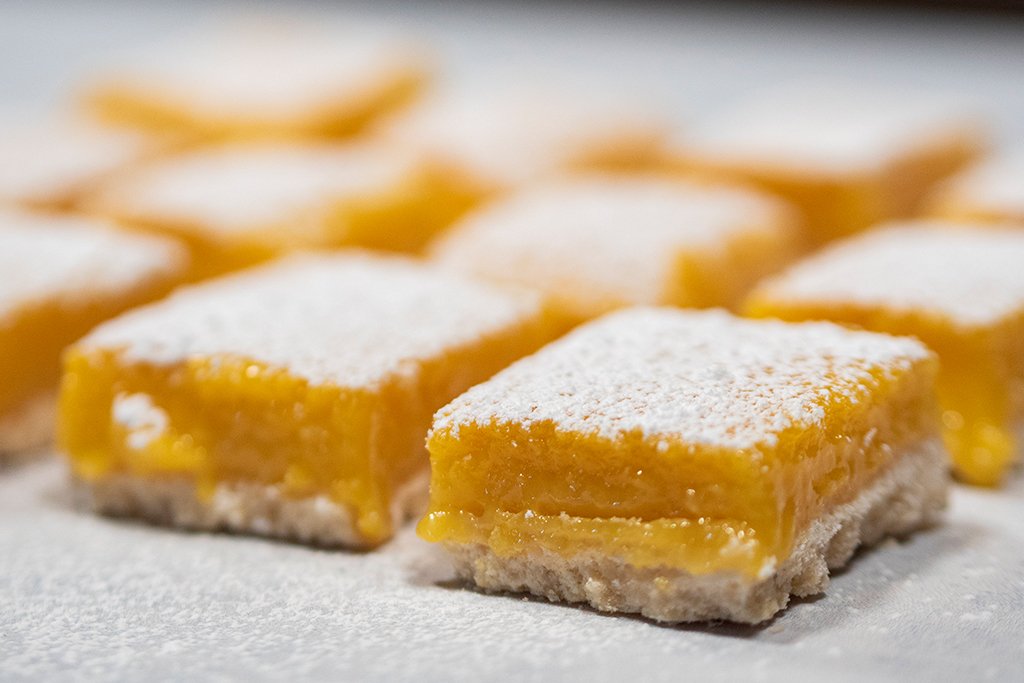
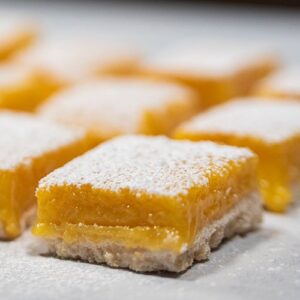
Sweet Liliko’i (Passion Fruit) Bars
A simple sweet and tangy dessert. A must try!
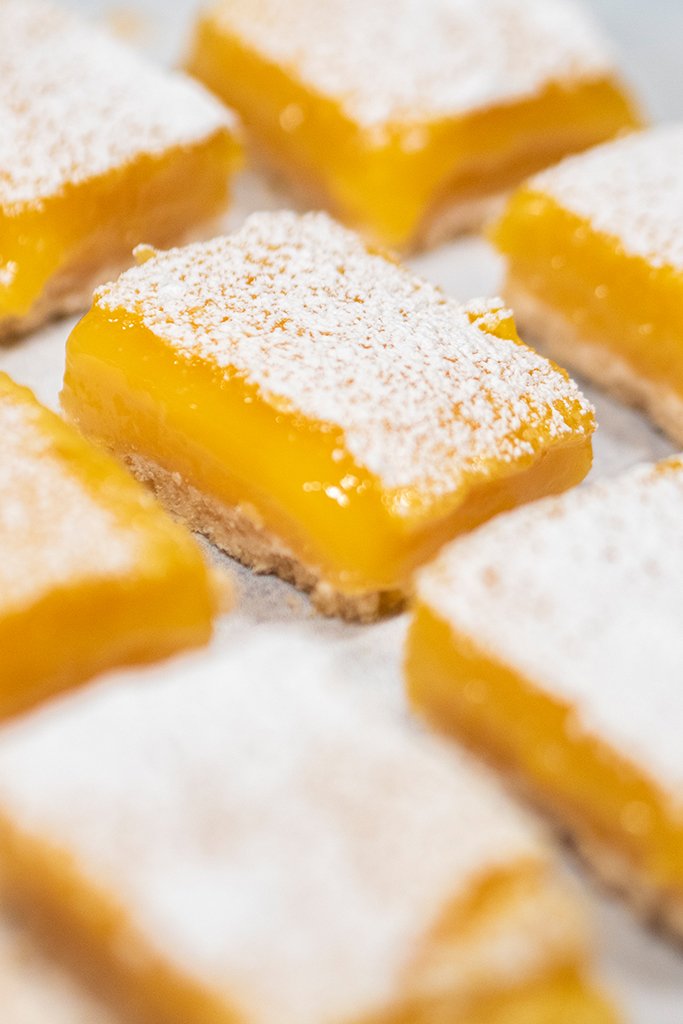
Lilikoi (passion fruit) bars are a very simple and easy dessert to make! The lilikoi’s sweet and tangy taste really brings out it’s flavors in this lovely treat. Along with the sweet custard is a crisp shortbread crust making these bars even more divine.
Lilikoi – Passion Fruit
Lilikoi are mostly found in tropical environments. They thrive so well that sometimes they grow like weeds, uncontrollable and fast. The lilikoi that are usually found in Hawaii is the yellow type. When cut inside, it yields a lot of black seeds. The fruit has a strong sweet and tangy scent that I find delightful.
To extract the juice or pulp of the fruit, I found that it is easier to separate the seeds by throwing it into the blender. It won’t grind up the seeds, but it will separate it from the pulp. Strain the seeds and there you have, the lilikoi pulp! To make it into a nice refreshing juice, simply dilute it a little with water and add in some sugar to taste.
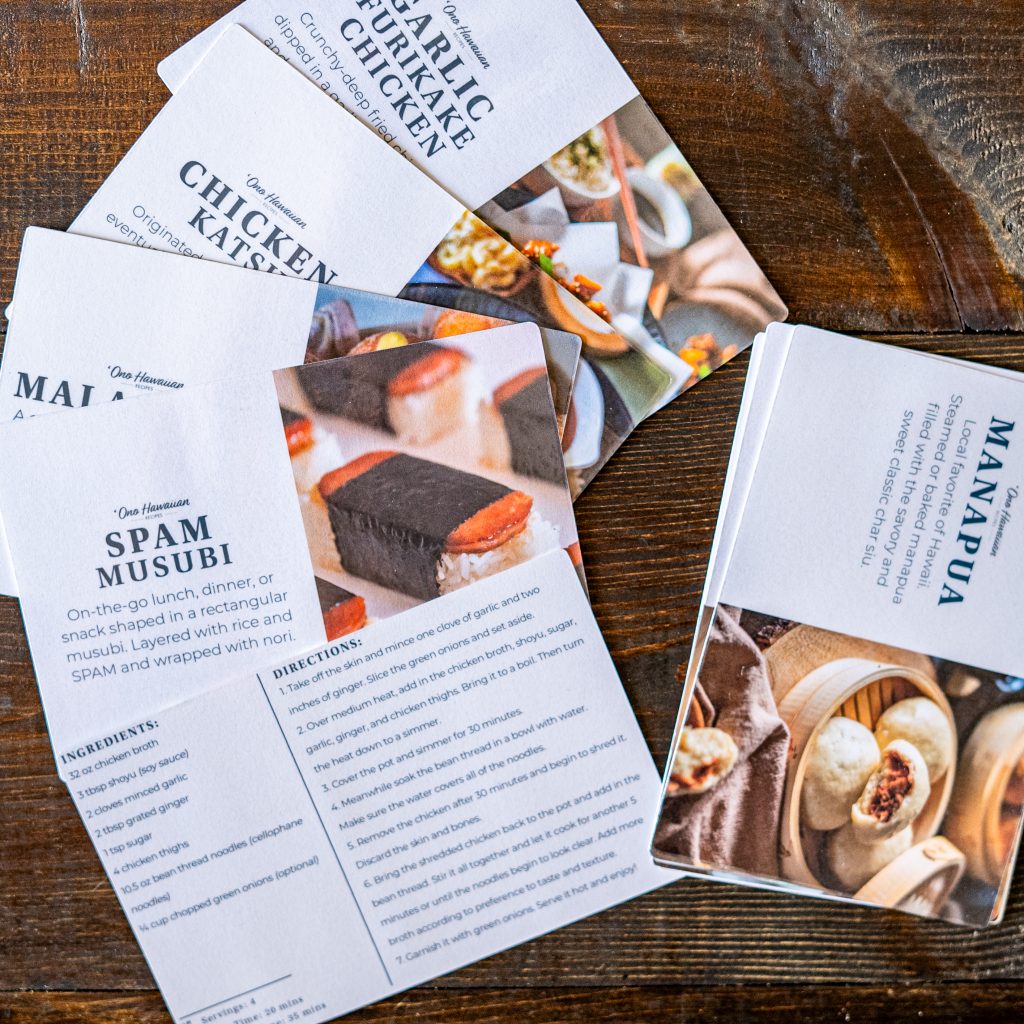
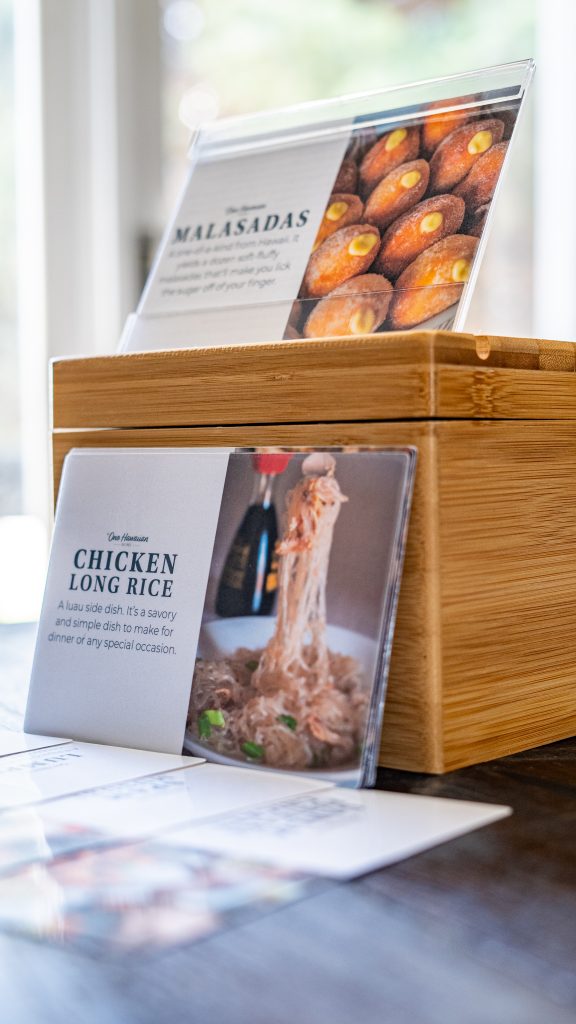
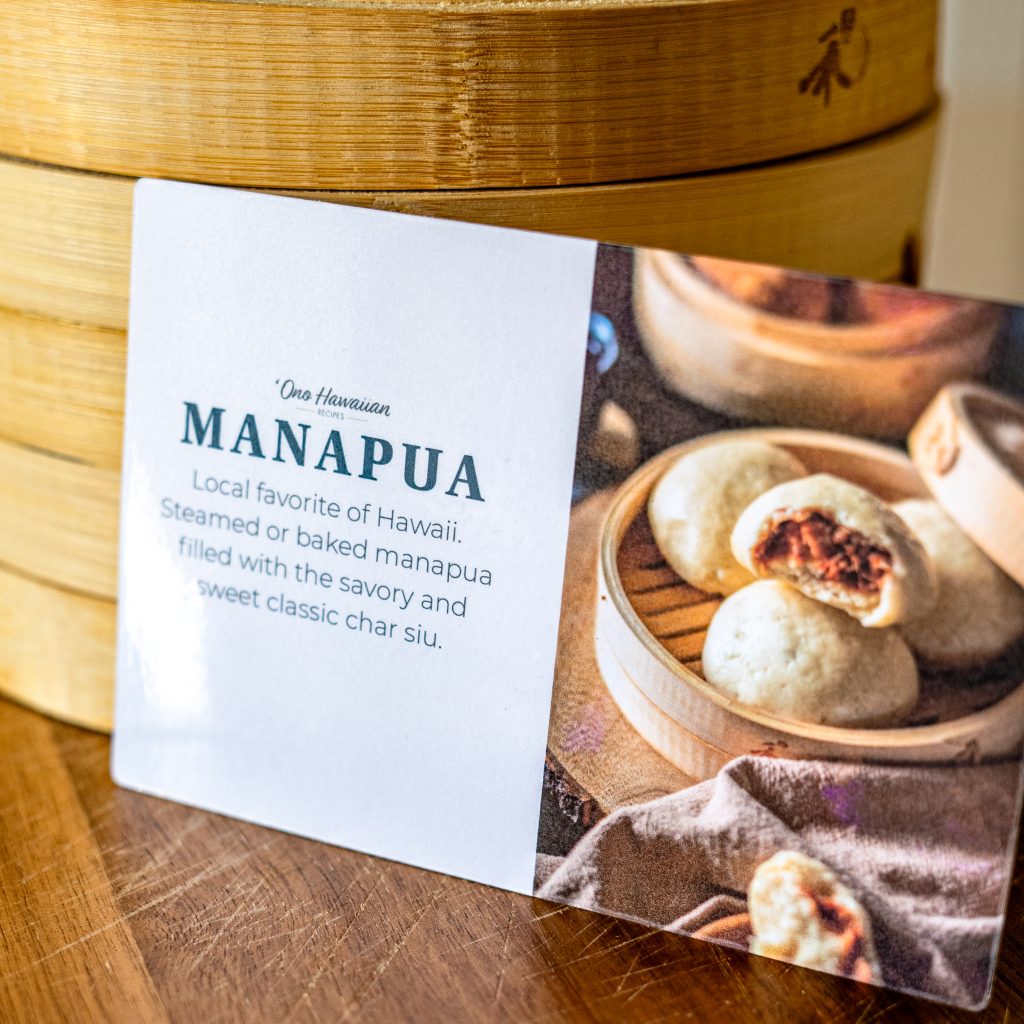
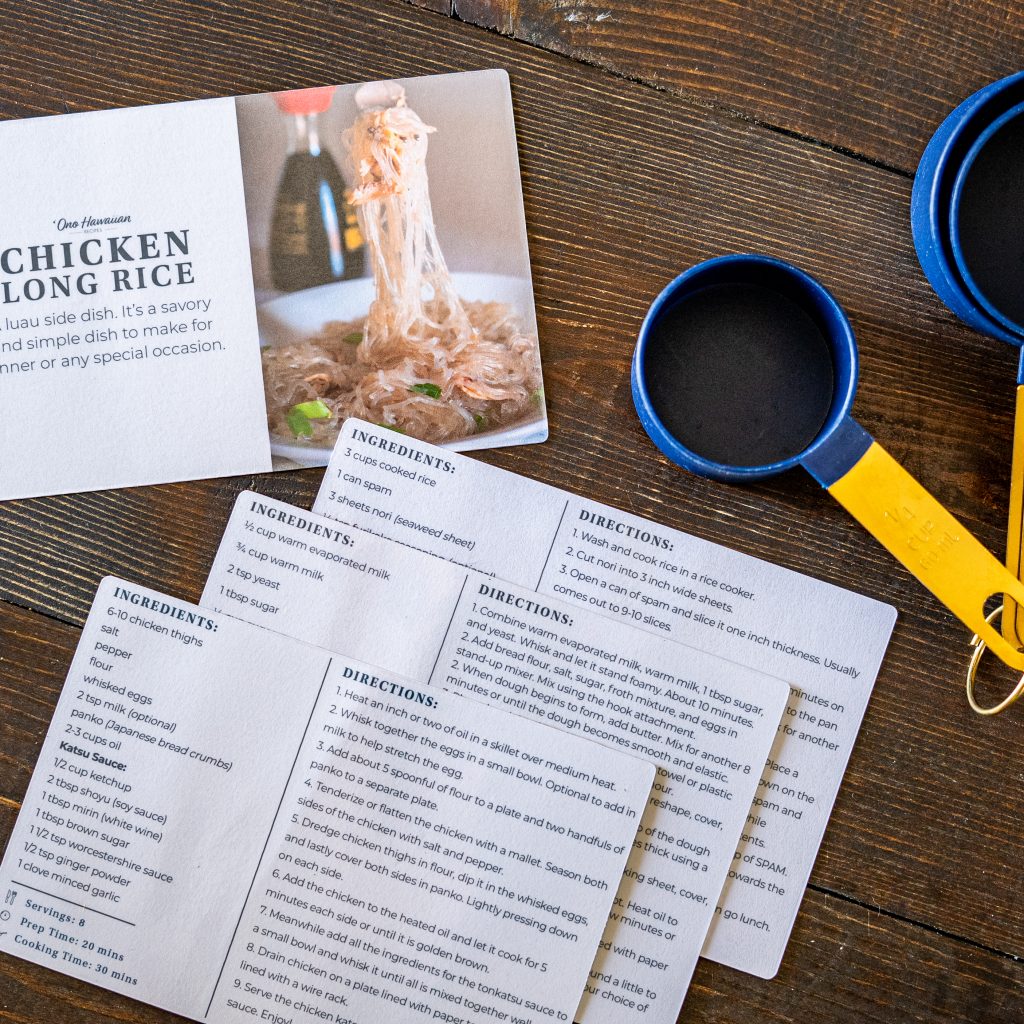
Order a Pack of 10 Recipe Cards
10 printed recipe cards featuring Hawaii’s local recipes. Handmade with Aloha! More details here >>> Recipe Cards
Not only are they great for stir fries, they are also wonderful to eat as fried mushrooms. Just like any regular mushrooms, fry them up in butter, add a dash of lemon juice, and season to taste. Serve it as an appetizer.
Sweet Liliko’i (Passion Fruit) Bars
Ingredients
- 3 cups flour (divided)
- 2/3 cups powdered sugar
- 1/2 tsp salt
- 12 tbsp unsalted butter
- 3 cups sugar
- 8 large eggs
- 1 cup fresh lilikoi juice
Instructions
- Extract the juice from lilikoi by cutting it in half then scoop out the contents into a blender.
- Turn on the blender at low speed for a few minutes to separate the seeds from the pulp and juice. Strain it through a mesh. Measure out 1 cup of the juice and set aside.
- For the shortbread crust, sift 2 1/2 cups of flour into a large bowl. Also sift in the powdered sugar and salt. Whisk together. Melt the butter and combine it in the bowl until it looks crumbly.
- Line a 9×13 inch baking pan with parchment paper. Pour in the crumble mixture. Pat down the mixture with your hands or anything with a flat surface. Bake it at 350 degrees Fahrenheit for 20 minutes or until it is a light golden brown. Set aside to cool.
- To make the lilikoi filling, combine the sugar and flour in a large bowl. Whisk it together. Add in the lilikoi juice and eggs. Mix until it is combined well. Pour the mixture onto the finished shortbread crust.
- Bake it in the oven for another 25 minute. It will look a little wobbly in the middles, but if the sides are firm, it is ready to take out from the oven. Let it cool for an hour, then chill in the fridge for two hours or more.
- Cut the lilikoi bars into squares. For clean cuts, wipe your blade in between cuts. Sprinkle or dust on more powdered sugar. Serve and enjoy these onolicious lilikoi bars!
I made these the other day and they were delicious. Honestly way better than lemon bars with the Lilikoi flavor.
Definitely recommend building up the crust along the edges/maybe not cooling the crust too much because it shrank and the liquid seeped underneath and they became inverted bars! Which was totally fine, they still tasted incredible just were messy haha. So good though and will be making again!
aloha! I loved the great tips on how to separate the seeds from the pulp and the clear directions. The recipe was a bit too sweet for me so I would cut back on the sugar next time. The bars never set up entirely and I’m not sure what I did wrong, perhaps i need to extend the bake time?