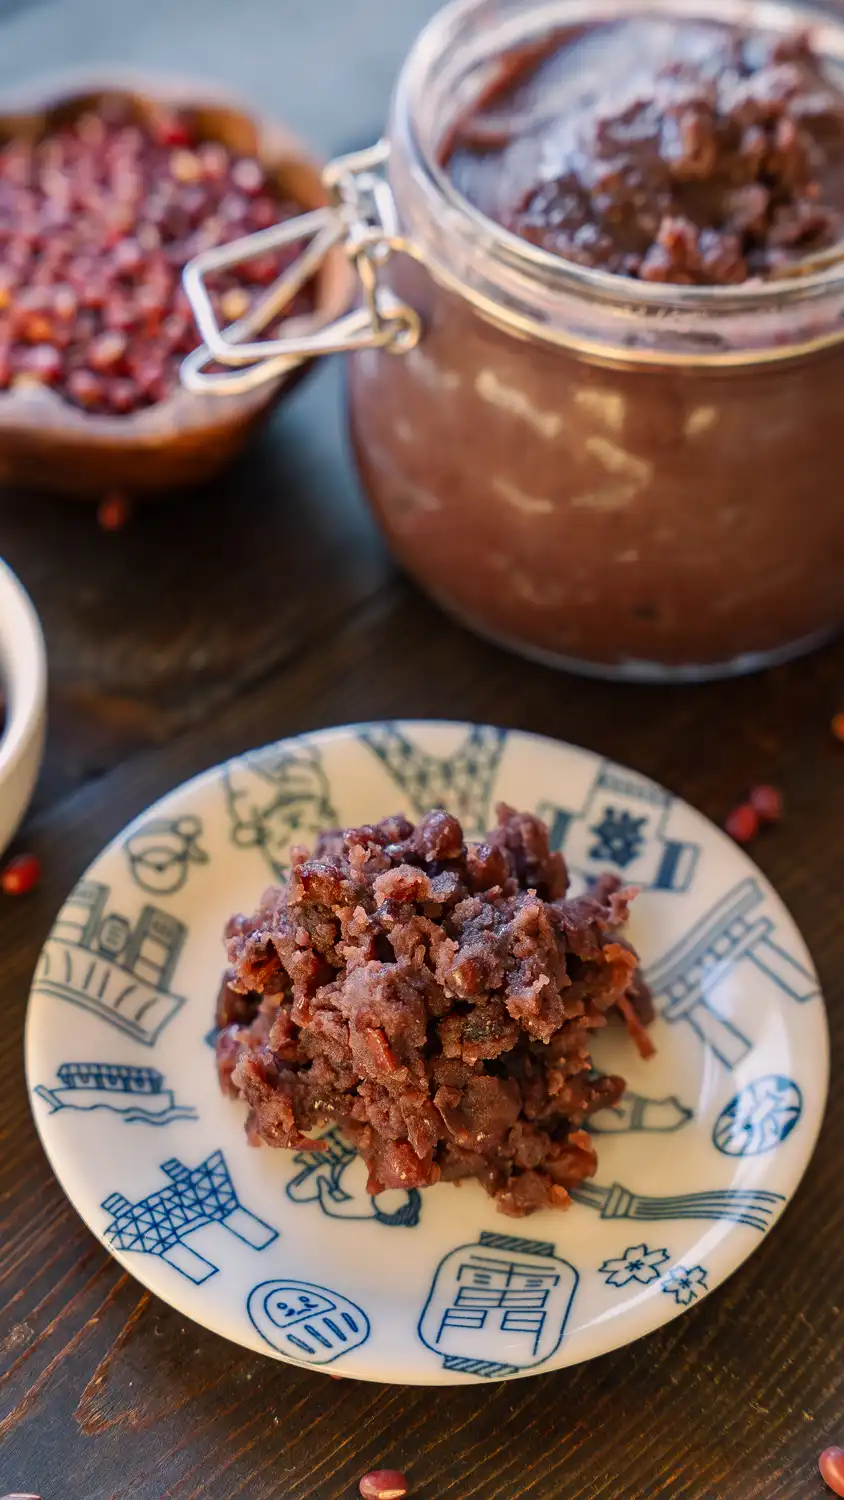
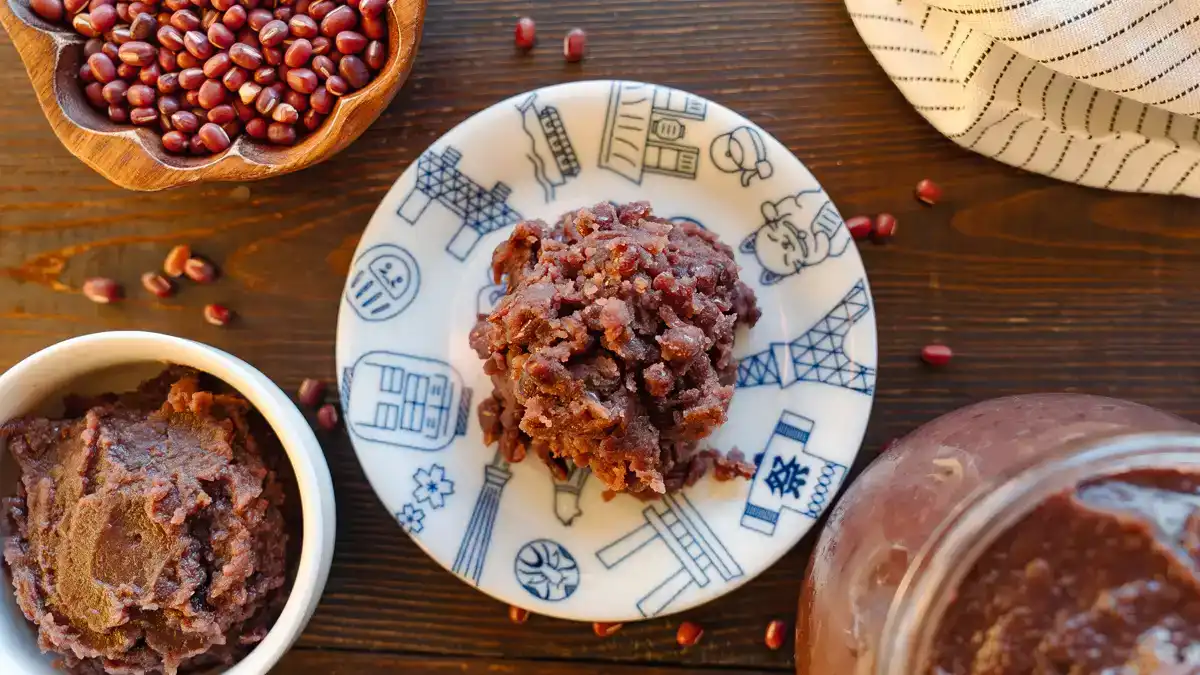
Anko (Sweet Azuki Bean Paste)
Learn how to make anko — Japanese sweet red bean paste used in Local Hawaii favorites like manju, butter mochi, and shave ice.
This post may contain affiliate links. Our privacy policy.
Growing up in Hawaii, I always knew the sweet little scoop of red beans on my shave ice as just that — the sweet extra on top. You’d get it as an add-on, and I always said yes. I also grew up seeing those plump, pillowy manju at local bakeries, or sitting in the plastic containers at the grocery store, and that soft sweet filling inside was always the best part. But I never had a name for it.
It wasn’t until I got older that I learned what I’d been eating all along — anko. That sweet, glossy, deeply flavored red bean paste that’s been a cornerstone of Japanese sweets for centuries, and found its way into Local Hawaii food through Japanese immigrants who made these islands home. Now I make it from scratch, and honestly? It’s easier than you think.
Why You’ll Love This Anko
- Just 3 ingredients — azuki beans, sugar, and salt. That’s it.
- Make it two ways: tsubuan (chunky and rustic) or koshian (silky smooth), depending on what you’re making.
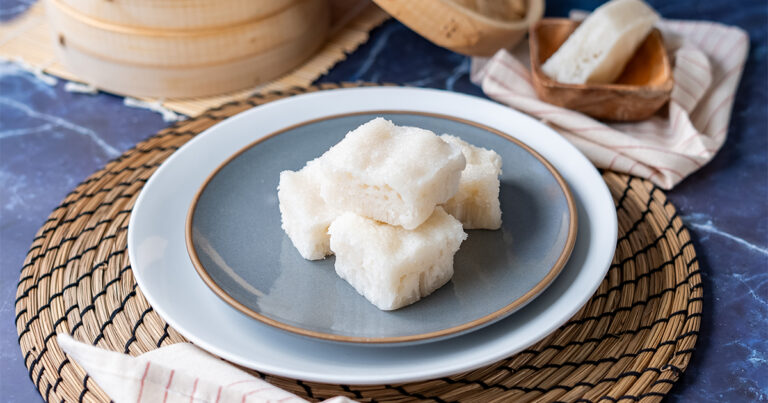
- Works as a filling or topping — use it in manju, daifuku, zenzai, or pile it on your shave ice just like we grew up doing.
- Made with a food processor for the smooth version — no fancy equipment otherwise.
- Stores beautifully — make a big batch and keep it on hand all week.
Ingredient Notes & Sourcing Tips for Anko
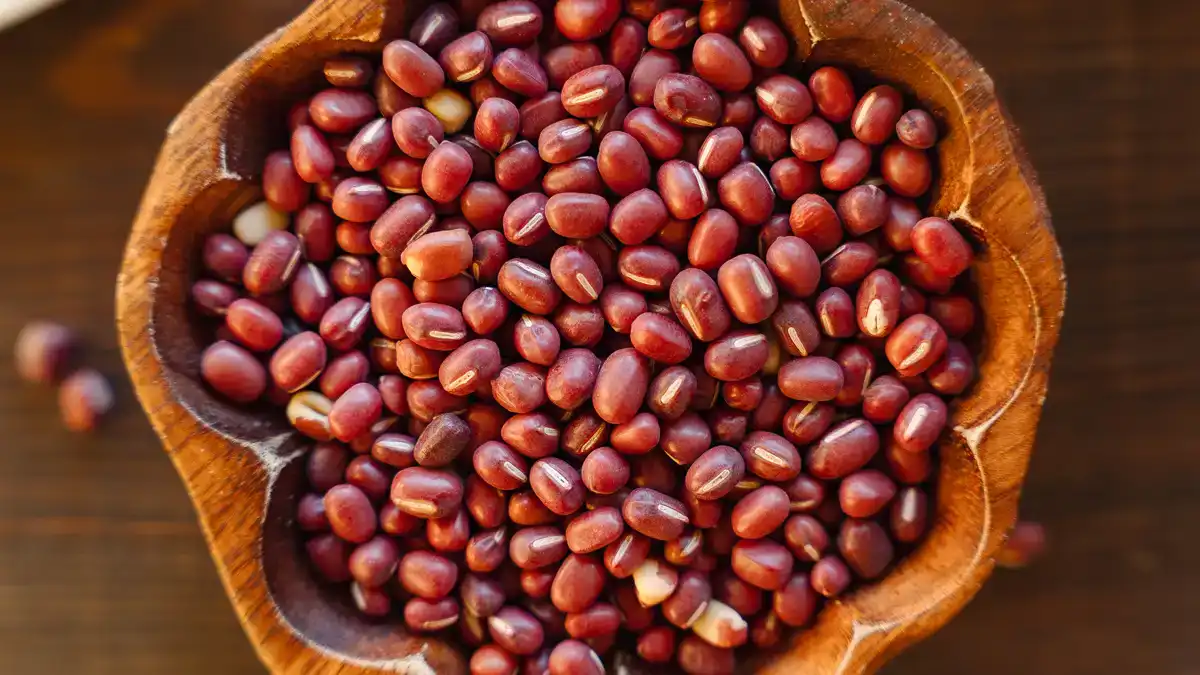
Dried Azuki Beans
These small, deep-red beans are the heart of anko. Look for them at Asian grocery stores — they’re usually in the dry goods aisle. Or grab a bag of dried azuki beans online. Fresh-dried beans make a noticeably smoother, more vibrant paste than older stock, so check the date on the bag if you can. Avoid canned azuki beans for this recipe — they’re already softened and won’t give you the right texture or control.
Sugar
Plain white granulated sugar is traditional and gives you the cleanest, most classic anko flavor. The recipe calls for up to 1 cup, but I encourage you to start with 3/4 cup and taste as you go. Anko should be sweet but not overwhelming. You’re in control here.
Otoshibuta (Drop Lid)
This is a Japanese drop lid that sits directly on top of the simmering beans inside the pot. It keeps the beans submerged evenly and prevents them from bumping around and breaking apart while they cook. If you don’t have one, grab an otoshibuta. They’re inexpensive and worth it and a great contraption to be in your kitchen pantry. In a pinch, you can cut a circle of parchment paper to fit inside your pot.
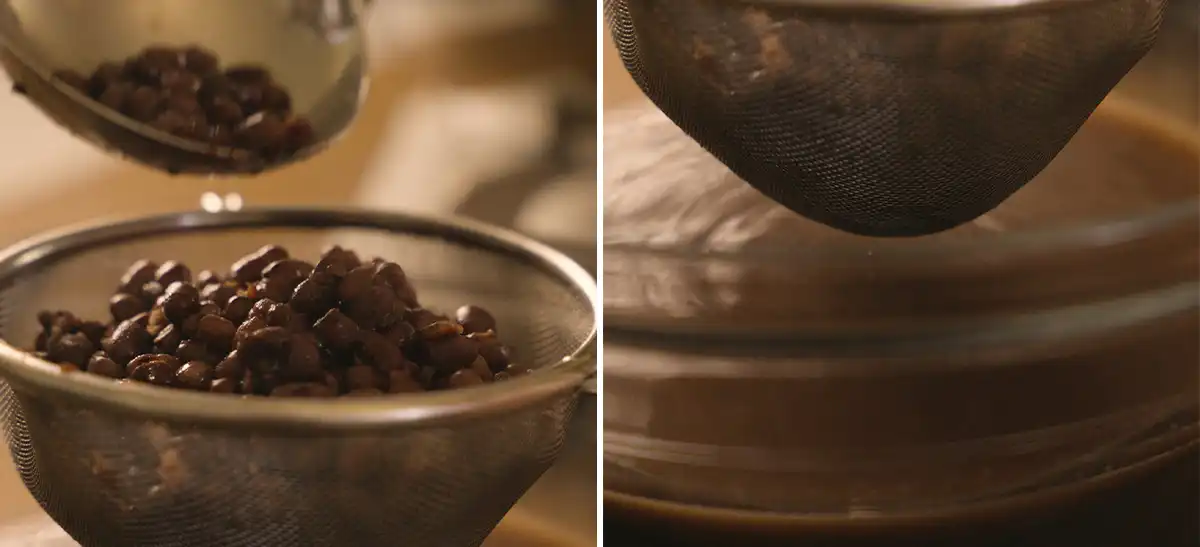
Fine-Mesh Sieve
You’ll use a fine-mesh sieve to drain the beans after the first boil and after cooking. A tight mesh is key for koshian; it catches any remaining bean skins that the food processor misses and gives you that ultra-smooth texture.
Serving Suggestions & Pairings for This Anko Recipe
Anko is one of those ingredients that quietly shows up everywhere in Local Hawaii food once you know what to look for. Spread it inside manju (those soft, pillowy little cakes from the local bakery) or use it as the filling for daifuku mochi. Stir it into a warm bowl of zenzai with soft mochi on a rainy day. And of course, it’s the classic topping for shave ice, a tradition that goes way back on these islands. Store any extra anko in an airtight container in the refrigerator for up to a week, or freeze it for up to three months.
How to Make Anko (Tsubuan + Koshian)
-
1
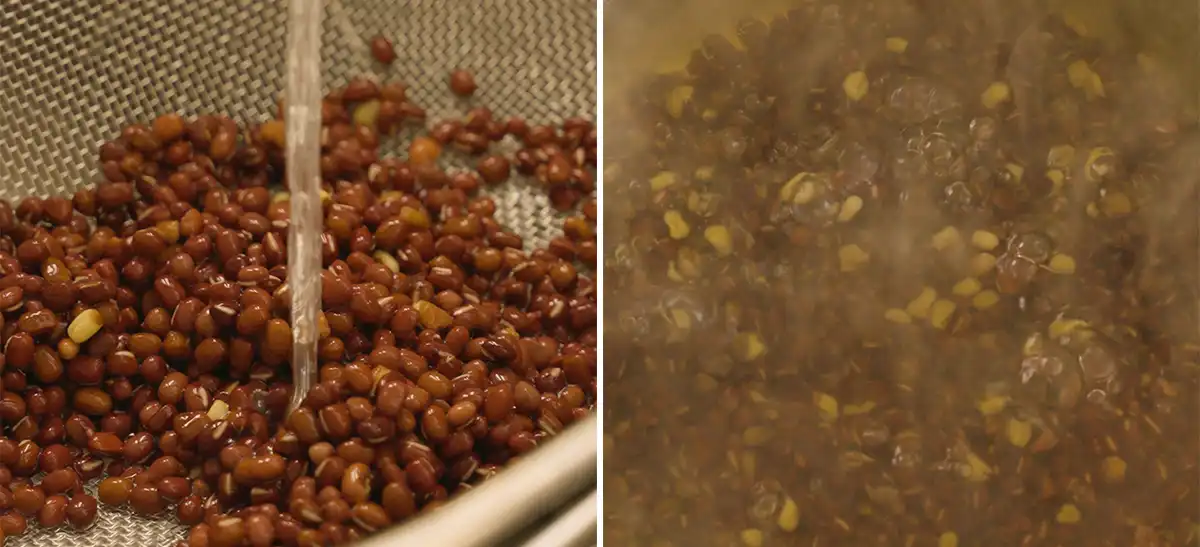
Rinse and First Boil
Rinse the dried azuki beans and discard any broken or shriveled ones. Add to a large pot, cover with water by 1–2 inches, and bring to a boil. Once boiling, drain immediately. This first boil removes bitterness. Return beans to the pot with fresh water, cover by 1–2 inches, and bring to a boil again.
-
2
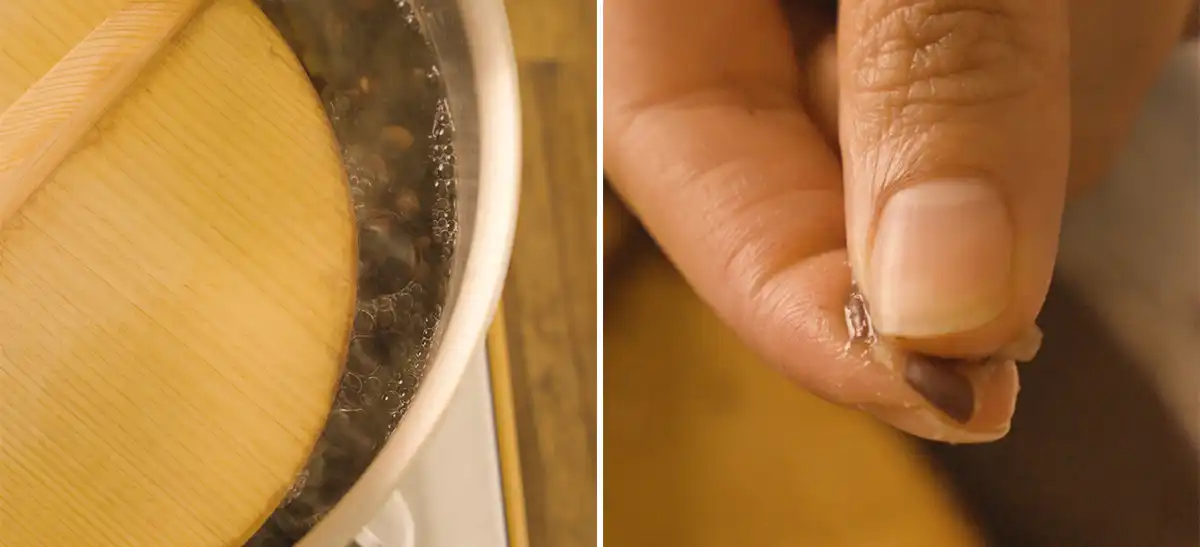
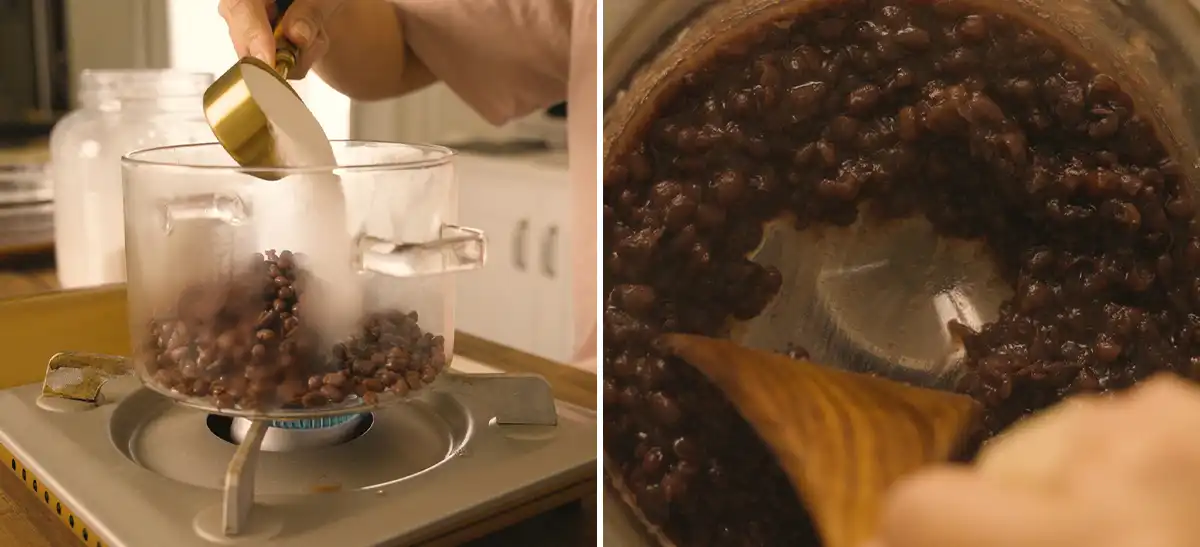
Simmer with the Otoshibuta
Place your otoshibuta directly on the beans. Reduce heat to medium-low and simmer for 1 to 1½ hours, adding water as needed to keep beans covered. They’re done when a bean mashes easily between your fingers with no resistance.
-
3
Drain the Cooked Beans
Drain the beans through a fine-mesh sieve. If making koshian, reserve a tablespoon or two of the cooking liquid before draining.
-
4
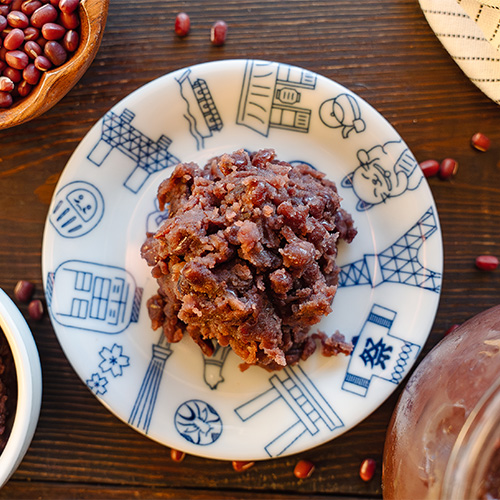
Make Tsubuan (Chunky Anko)
Return drained beans to the pot over medium-low heat. Add sugar in two rounds, stirring until dissolved each time. Add salt and keep stirring until the mixture thickens and a line drawn across the bottom of the pot holds. Remove from heat and let cool. It will thicken more as it cools.
-
5
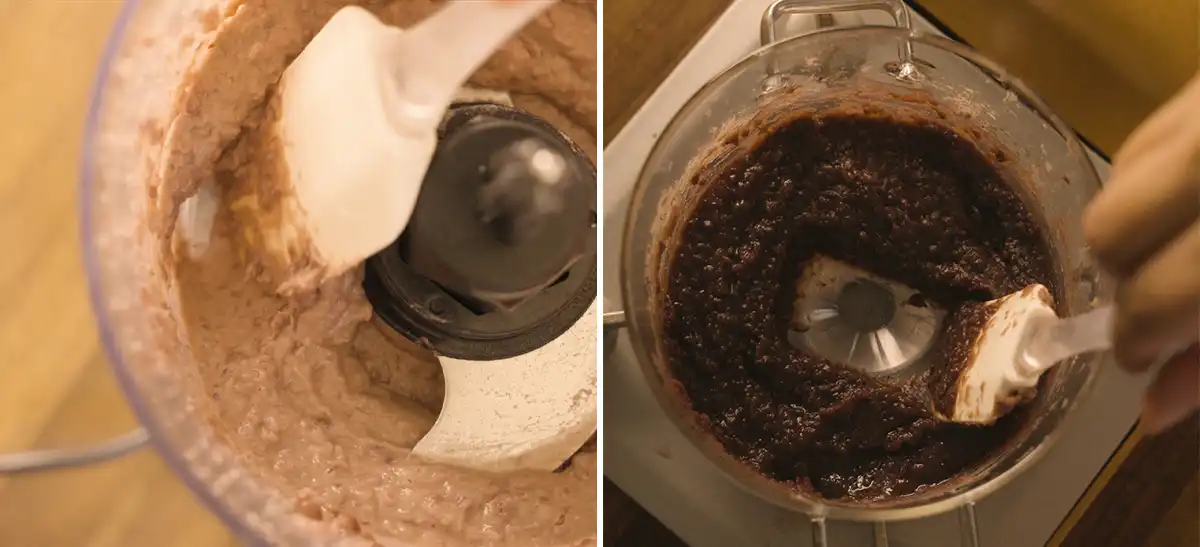
Make Koshian (Smooth Anko)
Blend drained beans in a food processor until smooth, adding reserved cooking liquid as needed. Return to pot and follow the same sugar, salt, and spatula-test steps as tsubuan. Koshian thickens faster, so keep a close eye on it.
-
6
Cool and Store
Spread finished anko onto a flat baking sheet to cool completely before transferring to an airtight container.
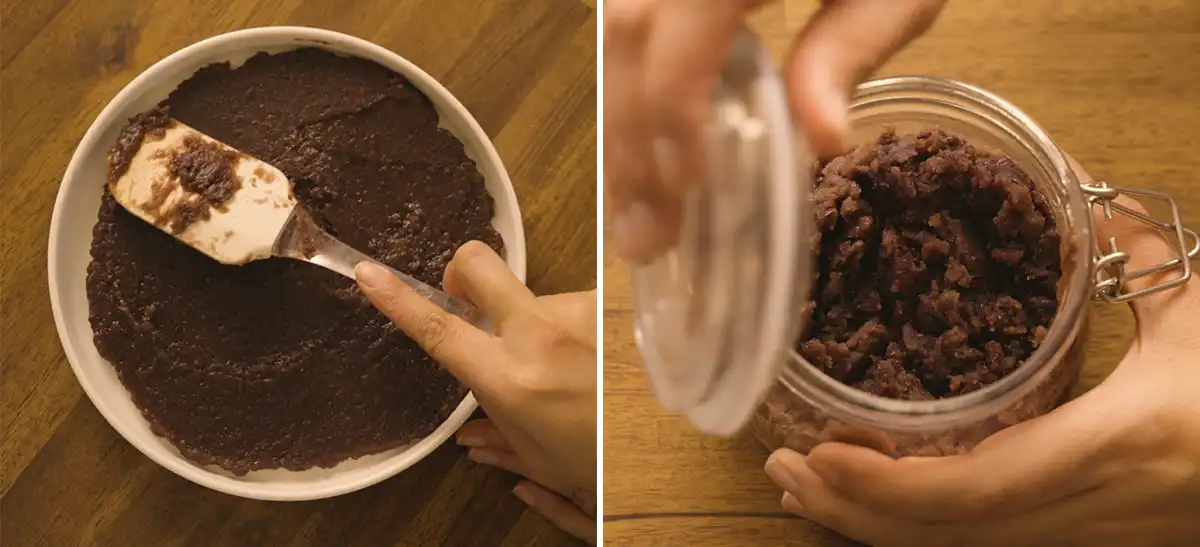
Pro tip:
The spatula line test is everything. If the line fills back in, keep cooking and stirring. If it holds — pull it off the heat.
FAQs: Anko
Tsubuan is chunky anko — the beans keep their shape and you get a hearty, textured paste. Koshian is smooth anko — the beans are puréed until silky, then cooked down. Both use the same azuki beans and same ingredients; it’s just the technique that changes. Tsubuan is more traditional for shave ice toppings and zenzai, while koshian is what you’ll usually find inside delicate mochi or manju.
I’d steer you away from canned beans for this recipe. Canned beans are already fully cooked and very soft, which makes it hard to control the texture — especially for tsubuan. Dried azuki beans (link) give you much better results, and the cook time is mostly hands-off anyway.
Anko should be noticeably sweet — it’s a confection filling — but not cloying. Start with 3/4 cup of sugar, taste as you cook it down, and add more to your liking. Different recipes call for different ratios, and honestly it comes down to what you’re using it for and how sweet you like things.
Stored in an airtight container in the refrigerator, anko keeps well for up to a week. If you want to make a big batch ahead of time, anko freezes beautifully for up to 3 months. Just thaw it overnight in the fridge and give it a good stir before using.
Your heat was likely too high, or they dried too long. Oven temps vary a lot. Dry low and slow, and if they start browning, lower the temp if possible and/or crack the oven door a bit more for airflow.
An otoshibuta (drop lid) is really helpful for cooking the beans evenly without them bouncing around and breaking. But if you don’t have one, a parchment paper circle cut to fit inside your pot works in a pinch. I’d still recommend picking up an otoshibuta (link) — they’re cheap, they last forever, and you’ll use it for other Japanese recipes too.
There’s something really special about finally having a name for something you grew up loving. Anko was always just part of the food — the sweet red filling, the topping on my shave ice — and now I get to make it from scratch and share it with you. Once you try homemade anko, the store-bought stuff just doesn’t hit the same. I hope you make a big batch and find all the ways to use it — I have a feeling it’ll become a staple in your kitchen too. If you make it, let me know in the comments how it turned out!
Anko Recipe — Japanese Sweet Red Bean Paste
Video
Equipment
- Large pot
- Fine-mesh sieve
- Otoshibuta (drop lid)
- Food processor (for koshian)
- Flat baking sheet
Ingredients
Azuki Beans
- 7 oz dried azuki beans a bit less than 1 cup
- water enough to cover beans by 1-2 inches
For the Anko
- 1 cup sugar start with 3/4 cup, adjust to taste
- 0.5 tsp kosher salt
Instructions
Cook the azuki beans
- Add beans to a large pot and cover with water by 1 to 2 inches. Bring to a boil over medium-high.
- Once boiling, drain in a fine-mesh sieve. Return beans to the pot.
- Add fresh water to cover by 1 to 2 inches. Bring to a boil again.
- Place an otoshibuta (drop lid) directly on the beans. Reduce heat to medium-low and simmer for 1 to 1½ hours, adding water as needed to keep beans covered. Beans are done when one mashes easily between your fingers.
- Drain the cooked beans through a fine-mesh sieve.
Tsubuan (Chunky Anko)
- Return drained beans to the pot over medium-low heat. Add half the sugar and stir until dissolved. Add remaining sugar and stir constantly. Add 1/2 tsp kosher salt.
- Continue stirring as moisture evaporates. When you can draw a line on the bottom of the pot with a spatula and it holds, turn off heat. Don’t worry if it looks a little loose — it thickens as it cools.
- Spread onto a flat baking sheet to cool completely.
Koshian (Smooth Anko)
- Reserve a little cooking liquid before draining (optional, helps with blending). Purée drained beans in a food processor until smooth, adding 1 to 2 Tbsp of reserved liquid if needed.
- Return purée to the pot over medium-low heat. Add sugar in two rounds, stirring until dissolved each time. Add 1/2 tsp kosher salt. Stir constantly as it thickens.
- When you can draw a line across the pot bottom and it holds, turn off heat. Spread onto a flat baking sheet and cool completely.
Notes
- Store anko in an airtight container in the refrigerator for up to 1 week, or freeze for up to 3 months. Thaw overnight in the fridge and stir well before using.
- The anko will thicken as it cools — don’t overcook it in the pot.
- For a less sweet anko, start with 3/4 cup sugar and taste before adding more.


 Broke Da Mout: 10 of Hawaii's Local Recipe Cards - Series #1
I love making these. They are surprisingly easy to make and you’re right Tani- taste way better than the store bought ones! I’ve got a small kitchen meaning I can’t have too many gadgets so my favorite way to cook beans is in my crock pot. They come out perfect every time.
Oh no way! I’ll need to try it in my crock pot too! How do you do yours? I can make a note about that in the recipe 🙂