
Kulolo Crunch: A Viral Recipe

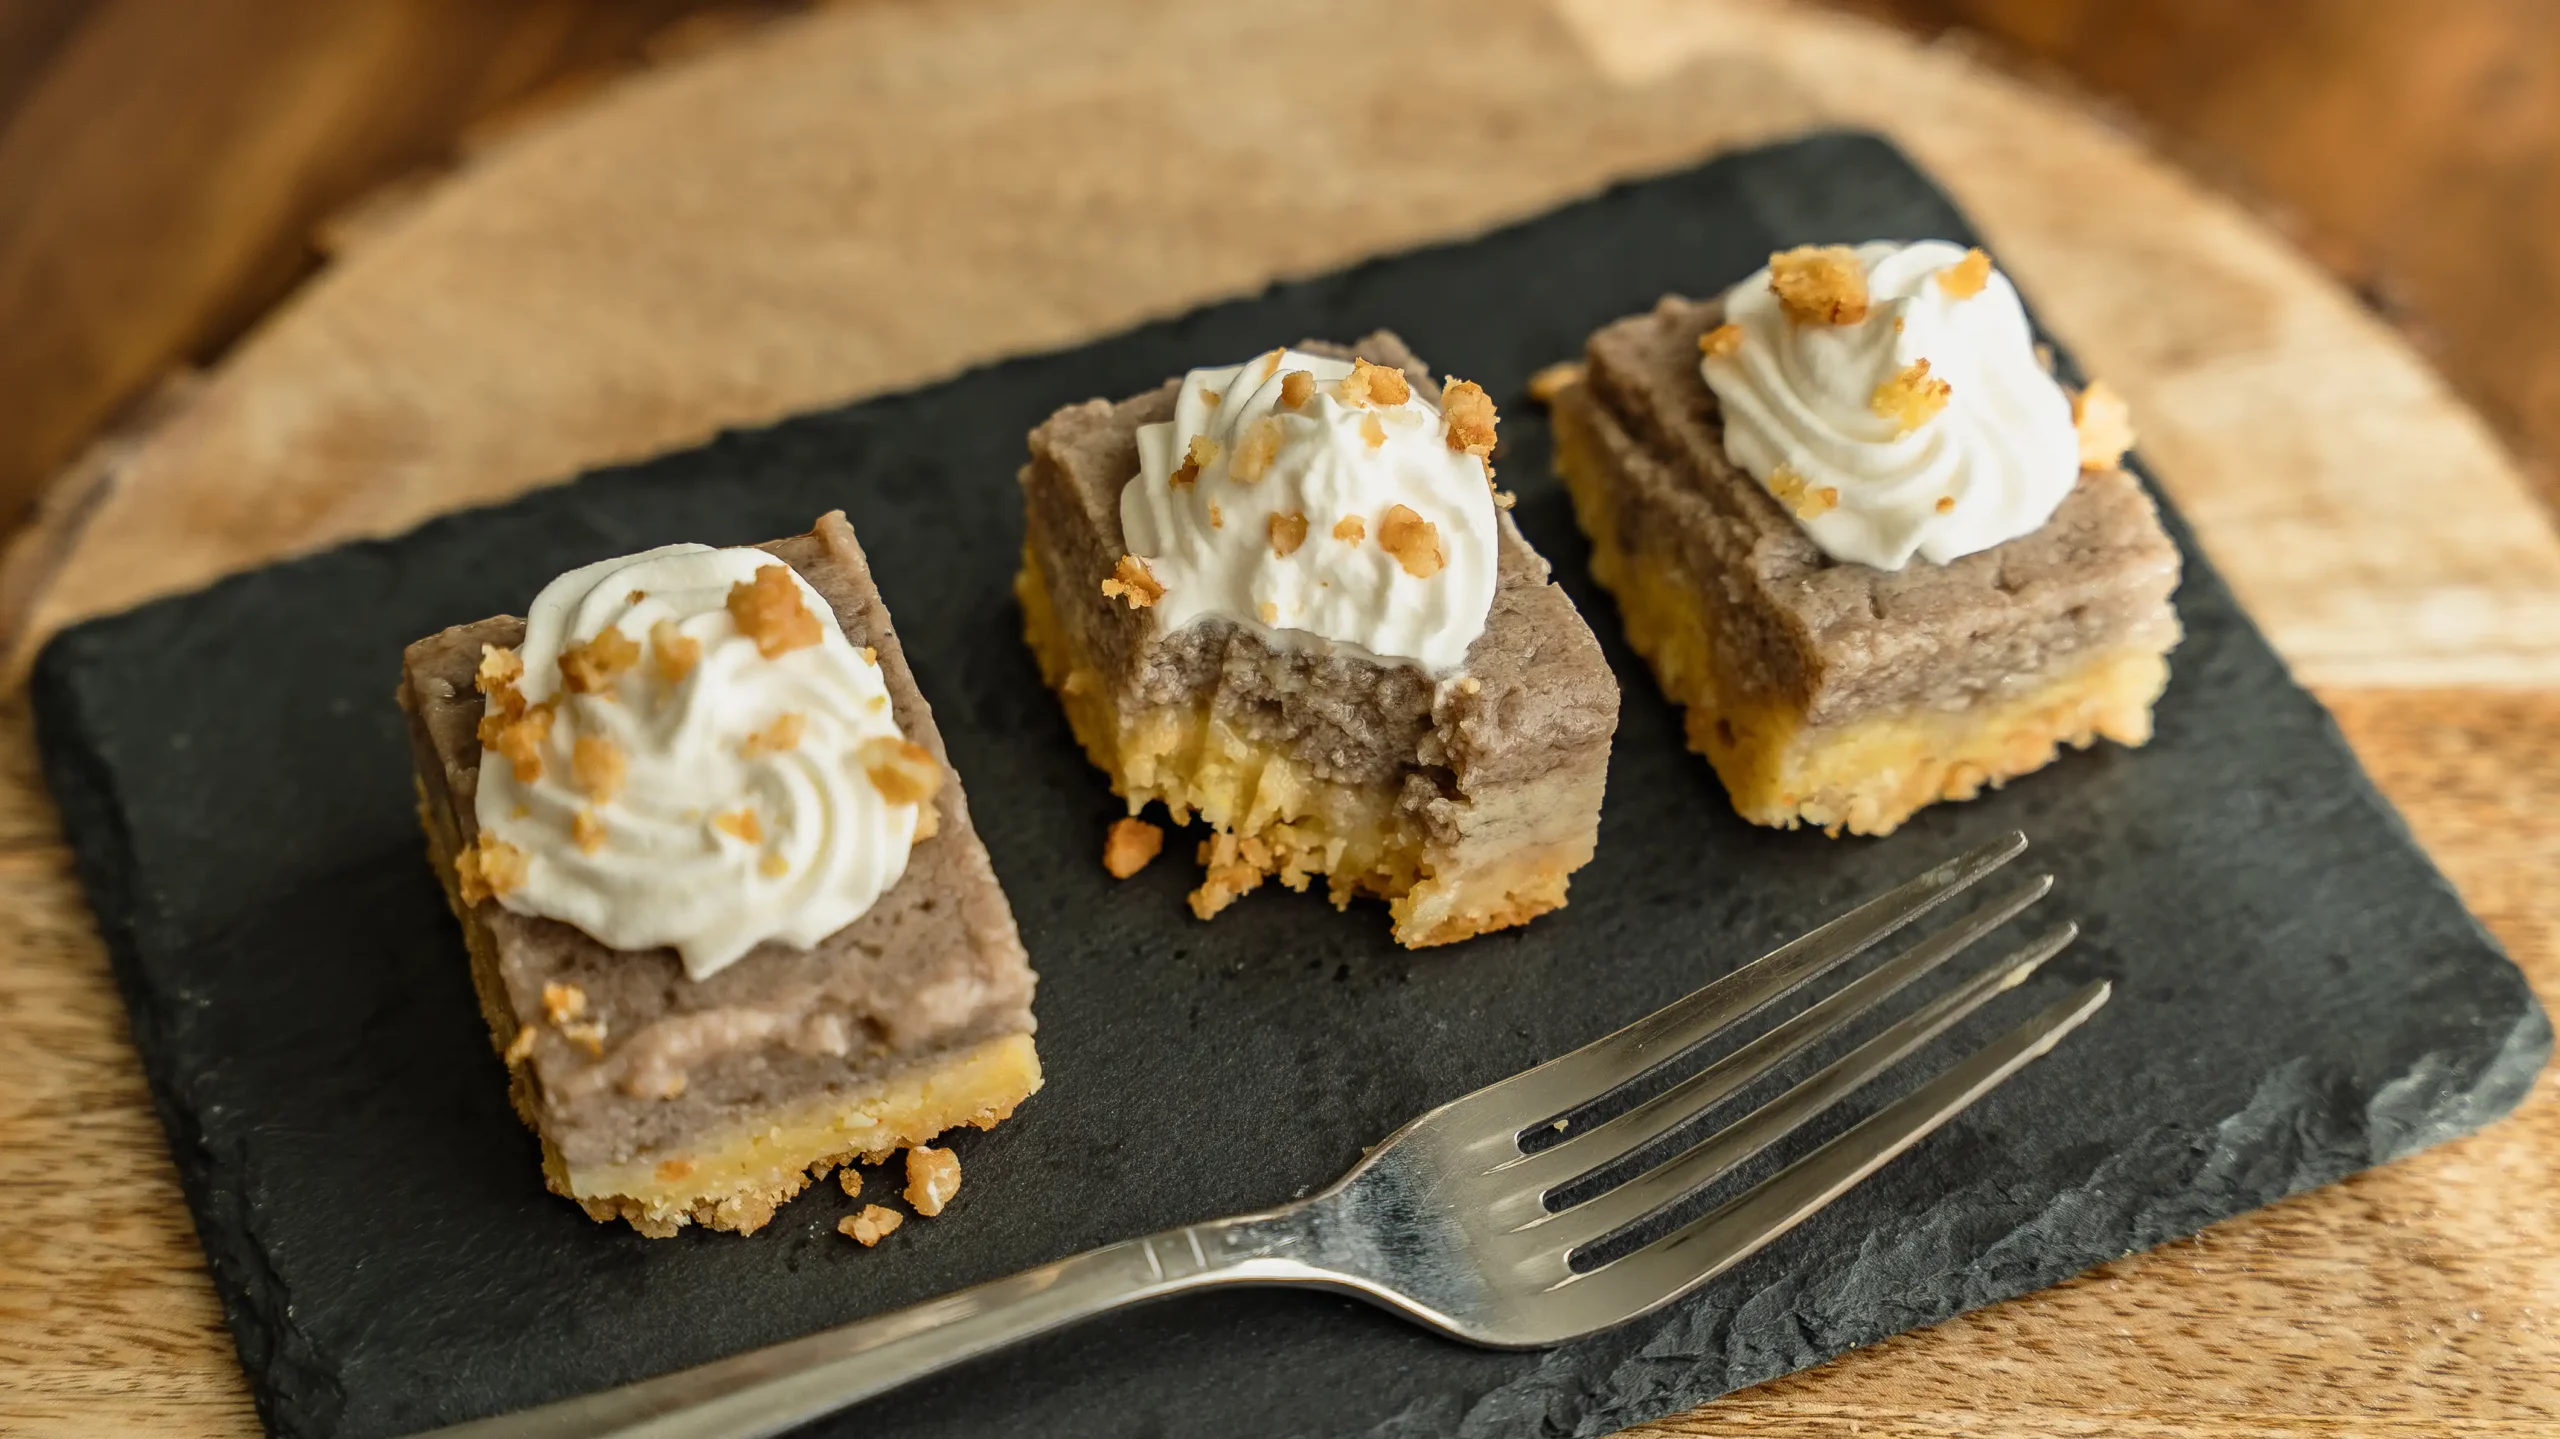
Kulolo crunch is a viral dump cake mashup of poi, coconut, and buttery macadamia crumble. Easy Hawaiian-inspired dessert.
This post may contain affiliate links. Our privacy policy.
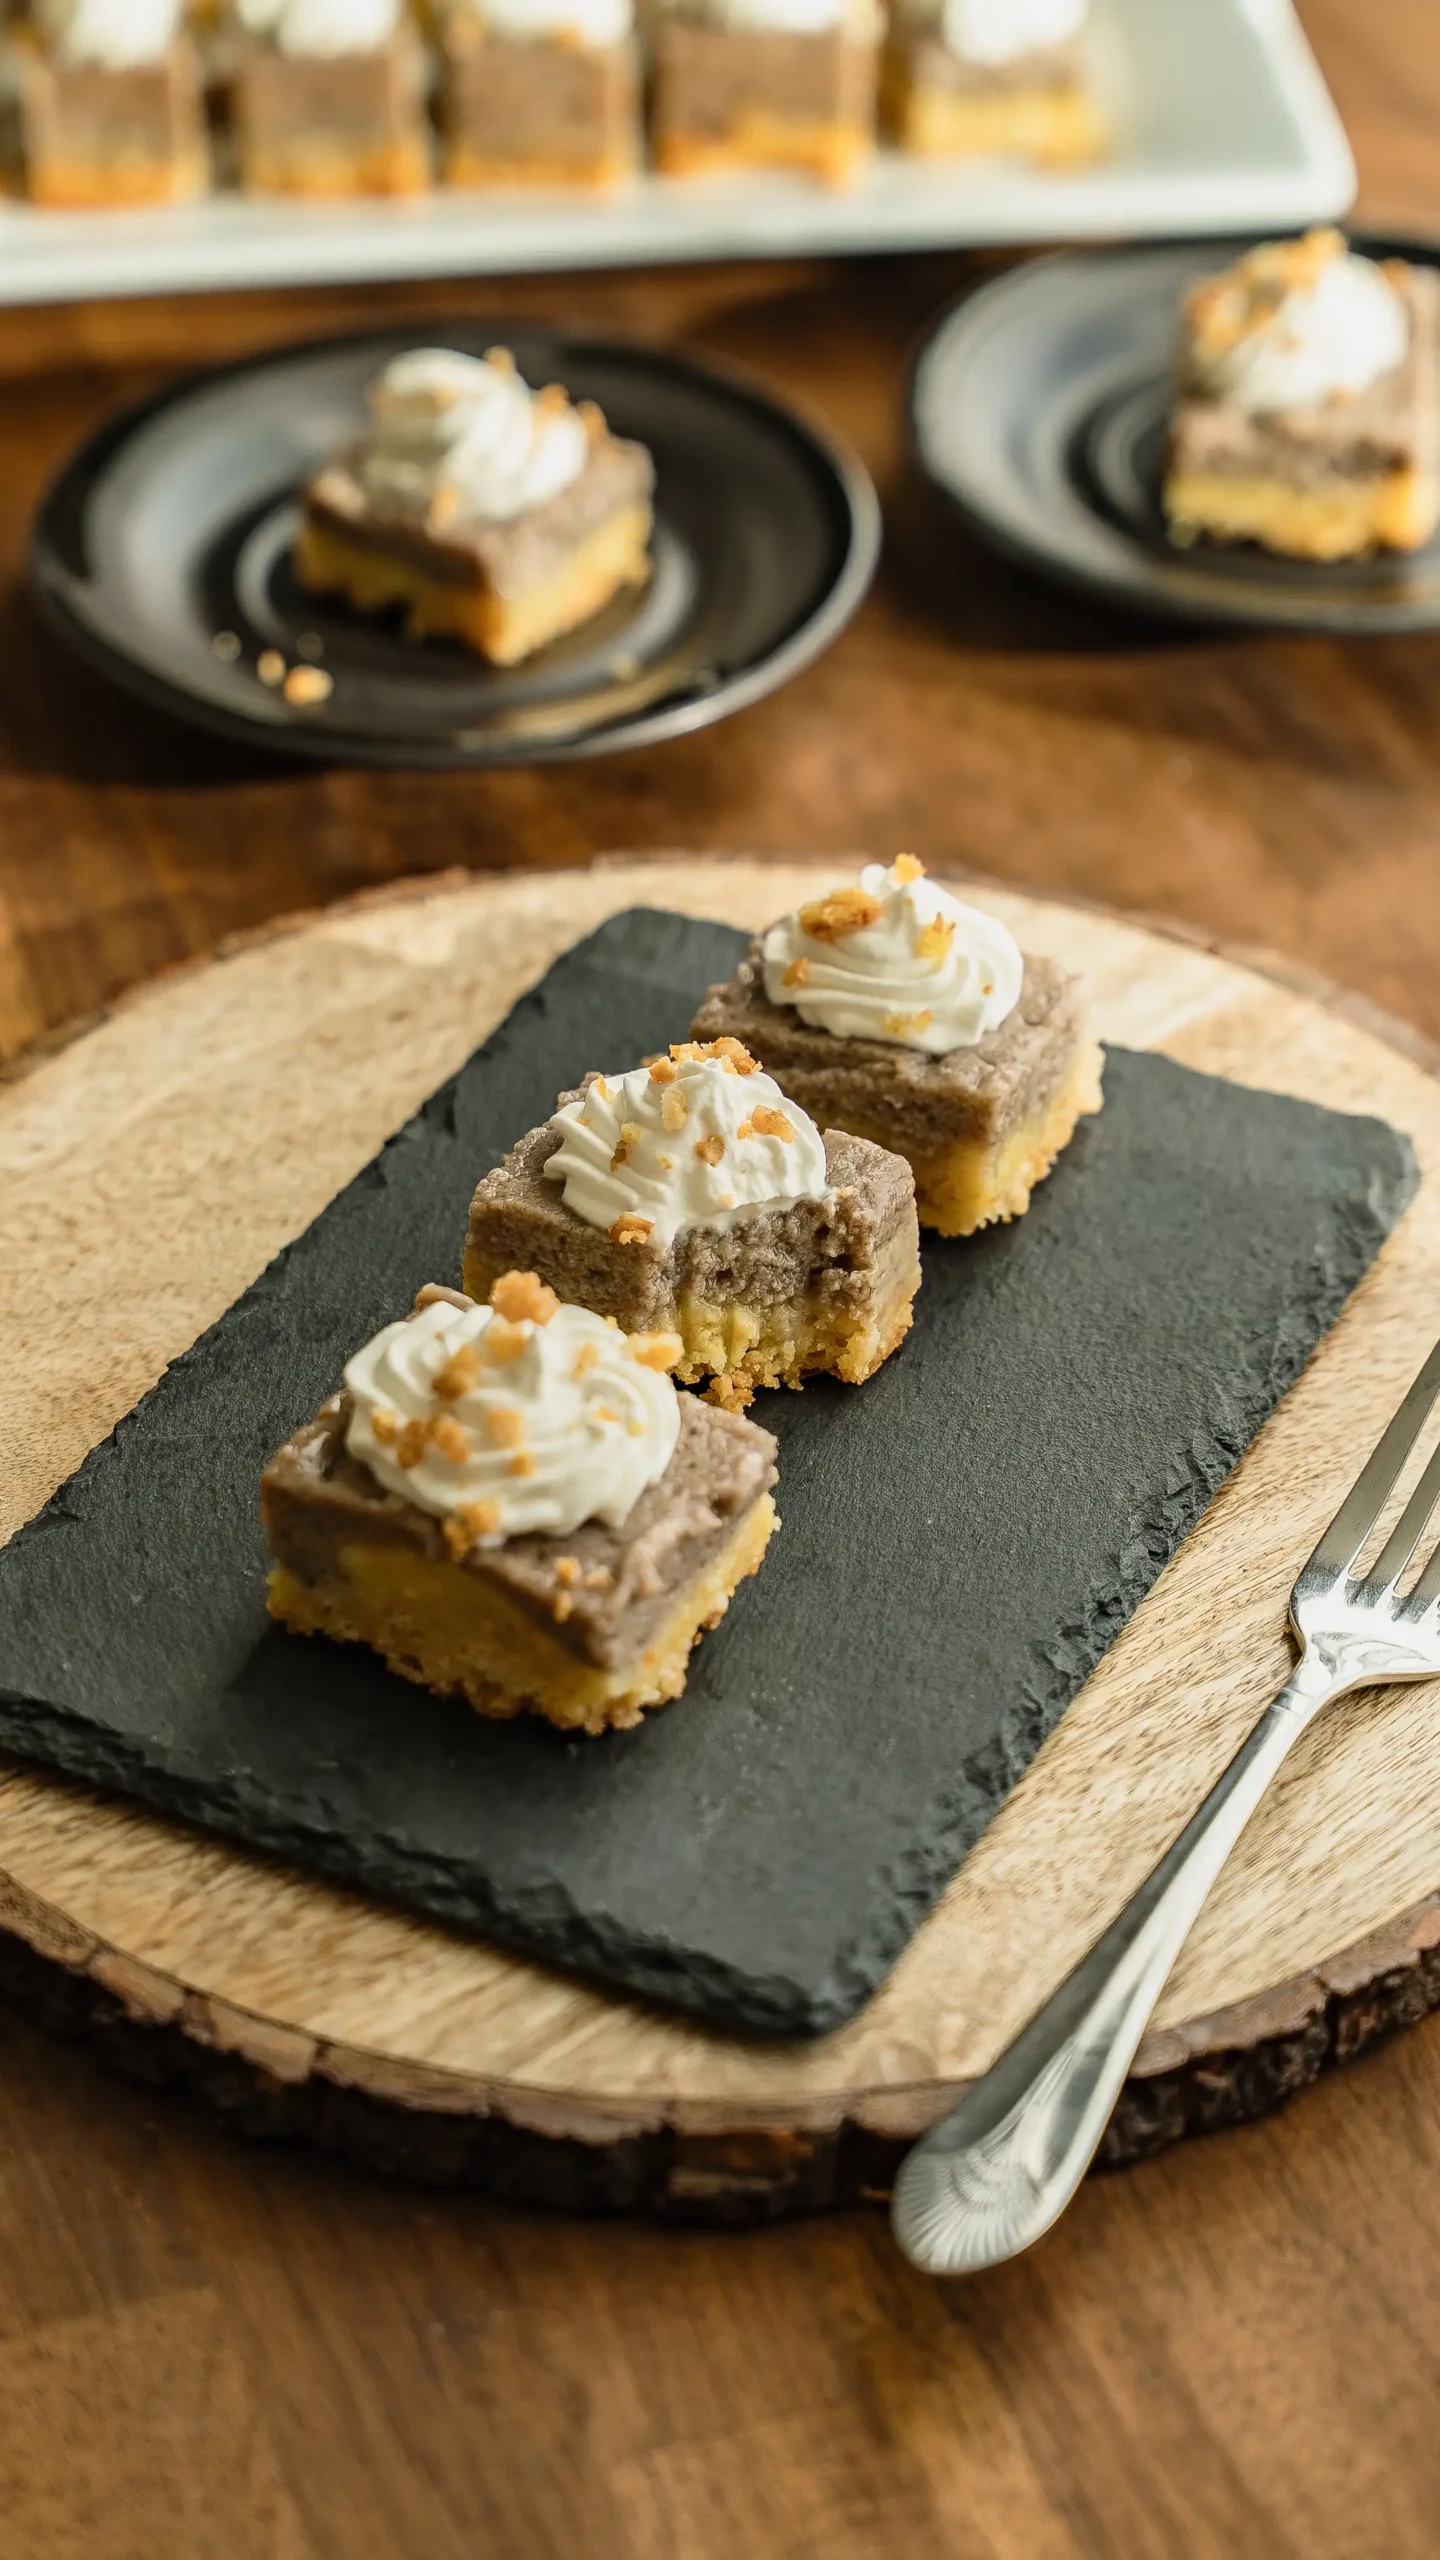
I kept seeing kulolo crunch everywhere earlier this year. Every scroll, there it was again: poi and coconut baked under a crumbly, buttery topping. I make a pumpkin crunch a few times a year for potlucks, and the second I saw someone swap the pumpkin layer for poi, I knew I had to try it.
And let me tell you, it was a banger! A lot of people on the mainland have heard of poi before but never tried it. Well, a few of my neighbors were surprised and delighted with this dessert.
That’s really what this recipe is: a dump cake. You whisk one layer, sprinkle a dry layer on top, drizzle butter over everything, and let the oven do the rest.
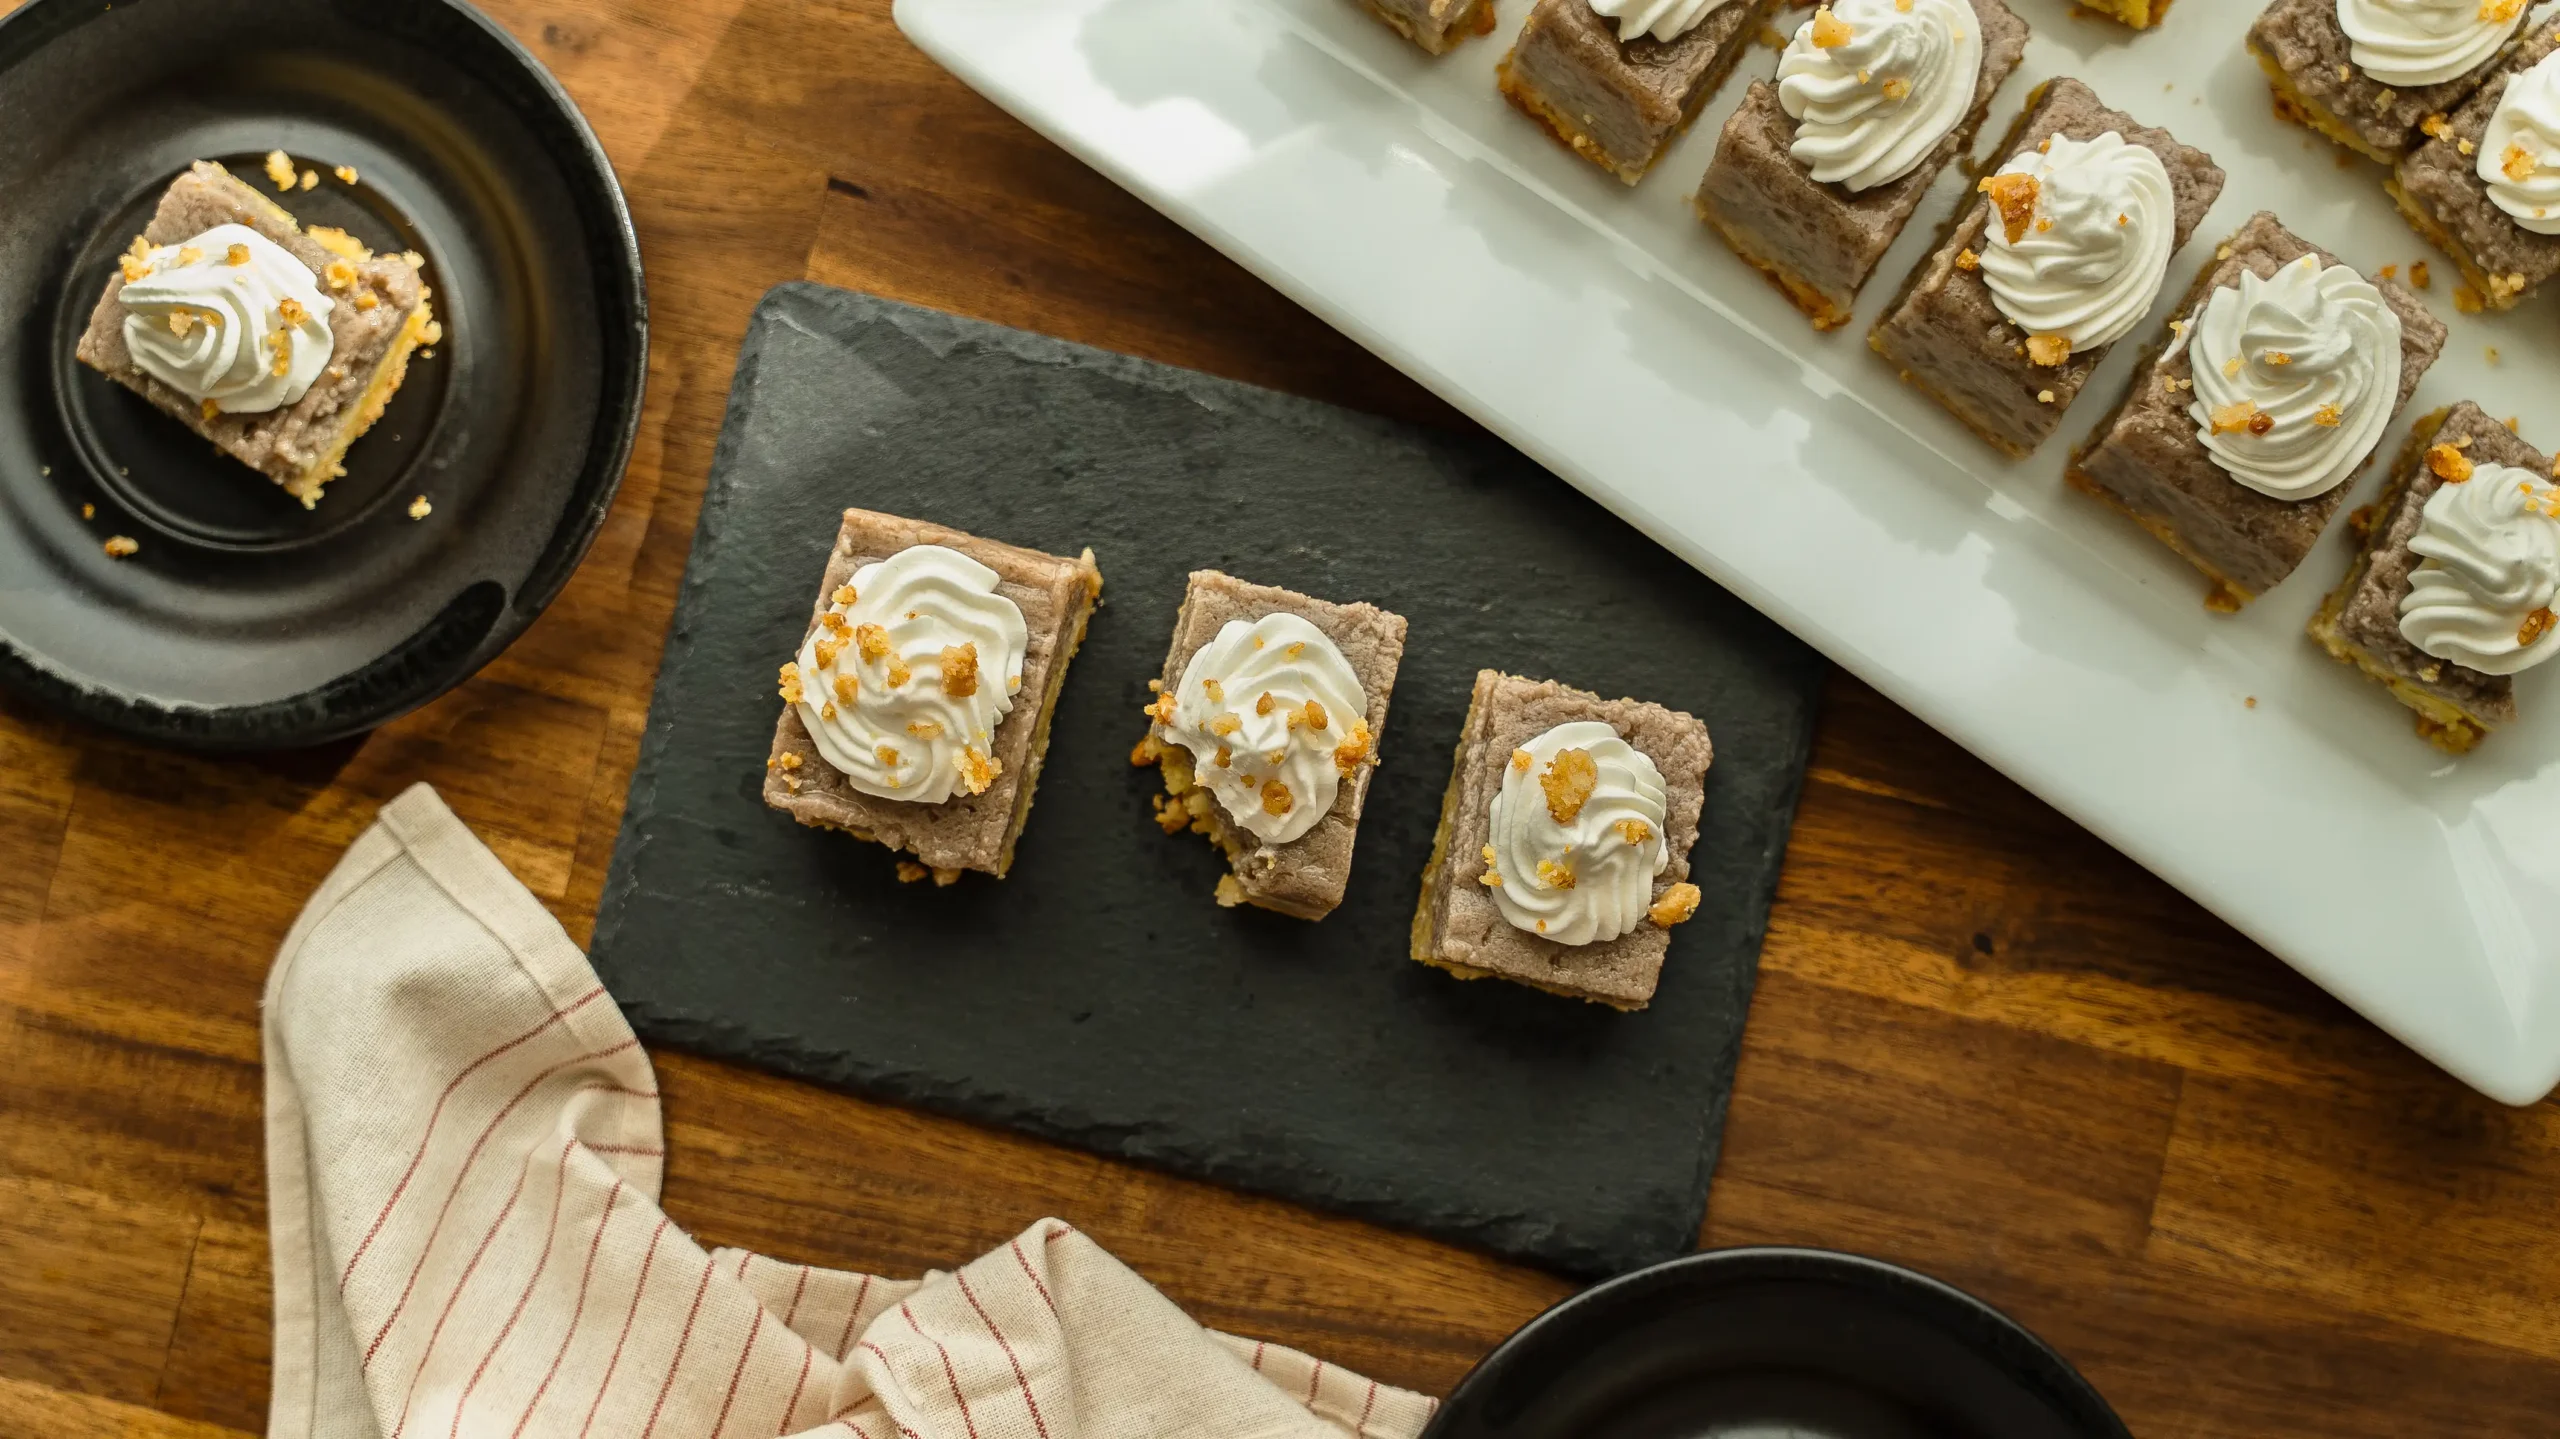
Why You’ll Love This Kulolo Crunch
- It’s a true dump cake. Whisk, layer, drizzle, bake. No mixer, no layering skills required.
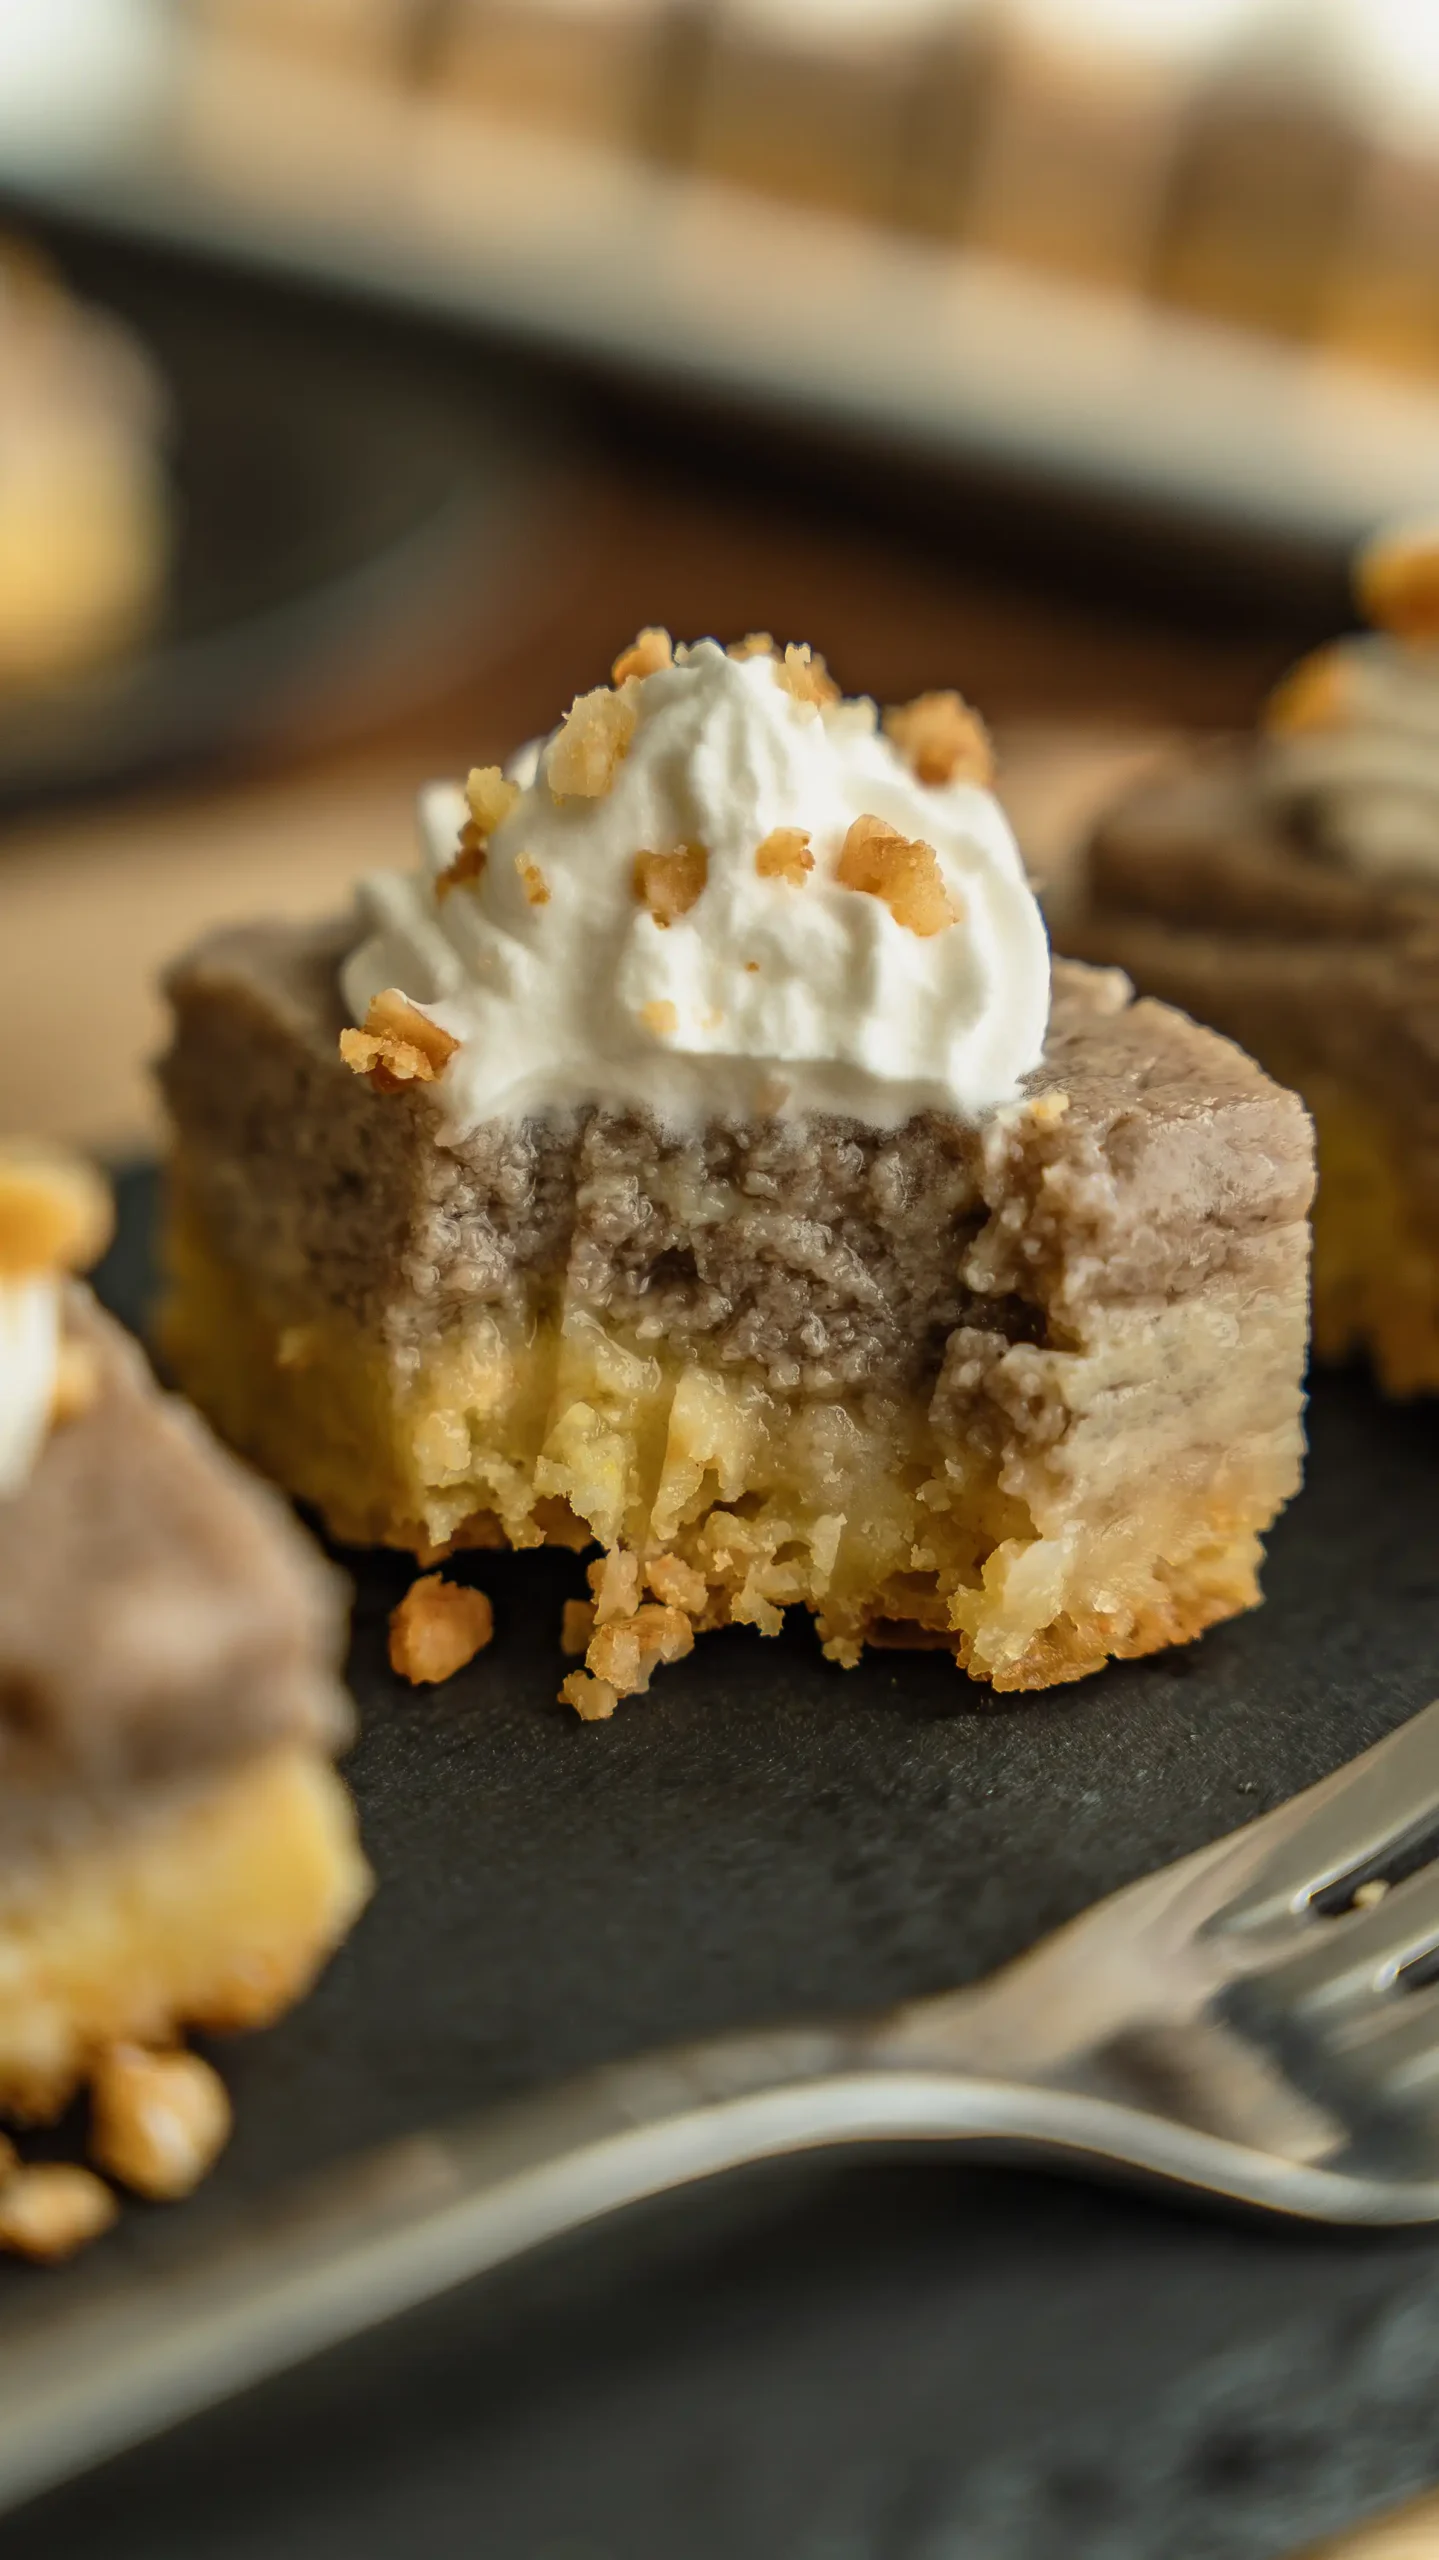
- The poi layer bakes up custardy and rich, closer to a baked pudding than a traditional cake.
- The macadamia and cake mix crumble on top gets genuinely crunchy, not just crumbly, especially around the edges.
- It travels well for potlucks and parties since it’s baked in one 9×13 pan and cut into squares
- It keeps in the fridge for days, so you can make it ahead of a gathering instead of the morning of.
Kulolo Crunch: A Modern Mashup, Not a Traditional Dessert
The name can be misleading because traditional kulolo is a Native Hawaiian dessert made from grated taro root and coconut, steamed low and slow for hours until it turns dense, sticky, and deeply caramelized.
This recipe is not that. Kulolo crunch is a modern mashup dessert that borrows the flavor of poi, a traditional Native Hawaiian staple made from cooked and pounded taro, and pairs it with a mainland-style dump cake technique, the same one used for pumpkin crunch, apple crunch, and the like.
It uses poi instead of grating and steaming fresh taro, and it bakes instead of steaming. That makes it a fun, easy, and genuinely tasty dessert, but it’s a fusion recipe inspired by kulolo’s flavor, not a substitute for the real steamed dish. If you’ve never had actual kulolo, I’d encourage you to seek it out, it’s a completely different experience and one worth knowing.
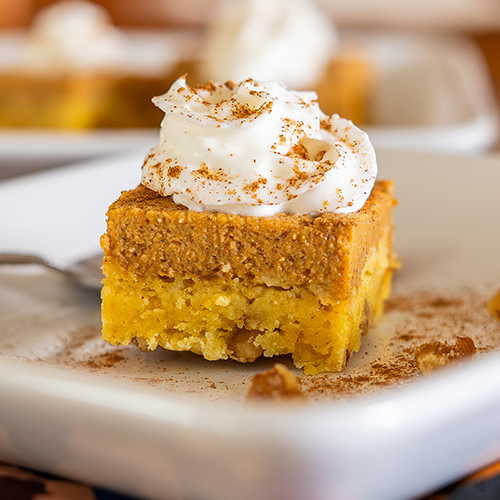

Ingredients
Here is everything you need:
- Poi: Use fresh or frozen-and-thawed poi. Consistency varies by brand and by how many days old it is; thicker poi gives you a denser layer, and thinner poi a softer one. Either works here.
- Coconut milk: Full-fat canned coconut milk gives the richest, most custardy layer.
- Cake mix: Any standard 15.25 oz yellow cake mix works. Sprinkle it on dry and resist the urge to stir it in, the dry layer is what turns crunchy in the oven.
- Macadamia nuts: Chop them by hand instead or pulse them in a food processor. If you’re out, walnuts or pecans are a fine substitute, though you’ll lose a bit of that island flavor.
- Pan: A light-colored metal 9×13 pan bakes this more evenly than a dark or glass one, which can brown the bottom before the center sets.
How to Make Kulolo Crunch
-
1
Prep your ovenPreheat your oven to 350°F. Butter a 9×13-inch pan, or line it with parchment paper, leaving overhang on the long sides so you can lift the whole thing out later.

-
2
Whisk together the ingredients
In a large bowl, whisk together the poi, coconut milk, eggs, granulated sugar, brown sugar, vanilla, and salt until completely smooth. Pour it into the prepared pan.
-
3
Add on the crunch layer
Evenly sprinkle the dry yellow cake mix over the poi layer. Do not stir it in; it needs to stay on top to form the crunch layer. Scatter the chopped macadamia nuts over the cake mix.
-
4
Drizzle the butter on
Slowly drizzle the melted butter over the entire surface, working in a back-and-forth motion so you moisten as much of the dry mix as possible. A few dry patches are fine, but try to avoid big dry pockets.
-
5
Bake
Bake for 40 minutes, then check the color. If the top is browning too quickly, tent it loosely with foil and keep baking another 10 to 20 minutes, until the center looks set and a skewer inserted in the middle comes out clean.
-
6
Cool pan
Let the pan cool completely on a wire rack, then refrigerate for 1 to 2 hours. Run a butter knife around the inside edges of the pan to loosen everything. Set a large cutting board or platter over the pan, hold both together, and invert in one confident motion. Lift off the pan and gently peel away the parchment.
-
7
Serve
Cut into squares and serve with lightly sweetened whipped cream. Store leftovers covered in the refrigerator.



Pro Tip
Don’t skip the chill time, even if the pan smells done and you’re tempted to cut into it warm. Those two hours in the fridge are what take it from good to actually sliceable, clean-edged squares.
FAQs for Kulolo Crunch
The poi layer bakes into something between a custard and a pudding, mildly earthy and a little tangy from the poi, rounded out by the coconut milk and brown sugar. The crunch layer on top is buttery and toasty, closer to a coffee cake streusel than a traditional cake crust.
Yes, but freeze it after baking and cooling, not before. Wrap individual squares tightly and freeze for up to a month. Thaw overnight in the fridge, the crunch layer softens slightly after freezing but the flavor holds up.
Two likely culprits: underbaking or skipping the chill time. This dessert needs the full refrigeration step to firm up enough to cut cleanly, even when it looks done coming out of the oven. If the center still jiggles after 60 minutes total bake time, give it another 5 to 10 minutes before pulling it. Or use the classic method and poke it with a toothpick and if it comes out clean, it should be done.
Walnuts or pecans work fine if that’s what you have. You’ll lose a little of the island flavor macadamia nuts bring, but the crunch texture stays the same.
No. Traditional kulolo is steamed taro and coconut, an heirloom Native Hawaiian dish. This is a modern dump cake inspired by kulolo’s flavor, made with poi and baked instead of steamed. Both are worth making, they’re just different things.
Storage or Leftovers

Storage Tips
In the fridge: cover the pan tightly or move squares to an airtight container, and it holds well for 4 to 5 days. The crunchy topping softens a little day over day, still good, just less crisp than day one.
This is one of those recipes I come back to whenever I want something that tastes like home. It does not take long, cleanup is fast, and it always hits the spot.
I hope it brings a little bit of Hawaii to your table, wherever you are.
If you make this recipe, tag me on Instagram at @808hawaiianrecipes. I love seeing your plates. And if you want more Local Hawaii recipes delivered straight to you, subscribe so you do not miss what is coming next.
Mahalo!

Kulolo Crunch
Equipment
- 9×13-inch baking pan
- Large mixing bowl
- Wire cooling rack
Ingredients
poi
- 1 lb poi
- 1 can coconut milk
- 4 large eggs
- 1/2 cup granulated sugar
- 1/2 cup light brown sugar packed
- 1 tsp pure vanilla extract
- 1 tsp salt
Crunch Layer
- 15.25 oz yellow cake mix
- 1 cup chopped macadamia nuts
- 1 cup unsalted butter melted
To Serve
- lightly sweetened whipped cream
Instructions
- Bake for 40 minutes, then check the color. If the top is browning quickly, tent loosely with foil and continue baking 10 to 20 minutes more, until the center looks set and a toothpick comes out clean.
- In a large bowl, whisk poi, coconut milk, eggs, granulated sugar, brown sugar, vanilla, and salt until smooth. Pour into the prepared pan and level the surface.
- Evenly sprinkle the dry yellow cake mix over the poi layer (do not stir). Scatter the chopped macadamia nuts over the cake mix.
- Slowly drizzle the melted butter over the entire surface, aiming to moisten as much of the dry mix as possible without big dry patches.
- Bake for 40 minutes, then check the color. If the top is browning quickly, tent loosely with foil and continue baking 10 to 20 minutes more, until the center looks set and a skewer comes out clean.
- Cool the pan completely on a rack, then refrigerate 1 to 2 hours for the cleanest slices.
- Run a butter knife around the inside edges to loosen. Place a large cutting board or platter over the pan, grasp both together, and invert in one motion. Gently lift off the pan and peel away the parchment.
- Cut into squares and serve with lightly sweetened whipped cream. Store leftovers covered in the refrigerator.
Notes
- This dessert needs 1 to 2 hours of refrigeration after cooling before it cuts cleanly, plan for that inactive time beyond the bake.
- Store covered in the refrigerator for up to 4 days, or freeze individual squares tightly wrapped for up to 1 month.

Mahalo! Do you think the bag of dry poi is better than fresh poi?
I think it will still work just as well 🙂
Love your recipes.
Mahalo nui!!
Ono, Family enjoyed it, will definitely make for Thanksgiving! Mahalo
I’m so happy to hear the ohana enjoyed it! 🙂