Maui Manju Recipe
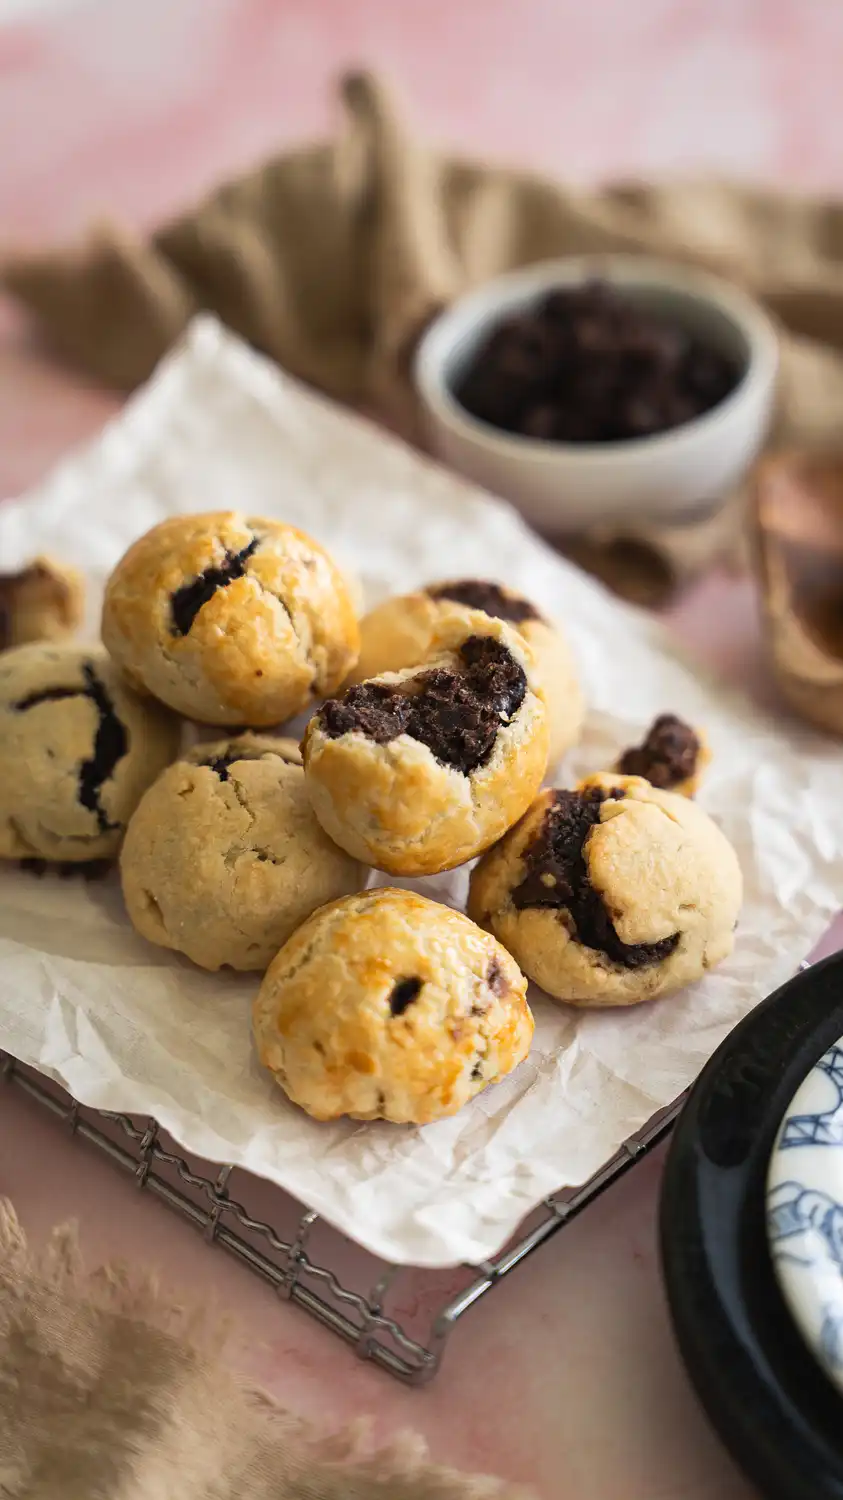
Bake homemade manju with a flaky crust and classic fillings of azuki bean paste or Okinawan sweet potato.
This post may contain affiliate links. Our privacy policy.
When I told my younger brother Kyron I was working on a manju recipe, he immediately lit up. He reminded me of something I had completely forgotten: our dad used to buy manju as gifts. Not for just any occasion either. It was always something special, like Christmas or when he was visiting family on Oahu. Manju was not an everyday thing. It meant something.
So when I was back on Maui recently, I wanted to get my hands on some. I spotted a packaged version at the local grocery store and grabbed it without thinking twice. Big mistake. It was stale, dry, and honestly a little sad. That one bite turned into a whole mission. I was going to make a fresher, flakier version from scratch. And I have to say, it absolutely delivered.
What is Manju?
If you have ever been to a local Hawaii bakery or okazu-ya, chances are you have seen manju sitting in the display case next to the butter mochi and the spam musubi. It is one of those staples that just belongs.
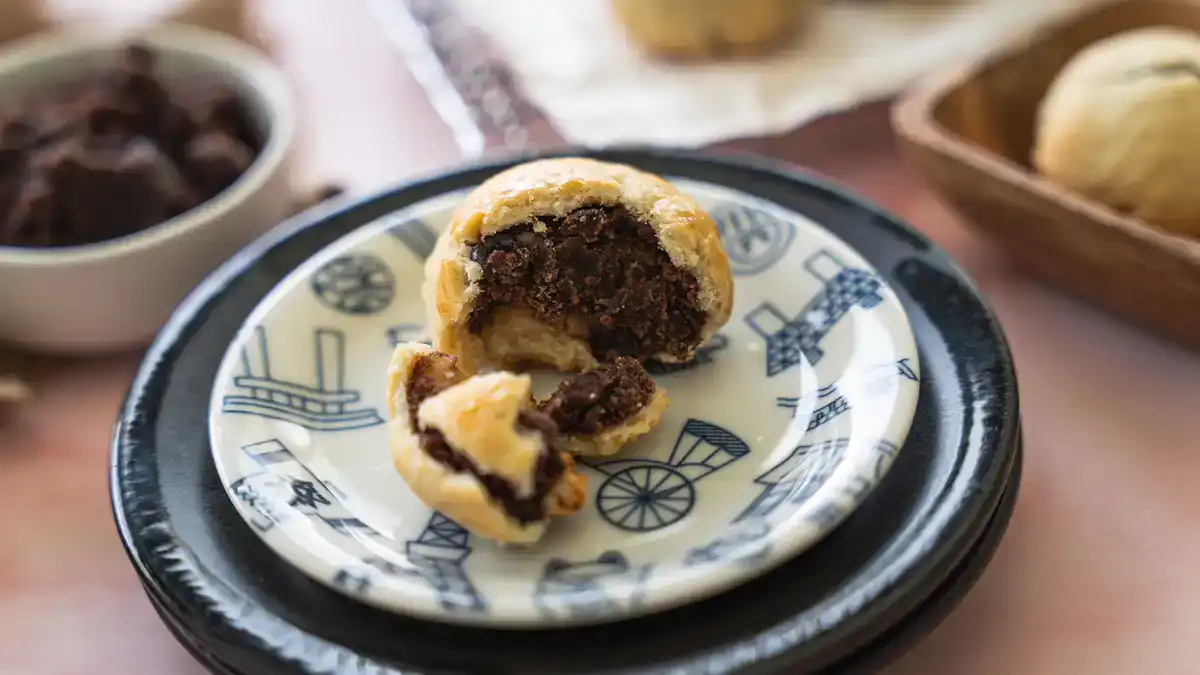
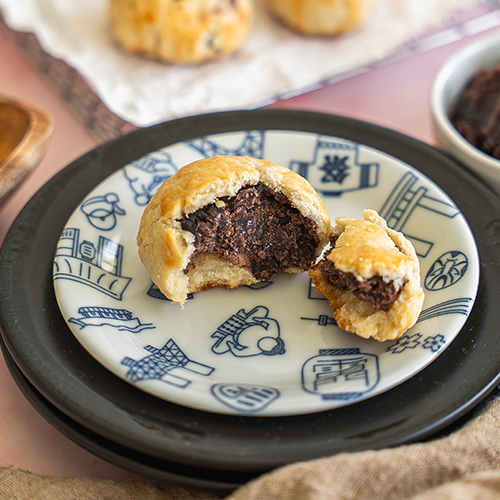
Manju in Hawaii is a flaky baked pastry with a sweet filling inside. The most classic version is filled with anko, a sweet azuki bean paste with deep Japanese roots. But over the years, Local Hawaii bakers have made it their own with fillings like Okinawan sweet potato, chocolate custard, lima bean, and more. Some cooks even make savory versions. The dough is buttery and golden on the outside, with just enough structure to hold the filling in without being bready or dense.
It is worth noting that manju in Japan looks and tastes quite different. The Japanese version is typically steamed, not baked, and is sometimes made from mochi or a softer wheat dough. What we have in Hawaii is very much a Local Hawaii creation, shaped by generations of Japanese immigrants and the unique food culture that grew out of the islands. It is Local Hawaii food, and it carries that history in every bite.
Why You’ll Love This Manju Recipe
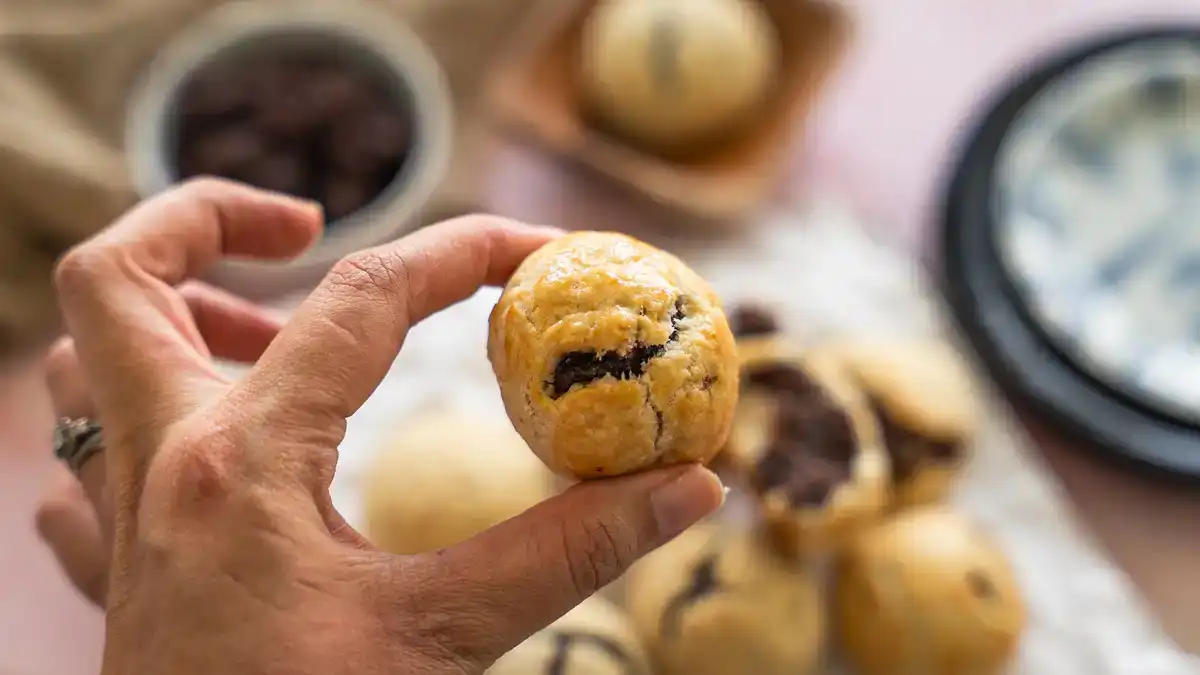
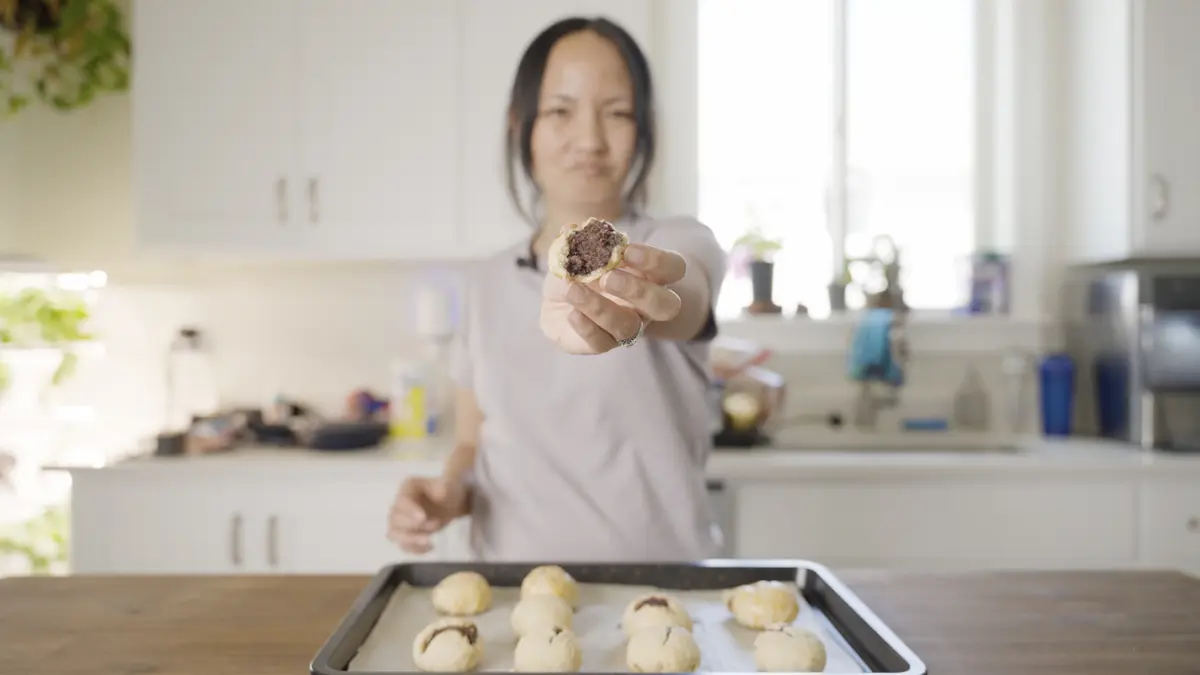
- Fresh manju is on a completely different level. Once you taste it warm out of the oven, you will never look at the packaged version the same way.
- You get to choose your own filling. Classic anko, Okinawan sweet potato, chocolate custard, even savory options. This dough works with all of it.
- The dough comes together in one bowl with no mixer needed. A bench scraper (affiliate link) makes the whole process faster and cleaner.
- It is a crowd-pleaser at potlucks, holiday gatherings, or any time you need to bring something special that people will actually remember.
- You can make the dough ahead of time and refrigerate it, so manju day is way less stressful than it sounds.
Ingredients for This Manju Recipe
Here is what you need to make the pastry dough, plus a note on filling options:
- All-Purpose Flour: This is your base. Sift it before measuring to avoid a dense dough. Nothing fancy needed here, just your standard all-purpose.
- Cold Unsalted Butter: Cold butter is key to a flaky crust. Cut it into small cubes and keep it in the fridge until you are ready to use it. Do not swap in softened or melted butter. The cold fat is what creates those layers. I use unsalted so I can control the salt myself.
- Salt: Just a half teaspoon. It enhances the flavor of the dough without making it taste salty.
- Granulated Sugar: Only one teaspoon, but it adds just a touch of sweetness to the pastry that complements the filling perfectly.
- Ice-Cold Water: Two tablespoons is all you need. The colder the water, the better. I keep mine in a small cup with ice while I prep the rest.
- Egg (for egg wash): One egg, whisked. Brushing this on top before baking gives the manju that shiny, golden top you see at the bakery.
- Filling of Your Choice: This is where you get to have fun. The most traditional option is anko (sweet red bean paste), which you can find at most Asian grocery stores. Okinawan sweet potato filling is another Local Hawaii classic. Chocolate custard works beautifully too. Start with canned anko if this is your first time since it keeps things simple and the flavor is exactly right.
How to Make Manju?
-
1
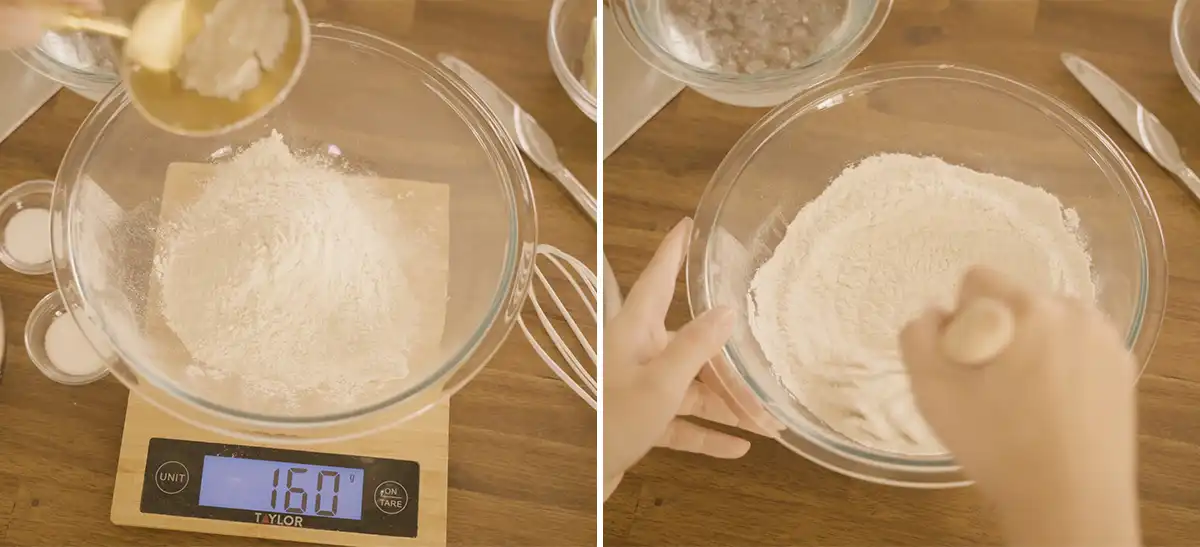
Mix the Dry Ingredients
Whisk the flour, sugar, and salt together in a large mixing bowl until evenly combined.
-
2
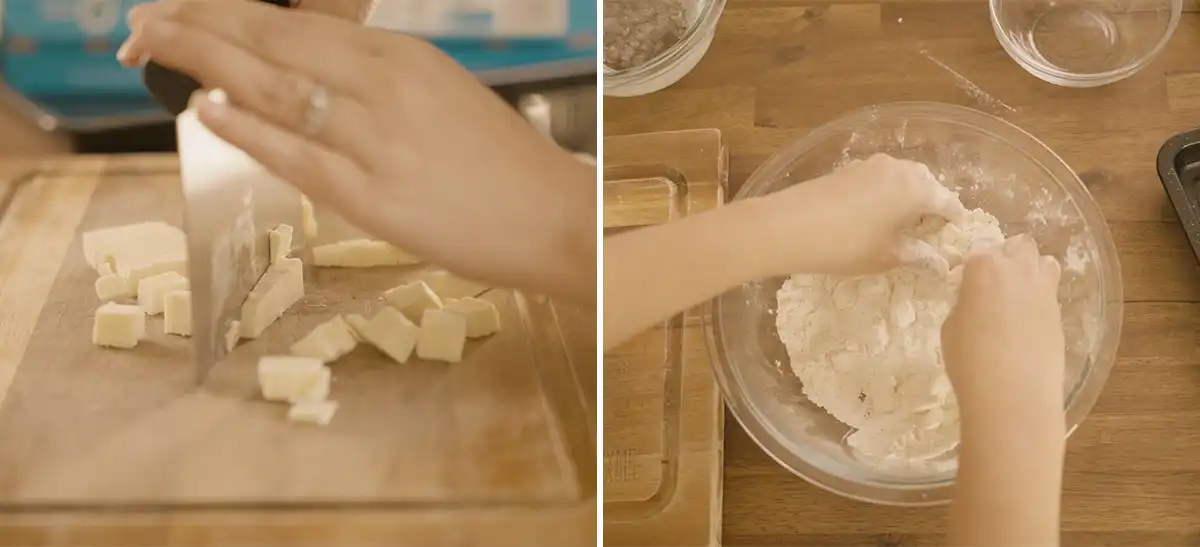
Work in the Butter
Add the cold cubed butter to the flour mixture. Using your fingertips, pinch and flatten the butter until the whole thing looks sandy and coarse, with some pea-size pieces still visible. This step is what makes the crust flaky.
-
3
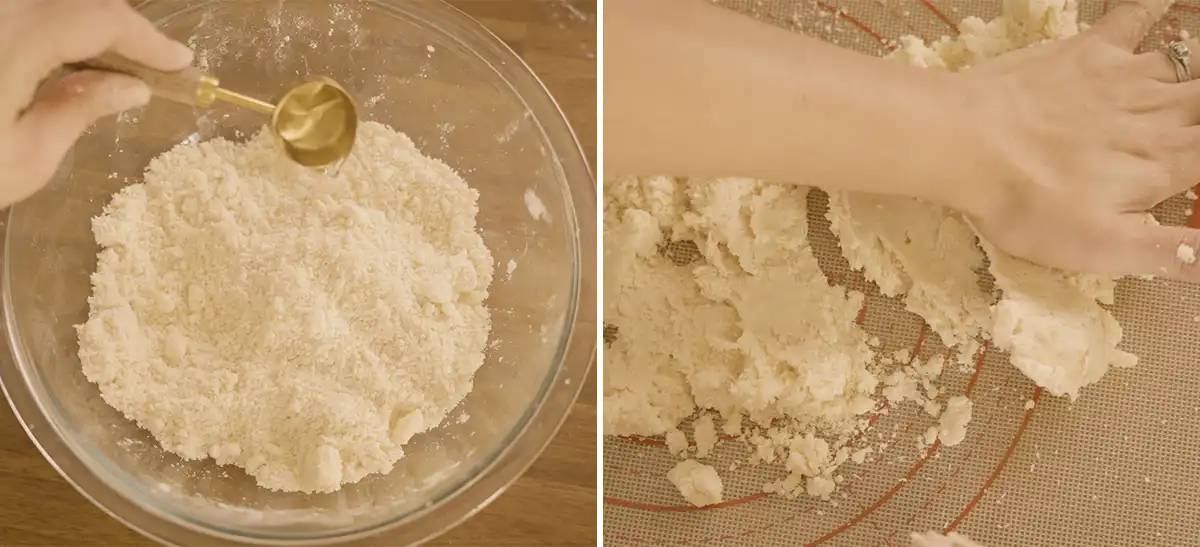
Add the Ice Water and Bring the Dough Together
Drizzle the ice water over the mixture and use a bench scraper to fold it in until large clumps form. Tip it out onto your countertop and use the heel of your hand to smear the dough away from you a few times, then gather it back. The dough should hold together but still feel slightly crumbly.
-
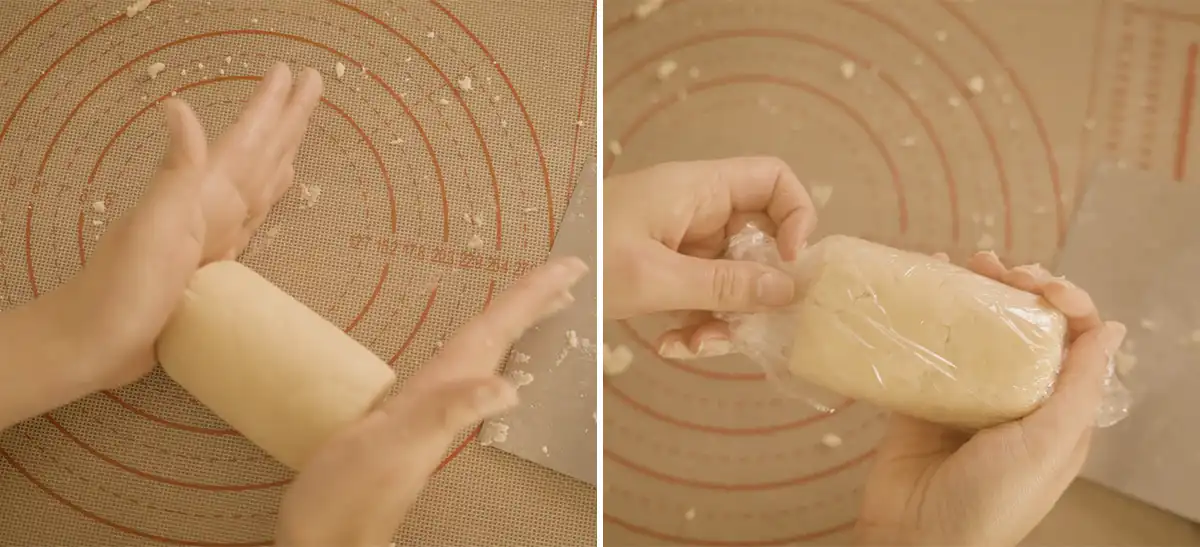
4
Form the Log and Chill
Shape the dough into a log about 2 inches in diameter, wrap it tightly in plastic wrap, and refrigerate for at least 1 hour. If you let it sit longer than 24 hours, just leave it on the counter for 10 to 20 minutes before slicing. Cold dough is hard to work with.
-
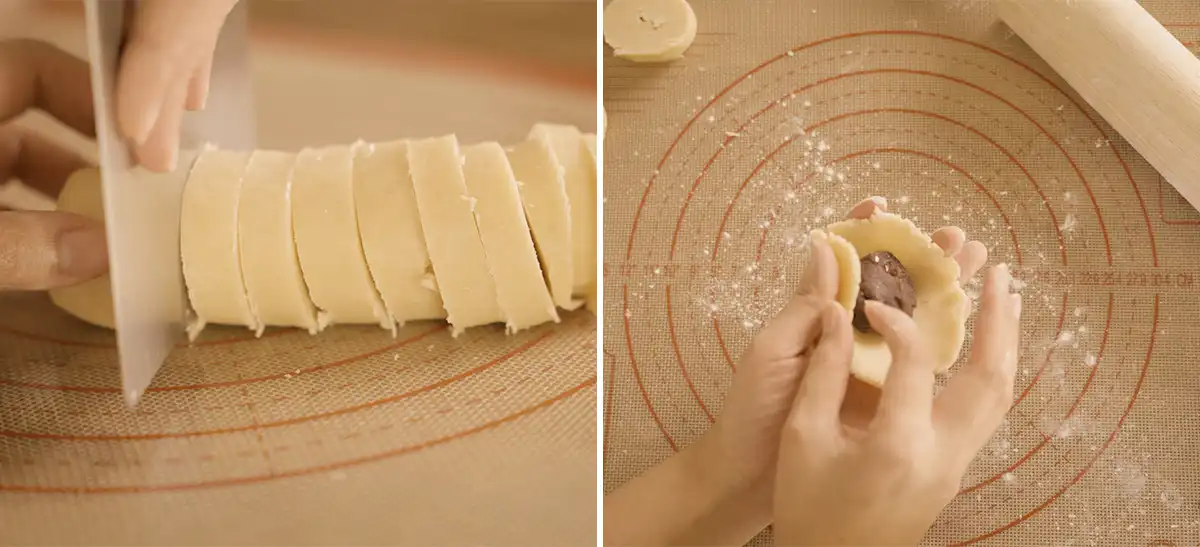
5
Slice, Fill, and Seal
Slice the chilled log into rounds about 3/4 inch thick and roll each one into a flat circle. Add a heaping tablespoon of filling to the center, then bring the dough up to the middle and crimp it closed with your fingers. Flip it over so the sealed side sits on the bottom.
-
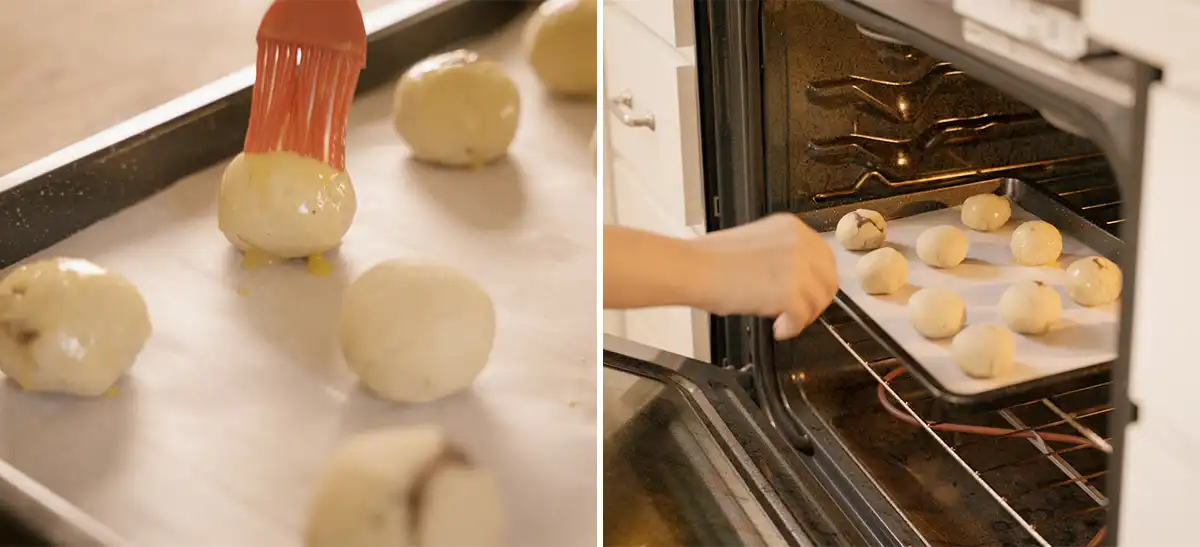
6
Egg Wash and Bake
Place the manju seam-side down on a parchment-lined baking sheet. Brush the tops with the whisked egg and bake at 400 degrees for 24 to 28 minutes, until golden brown. Let them cool before eating.
💡 Pro tip:
Do not skip the egg wash. That shiny, golden top is what makes homemade manju look as good as it tastes. One whisked egg brushed lightly over each piece before baking is all you need.
What Is Manju Served With?
Manju is one of those things that does not really need a partner, but it shines in the right setting. At home, I love eating mine warm with a hot cup of coffee or tea. There is something about that contrast between the buttery pastry and a good cup of tea that just works.
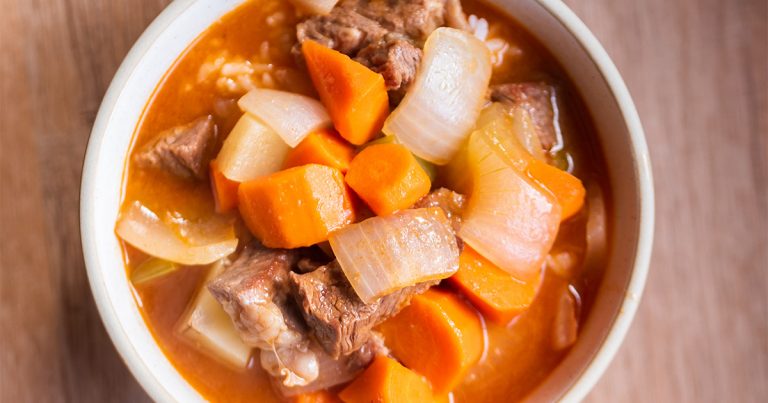
For a full Local Hawaii spread, manju fits right alongside butter mochi, haupia, or malasadas. They are all regulars at potlucks, baby luaus, and family gatherings across the islands.
If you are putting together a gift box for the holidays, manju travels well once fully cooled and stored in an airtight container. That is exactly how my dad used to do it, and honestly that tradition deserves to keep going.
Tips & FAQs
Anko (sweet red bean paste) is the most classic and traditional choice for Local Hawaii manju. Canned anko from an Asian grocery store works great and keeps things simple. Okinawan sweet potato and chocolate custard are two other popular options. Once you get comfortable with the dough, trying different fillings is half the fun.
Yes. A lot of traditional Hawaii manju recipes use shortening, which gives the dough more structure and makes it easier to shape. Butter gives you more flavor and a flakier texture. Some recipes combine both. Either works, so use what you have or what you prefer.
The dough is probably too cold. If it has been in the fridge for more than 24 hours, let it sit on the counter for 10 to 20 minutes before working with it. A slightly stiff dough will crack around the filling. A little rest time fixes that.
Yes, baked manju freezes really well. Let them cool completely, then store in an airtight freezer bag or container for up to one month. Reheat in the oven at 325 degrees for about 10 minutes to get that crust back to life. Microwaving works too, but the texture of the pastry suffers a bit.
Absolutely. The dough log can be wrapped and refrigerated for up to 24 hours before baking day. Beyond that, just plan for a short rest on the counter before slicing. You can also freeze the raw dough log for up to one month.
Storage & Make-Ahead Tips
Manju is best the day it is made, but it keeps well at room temperature in an airtight container for up to two days. After that, refrigerate for up to five days. Warm them back up in the oven at 325 degrees for a few minutes and they taste almost like fresh.
To make ahead, prep and refrigerate the dough log up to 24 hours in advance. On the day you want to bake, slice, fill, and bake as usual. This is a great way to break the process into two days if you are preparing for a gathering or holiday.
What started as a disappointing bite of stale grocery store manju turned into one of my favorite recipe tests of the year. There is something really satisfying about bringing back a childhood memory in your own kitchen and making it even better than you remembered. Kyron and I laughed about this whole thing when I told him how it turned out. Dad had good taste. We should have been making these ourselves all along.
If you make this recipe, I hope it finds its way onto your holiday table, your potluck spread, or just your afternoon coffee break. Let me know in the comments what filling you went with. I love eating mine with a cup of tea or coffee. Mahalo for being here.
With aloha,
Tani
Manju
Video
Equipment
- Plastic wrap
Ingredients
Dough
- 160 g all-purpose flour, sifted, plus more if needed about 1 ¼ cups
- 1 tsp granulated sugar
- 0.5 tsp salt
- 1 stick (8 tablespoons) cold unsalted butter, cut into 1/2-inch cubes 113g
- 2 tbsp ice-cold water
For Assembly
- 1 egg, whisked (for egg wash)
- filling of your choice anko, Okinawan sweet potato, chocolate custard, etc.
Instructions
- In a large mixing bowl, whisk the flour, sugar, and salt together until combined.
- Add the cold butter cubes to the flour mixture and toss with your fingers until the butter is coated. Using your fingertips, pinch and flatten the butter until the mixture resembles coarse breadcrumbs or a sandy texture with some pea-size pieces still visible.
- Drizzle the ice water over the flour mixture and use a bench scraper to fold and incorporate until large clumps form. Tip the mixture onto an unfloured countertop. Using the heel of your hand, smear the dough away from you, then scrape it back together. Repeat 2 to 3 times until a shaggy dough forms. Gently squeeze the dough together. It should hold together but feel slightly crumbly, not wet or sticky.
- Shape the dough into a log about 2 inches in diameter. Wrap tightly in plastic wrap and refrigerate for at least 1 hour, up to 24 hours. If the dough sits past 24 hours, let it rest on the counter for 10 to 20 minutes before working with it.
- Slice the log into rounds about 3/4 inch thick. Roll each round into a flat circle. Place a heaping tablespoon of your desired filling in the center. Bring the dough up to the middle and crimp it closed with your fingers. Flip so the sealed side faces down.
- Place the manju seam-side down on a baking sheet lined with parchment paper. Brush the tops with the whisked egg (optional).
- Bake at 400℉ for 24 to 28 minutes, until golden brown. Let cool before serving. Enjoy!
Notes
- Storage: Keep at room temperature in an airtight container for up to 2 days, or refrigerate for up to 5 days. Warm in the oven at 325 degrees for a few minutes to refresh the crust.
- Freezing: Baked manju freeze well for up to 1 month. Cool completely before freezing. Reheat in the oven at 325 degrees for about 10 minutes.
- Make ahead: The dough log can be refrigerated up to 24 hours in advance. If frozen, let it thaw in the fridge overnight before slicing.
- Filling tip: Canned anko from an Asian grocery store is the easiest starting point. You can find it near the mochi or Japanese baking section.


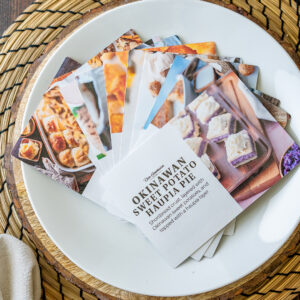 Broke Da Mout: 10 of Hawaii's Local Recipe Cards - Series #2
Hi Tani! Mahalo for this recipe.
I too would like to see a recipe for the chocolate custard filling. I haven’t heard of that in manju before and it sounds amazing. Also, I wondered about the sweet potato filling. Do I just cook the potato, smash it up, possibly with some sugar, maybe a Tbl of evap milk, pinch of salt?
Can’t wait to give this a try! thank you
Oh wonderful! I’ll make that recipe available soon! I was planning on making another batch of manju for Keoni since he can’t eat cake this weekend.
For the potato, it’s similar to the Okinawan Sweet Potato Haupia Pie. You are definitely on the right track. I’ll make another separate recipe too!
Recipe and instructions please, for the chocolate custard version you mention.
Sure! I’ll make the recipe available soon 🙂